Computers are funny things. That’s my observation for today. That observation comes from my making of cards last week. One of the things I do is make playing card sized prints with my Radiant Comics web address on one side and one of my cartoon art card images on the other. I hand them out to anyone who asks what I’ve been doing. I could just get some business cards made up with my web address on them but I like to make things and I find the cards to be a bit of fun. I was out of them and wanted to make some more since I was stopping by the New York ComicCon for a day to visit with some old friends.
I first started making these cards years ago when I discovered double sided inkjet matte photo paper. I had never thought about printing on both sides of the paper before because most inkjet photo and art paper is coated on one side and not two. After getting the idea I found the toughest part about printing on both sides of the paper is getting things to line up. I print an image on the front and an image on the back and if they’re not in the same exact place then I can’t cut them out like a playing card.
I found trial and error to be the only way to get the cards to line up. There was no template for this sort of thing so I had to make my own. First off when making a template that you have to print don’t waste ink by printing the full color image. Make some thin lined black boxs on the edges of the art you want to print and print those boxes. Also type the word “Front” on one of the boxes that represent the front of the cards and “Back” on one of the boxes that represents the back. The other word you need to type is “Top” on the top of the documents for both front and back. Believe me this alleviates a lot of confusion. You’ll always know which side of the printout is the front and which direction is up. That’s easy to lose track of with multiple printouts of blank boxes.
After that is all done you print out the front of the card, flip the paper over, put the paper back in the printer, and print out the back. Now hold the paper up to the light and see if things line up. The tops have to both be on top otherwise you flipped the paper over the wrong way when printing the back. I’ve done that plenty of times. If the boxes don’t line up then you have to go to back to your document and nudge the image left, right, up, or down. I leave the images of the fronts of the cards alone and nudge the back images. If takes a few tries and a few printouts to get things right but eventually things line up correctly.
My Photoshop document now has six 2.5×3.5 inch cards on one 8.5×11 inch piece of paper. I print out the six fronts, let the ink dry for a minute, flip the paper over, and print out six backs. Now they all line up. That’s good stuff. After printing them I laminate the cards. I bought a laminator back when I first stared making these cards. It was surprisingly cheap. It was only about thirty dollars. I had never priced laminators before and I guess I always just assumed they were more expensive than that. You also have to buy some thermal laminating pouches to use with the laminator but they’re only about ten bucks for fifty 8.5×11 inch pouches. You turn on the laminator, let it heat up, put the printout into the laminated pouch, and run the pouch through the heated up laminator. It’s real simple.
The next step is to cut out the cards. For this I use an X-Acto knife and a metal straight edge. A good edge on the cards is essential and you don’t want to use scissors. Line the ruler up with the edge of the card and cut. You don’t have to make it all the way through the card in one pass so go easy. Draw the knife across the card a few times and it should cut easily. This part takes some concentration so take your time.
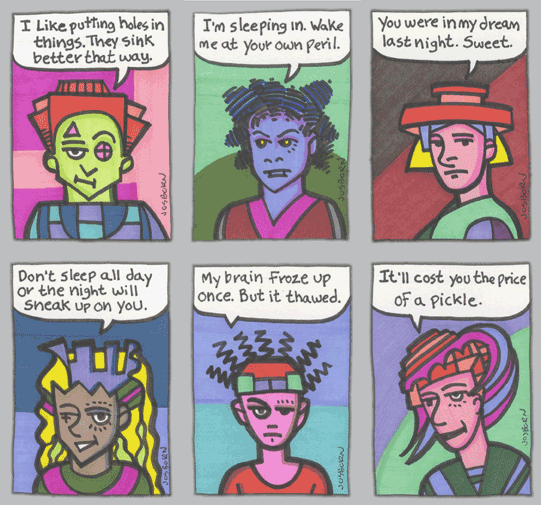
href=”/wp-content/uploads/2013/10/PromoCards1Backs.gif”>
The final step is to round the corners of the cards. If you look at real playing cards you’ll see the corners are always rounded. I think my cards look better with rounded corners too. At first I did this with the X-Acto knife but I soon discovered there are such things called corner punches. Crafters used them to make round corners on paper. They’re little hand held things that you stick a corner of the card in and press down on a button to cut the corner. It’s tougher to cut through a laminated card than a piece of paper so I find it easier to press down on the button with a palm sized piece of wood (help in the palm of my hand) rather than my thumb. At four corners a card that’s a lot of punching so be prepared but after the corners are rounded everything is done.
So what about my “Computers are funny things” observation? Well when I was trying to make some new cards the back and fronts weren’t lining up. I had printed these same ones before so there was no reason for them not to line up. I checked my documents and printouts. My document which was 7.5 inches was printing out at 7.625 inches. No wonder it wouldn’t line up. It was printing out larger than it was set up to be. I could find no reason for this. I checked all my settings, preferences, and everything else I could think of and found nothing to change this. Finally I gave up and made a new document and pasted the card front into it. That new document printed out fine. I have no idea why the old one didn’t.
Discussion ¬