I’ve been a digital photographer for a long time now. I got my first digital camera back in the year 2000 and haven’t shot film since. I consider my second semester of college, back in 1985, to be when I first started shooting film so that means that I’ll soon be passing the point where I’ve been shooting digital longer than I shot film. Maybe I already have. It’s just a matter of months. But even though the vast majority of my photos never get made into prints these days I find there is tremendous satisfaction when I finish one up and make a final print out of it. I made a group of prints this week and they came out pretty cool.
These days I have a few different ways that I make finished photographs. The newest way is on my iPad. These are purely digital as of yet and I post them to my Instagram account. That means they’re in a square format and I use a bunch of iPad photo editing apps to make them. One type is mostly done in an app called Snapseed and these are my basic photos. I take one of my street photos, crop it, and then use various enhancements on it. Nothing too drastic and it falls into the realm of normal photography.
The second way I do things on my iPad is to add design elements and type. This is a variation of the style I call “Photocaps” (short for photos and captions) and involves using a few different apps. I use one called “Tangent” to add design elements of various shapes, patterns, and colors and one called “Over” to add type. Of course I could also use a cartoon app and a painting app to take the photo further into the realm of digital manipulation. Both of these iPad ways are for screen and I have yet to print any of them out.
The photos of mine that I’ve printed out the most of in recent months are five by seven inch versions of my street photos. I have a little easel on my desk that I decided I wanted to put a street photo on it and then change the photo every couple of days. I had read that digital photographers should print out their work to see every day and motivate them and I thought that was a good idea. At this point I have a few dozen street photos finished and printed out that I can change whenever I want to. They’ve all got a little Photoshop work done to them but not so much that I’d call them digitally manipulated. Just regular darkroom stuff.
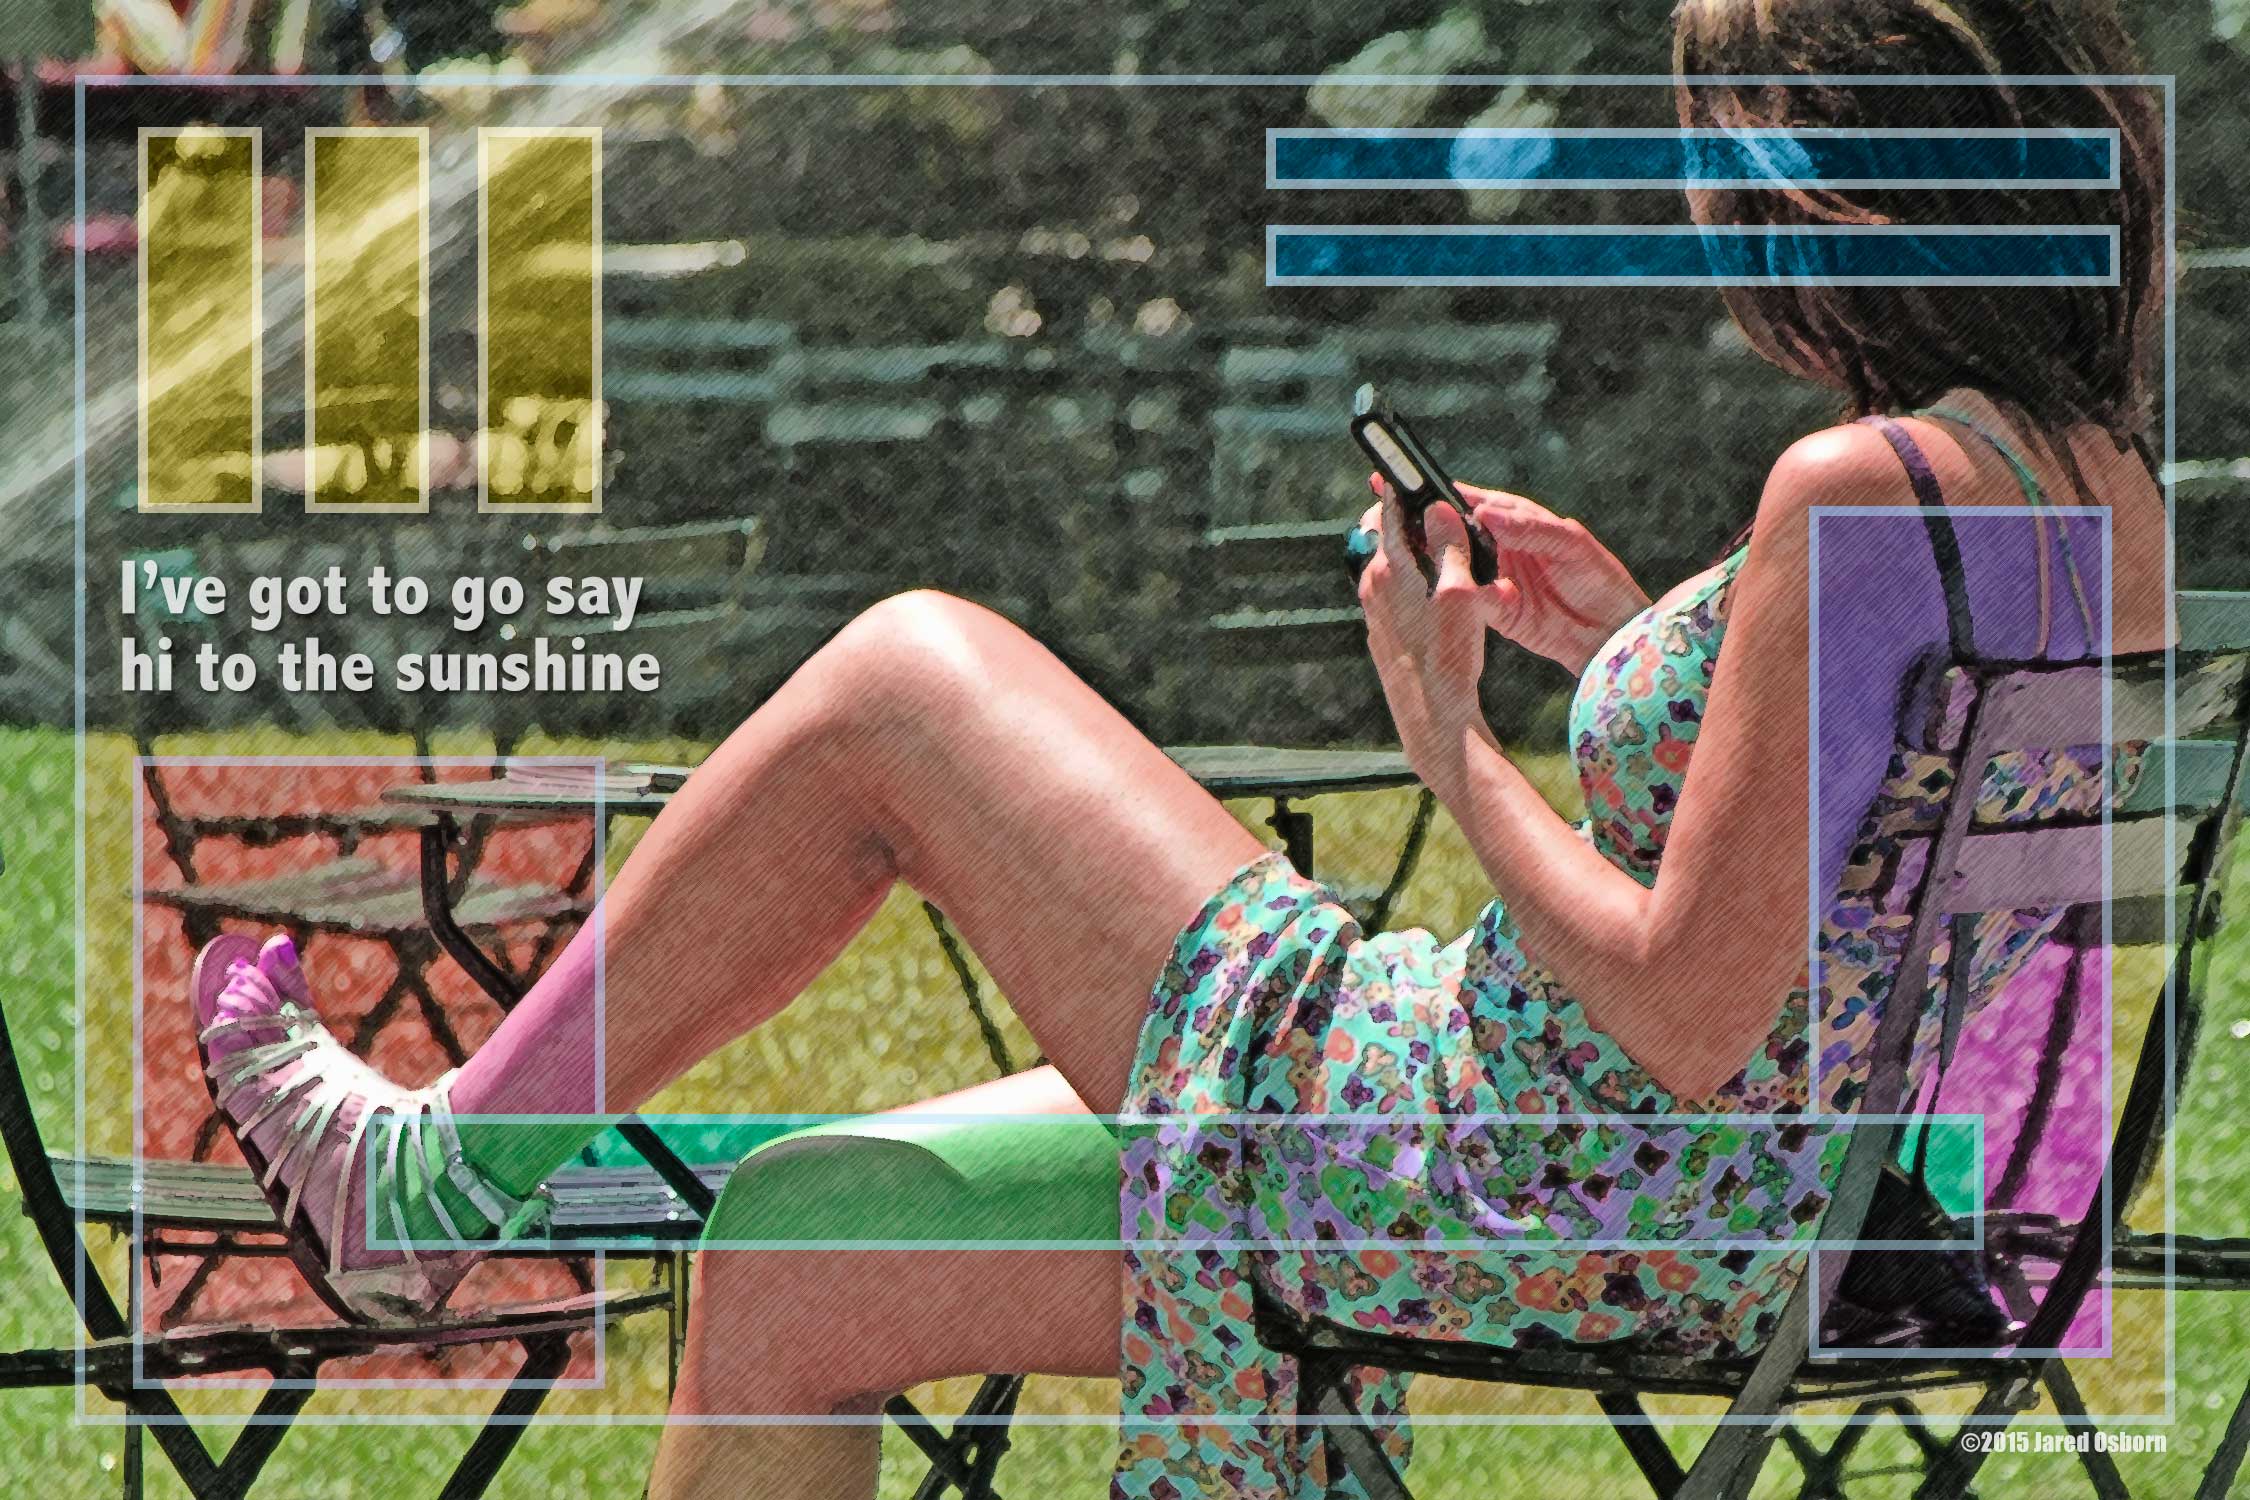
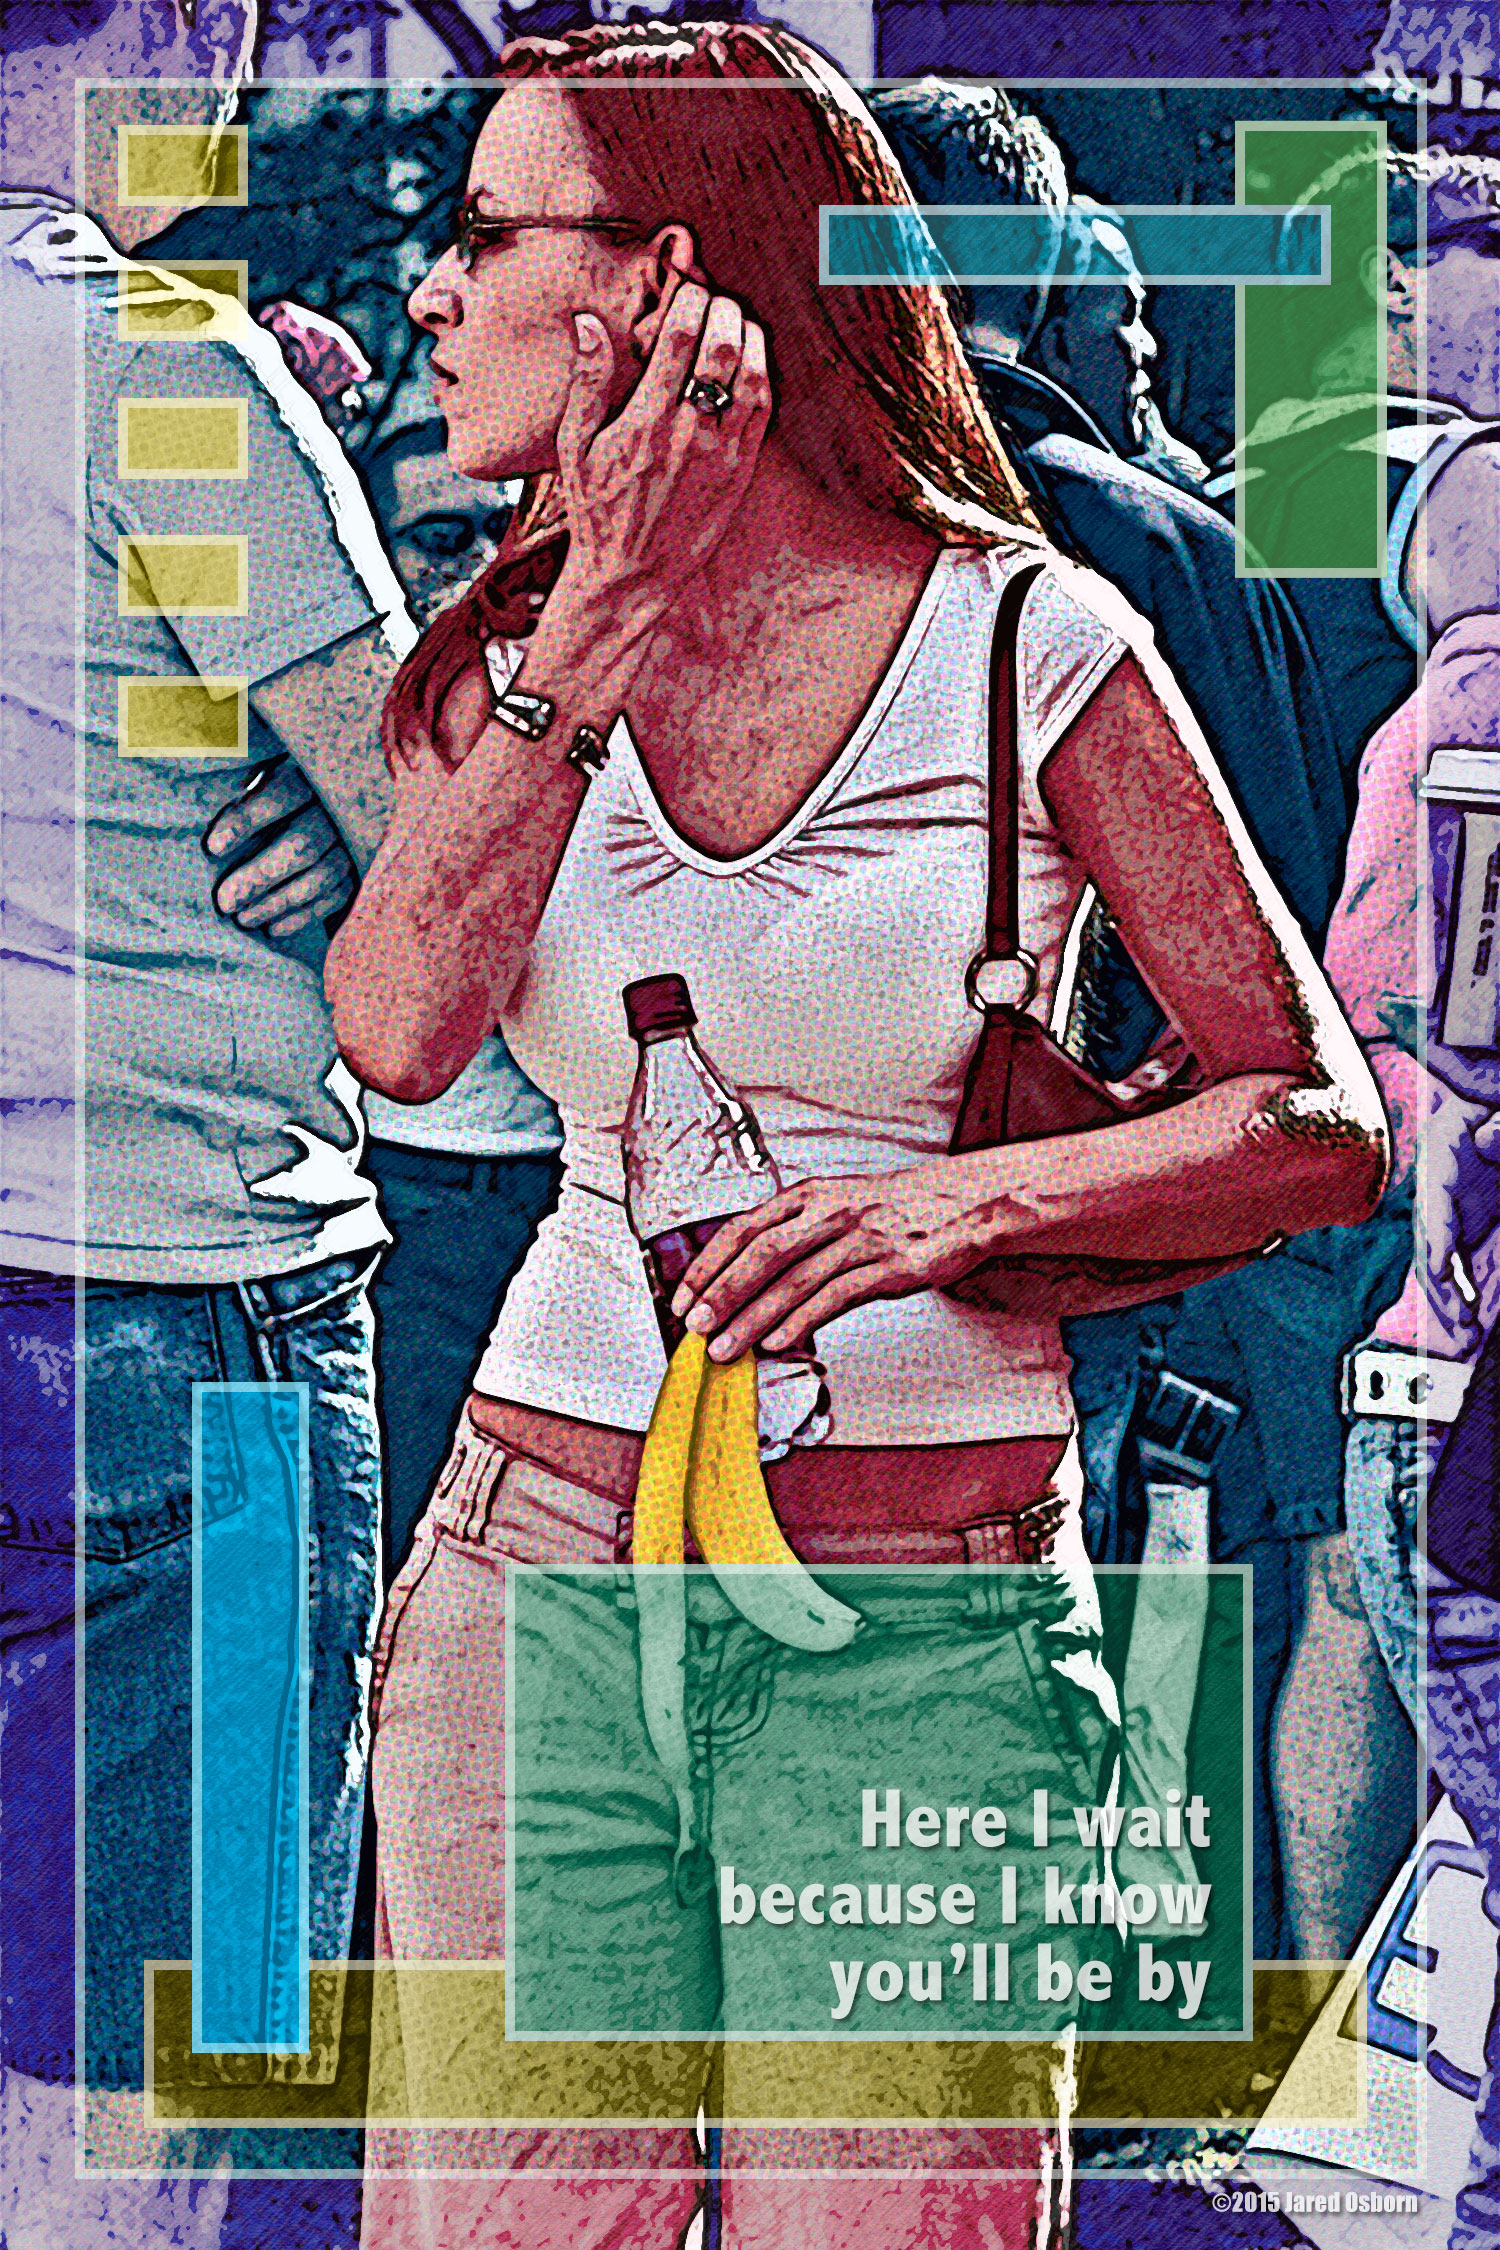
The photos that I printed out this week were my big ones. Ten by fifteen inches on eleven by seventeen inch paper. These ones were my digitally manipulated Photocaps. I’ve been working on a few of these over the last month or so. They’re different than my other photos not only in how they look at the end but in the fact that I know that I’m going to have to think up a sentence to go along with the photo. Not all photos lend themselves to that. I think it’s only a small percentage that do. That’s why I have to look through a lot of my photos until I see something that I think I can work with. Even if I don’t have the entire sentence right away I need a word or feeling that the photo evokes in me that I think I can work with.
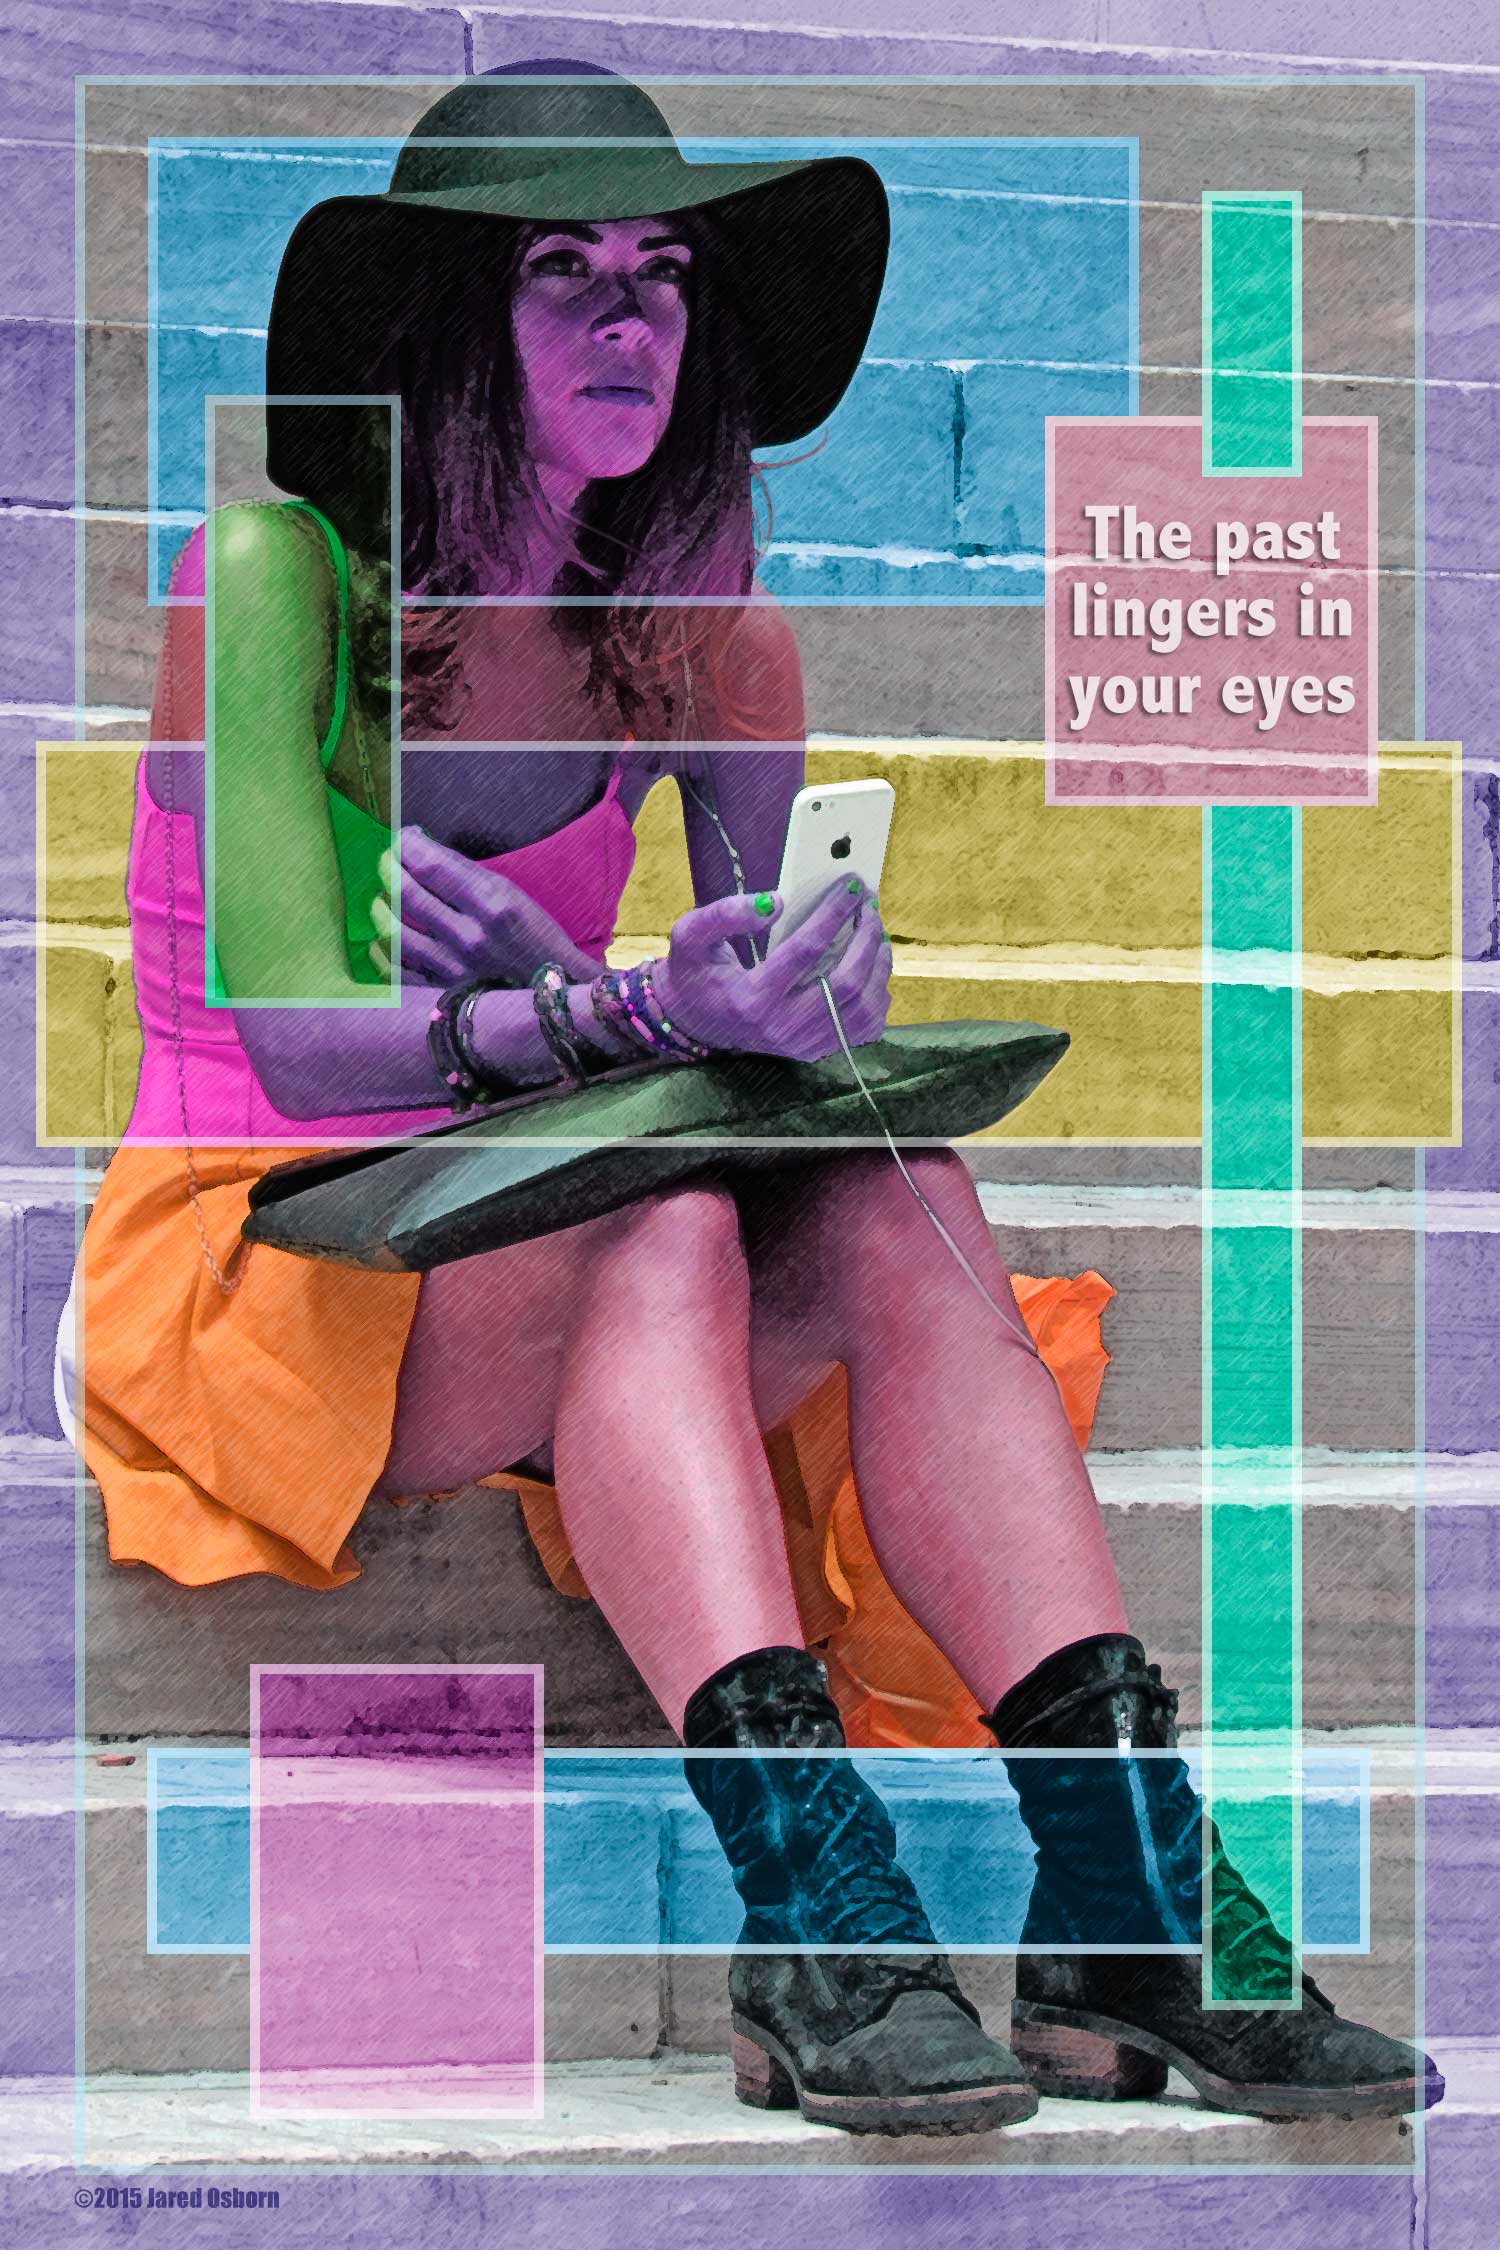
All my ten by fifteen inch Photocap photos are worked on in Photoshop. They all have lots of effects applied to them. I have what I like to call “Filter Recipes” that I run on the photos. That is that I don’t just apply a single filter to a photo but rather a series of filters in a certain order to create a certain look. It takes a while to perfect a filter recipe buy with macros I can record the steps and apply the recipe with the press of a button. Over the years I’ve developed four distinct recipes: one with color shapes, one with half-tone dots, one with brush strokes, and one with duo-tone colors. Each one also involves creating different geometric patterns on the photo. I use all sorts of rectangular shapes in all sorts of colors to create a design within the photo.
I’ve also learned to mix and match my filter recipes. The last two I did involved two of my recipes. I wanted some half-tone dots over the color shapes. These Photocaps also can involve a bit a preparation to get them ready to uses the filter recipes. Sometimes it’s a simple as adjusting the tones and contrast of the photo and sometimes it’s masking out or changing entire background elements. For one of my recent ones I deleted half a dozen people from the background of a photo. They were distracting and I wanted them out of there. This was one of the more involved bits of preparation I had to do but still it wasn’t too bad. The changes didn’t have to be perfect since running the filter recipe will obliterate a lot of the detail so the changes don’t have to be as flawless as they would if I was making a normal photo.
I haven’t been printing out these Photocaps that I’ve been making lately just because I haven’t wanted to use up my printer ink. No other reason but that. Ink is expensive and I hate buying it. But what is the point of having a printer if I don’t print on it? So after making a half dozen or so of these Photocaps of the last month I finally decided to print some them. After all I hadn’t even seen some of my never filter recipe mixtures printed out yet. I’d just seen what they look like on screen. So I printed one up. And then another and so on until I printed four of them. I liked the way they looked. And they made me happy. Sometimes you have to print your photos out. Especially the ones that were meant to be prints.
Discussion ¬