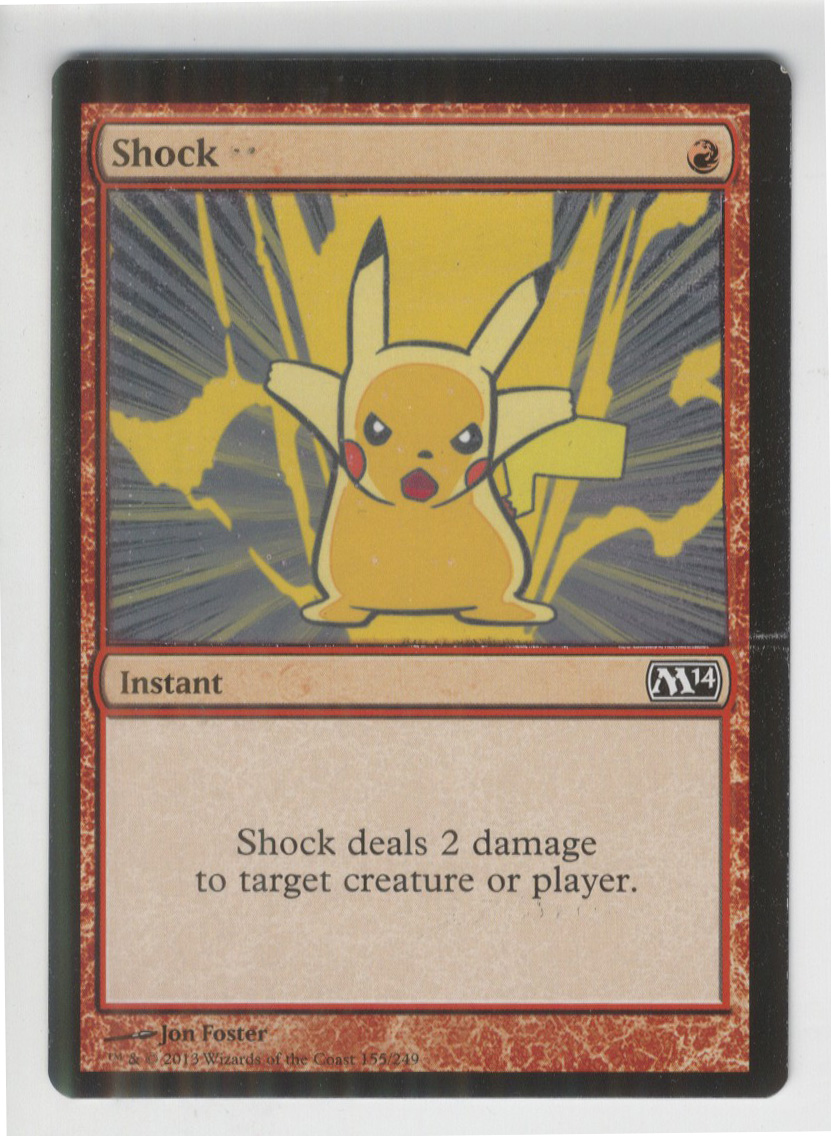
I was making some Magic the Gathering Altered art cards today. What are they? That’s when you take a card from the Magic the Gathering game and change the art that’s printed on the card into something new. I’ve been making them and selling them on Ebay for about four years. I’m lucky if I make fifty bucks a month doing it but I can use that PayPal money to get other things.
Some people do original art as their Altered art cards. They paint right over the original image. That takes too much time and energy for me so I do mine by using my printer to print on the card. That sounds easy but there are a lot of steps involved and things can go wrong at any time.
I follow a process that I saw on YouTube. It’s easy to find if you’re looking for it. I stumbled onto it one day never even having heard of altered art cards before. I was a MTG player back in the 1990s and early 2000s but haven’t touched the game much since. I still have a lot of cards sitting around so I had some raw material for altered art cards. One day I decided to give it a try. I found it kind of fun.
The first thing you have to do is strip the art off the front of the card using acetone (nail polish remover). The video shows them doing this with a rag but that didn’t work for me. It took a whole lot of effort and wasn’t very precise. So the first thing I do is mask off the area I want to stay the same with frisket. That’s a thin plastic with one sticky side. I stick it down where I want the card protected and untouched.
After the card has been masked I use a electric sander, a piece of cloth, and some acetone to remove the original ink. This takes a while. Though it’s faster than rubbing the cloth on the card by hand. I do it in a well ventilated area (the garage with the garage door open) and it takes four or five re-wettings of the cloth with the acetone. Often that’s not even enough. I also have to rub a cotton swab dipped in acetone along the edge of the frisket to pick up the ink that gets stuck along that edge. Plus sometimes there is some stubborn ink that just doesn’t want to come up and I have to hit it with some 600 grit sand paper. It takes fifteen to twenty minutes to clear four cards.
After the part of the card I want to print on is white I have to prepare the ground for printing. Step one is to spray the cards with fixative. That’s the easy part because it comes in a spray can. For the next two parts I need a paintbrush. I use a one inch flat brush. First I brush on a thin coat of glass and tile medium and after that dries I brush on a thin coat of inkjet precoat. That’s three coats of stuff before the card is ready for printing. And I don’t want brush strokes showing so I put a few drops of the medium on and them brush it top to bottom and then side to side over and over. This smooths it out and gets rid of air bubbles. I really have to pay attention as I do this.
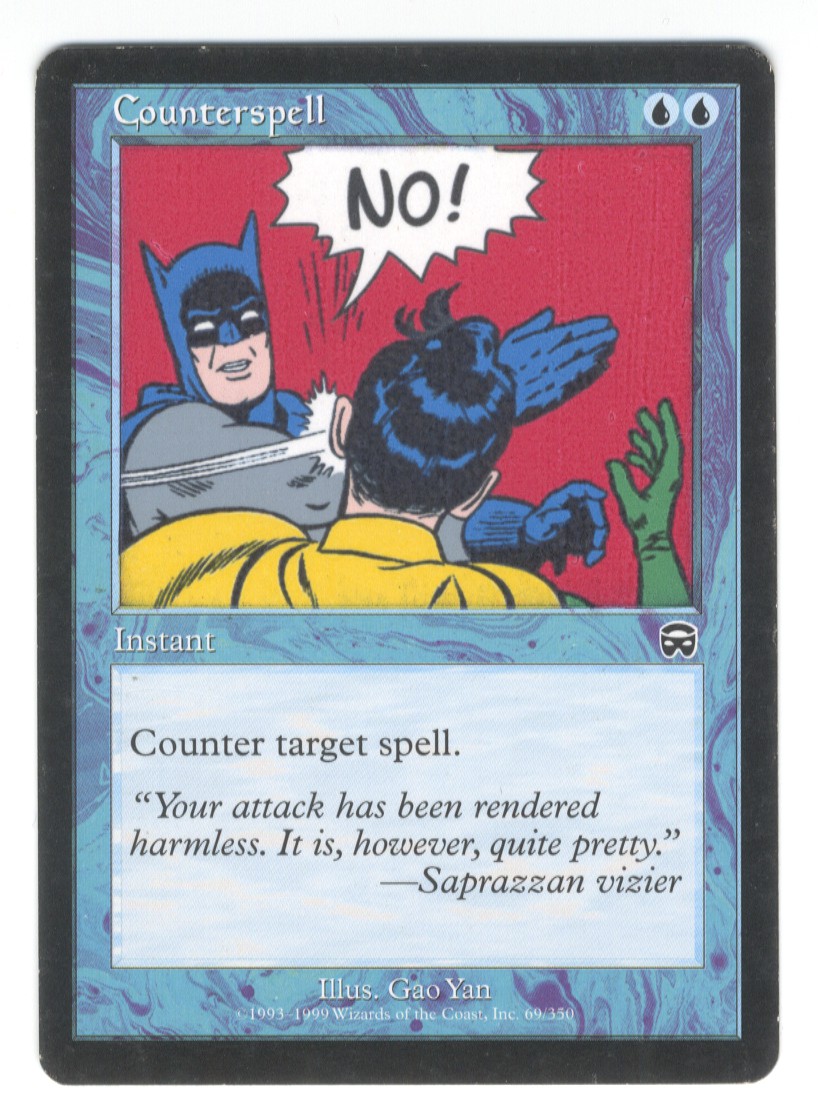
I have the image I want to print on the card set up in Photoshop. This is a process all to itself. My most popular card (only popular card even) is the Batman slapping Robin meme on a Counterspell card. I had to redraw the meme, scan it in, color it, and set it upon to be printed.
The way I set it up to be printed was that I put the image in the middle of an 8.5×11 inch document. I then print out an outline of the card on a piece of cardstock the same size. After that I take the actual card and tape in inside the outline on the cardstock paper. Now when I print the image it lines up with the card on the paper. Most of the time it does. Things can easily go wrong here and they do.
Things can go wrong at any step but it’s during this printing part when things go wrong most often. I’d say my failure rate is about 25%. One in four cards don’t come out well. Just today I was trying some new frisket. It was old frisket that someone gave me. As I was using the sander and cloth the frisket started to come off the card. I just barely saved the card and had to re-frisket it and seven others.
That was my only problem until the printing stage. Well, besides the ink not easily coming off the cards today. The second problem was when I printed one of the cards it printed poorly. It was not crisp like the others. It looked like it had streaks and air bubbles in it. I took it back out to the garage, stripped off the new ink, prepped the ground again, and reprinted it. Same results. I still don’t know why. Once again I stripped the ink off but this time when I prepped the ground I put an extra coat of fixative on. I have no idea if that really did anything but this time the card printed well.
After the printing is done the final step is to hit the card with some more spray fixative. This makes sure the printing is sealed up and can’t easily be scratched off. I like to use matte fixative rather than glossy because I think it makes the art look batter. I spray out in the back yard.
I sell the cards on Ebay for $15 shipped. I’m still not sure if it’s worth my time but what the heck. I usually only sell five of six of them a month so it’s not like I’m making them all the time. The money came in handy this week as the latest Apple upgrade to my laptop made my 15 year old small Wacom tablet not work anymore. I looked for a used one on Ebay and found one for about $60. I had that much in my PayPal account from selling these cards so I ordered a tablet up. So I guess I’ll make some more cards in a month or two.