I’ve mentioned my “Three Pen” technique before but I thought I’d go over it in detail. It’s fairly self explanatory in that I use three pens to make an ink drawing. Three different size pens to be more specific. A big tip pen, a medium tip pen, and a small tip pen. A Deleter NeoPiko Line 2 (2.0 tip) is the big pen, a Pentel Sign Pen is the medium pen, and a LePen Drawing pen (0.8 tip) is the small one.
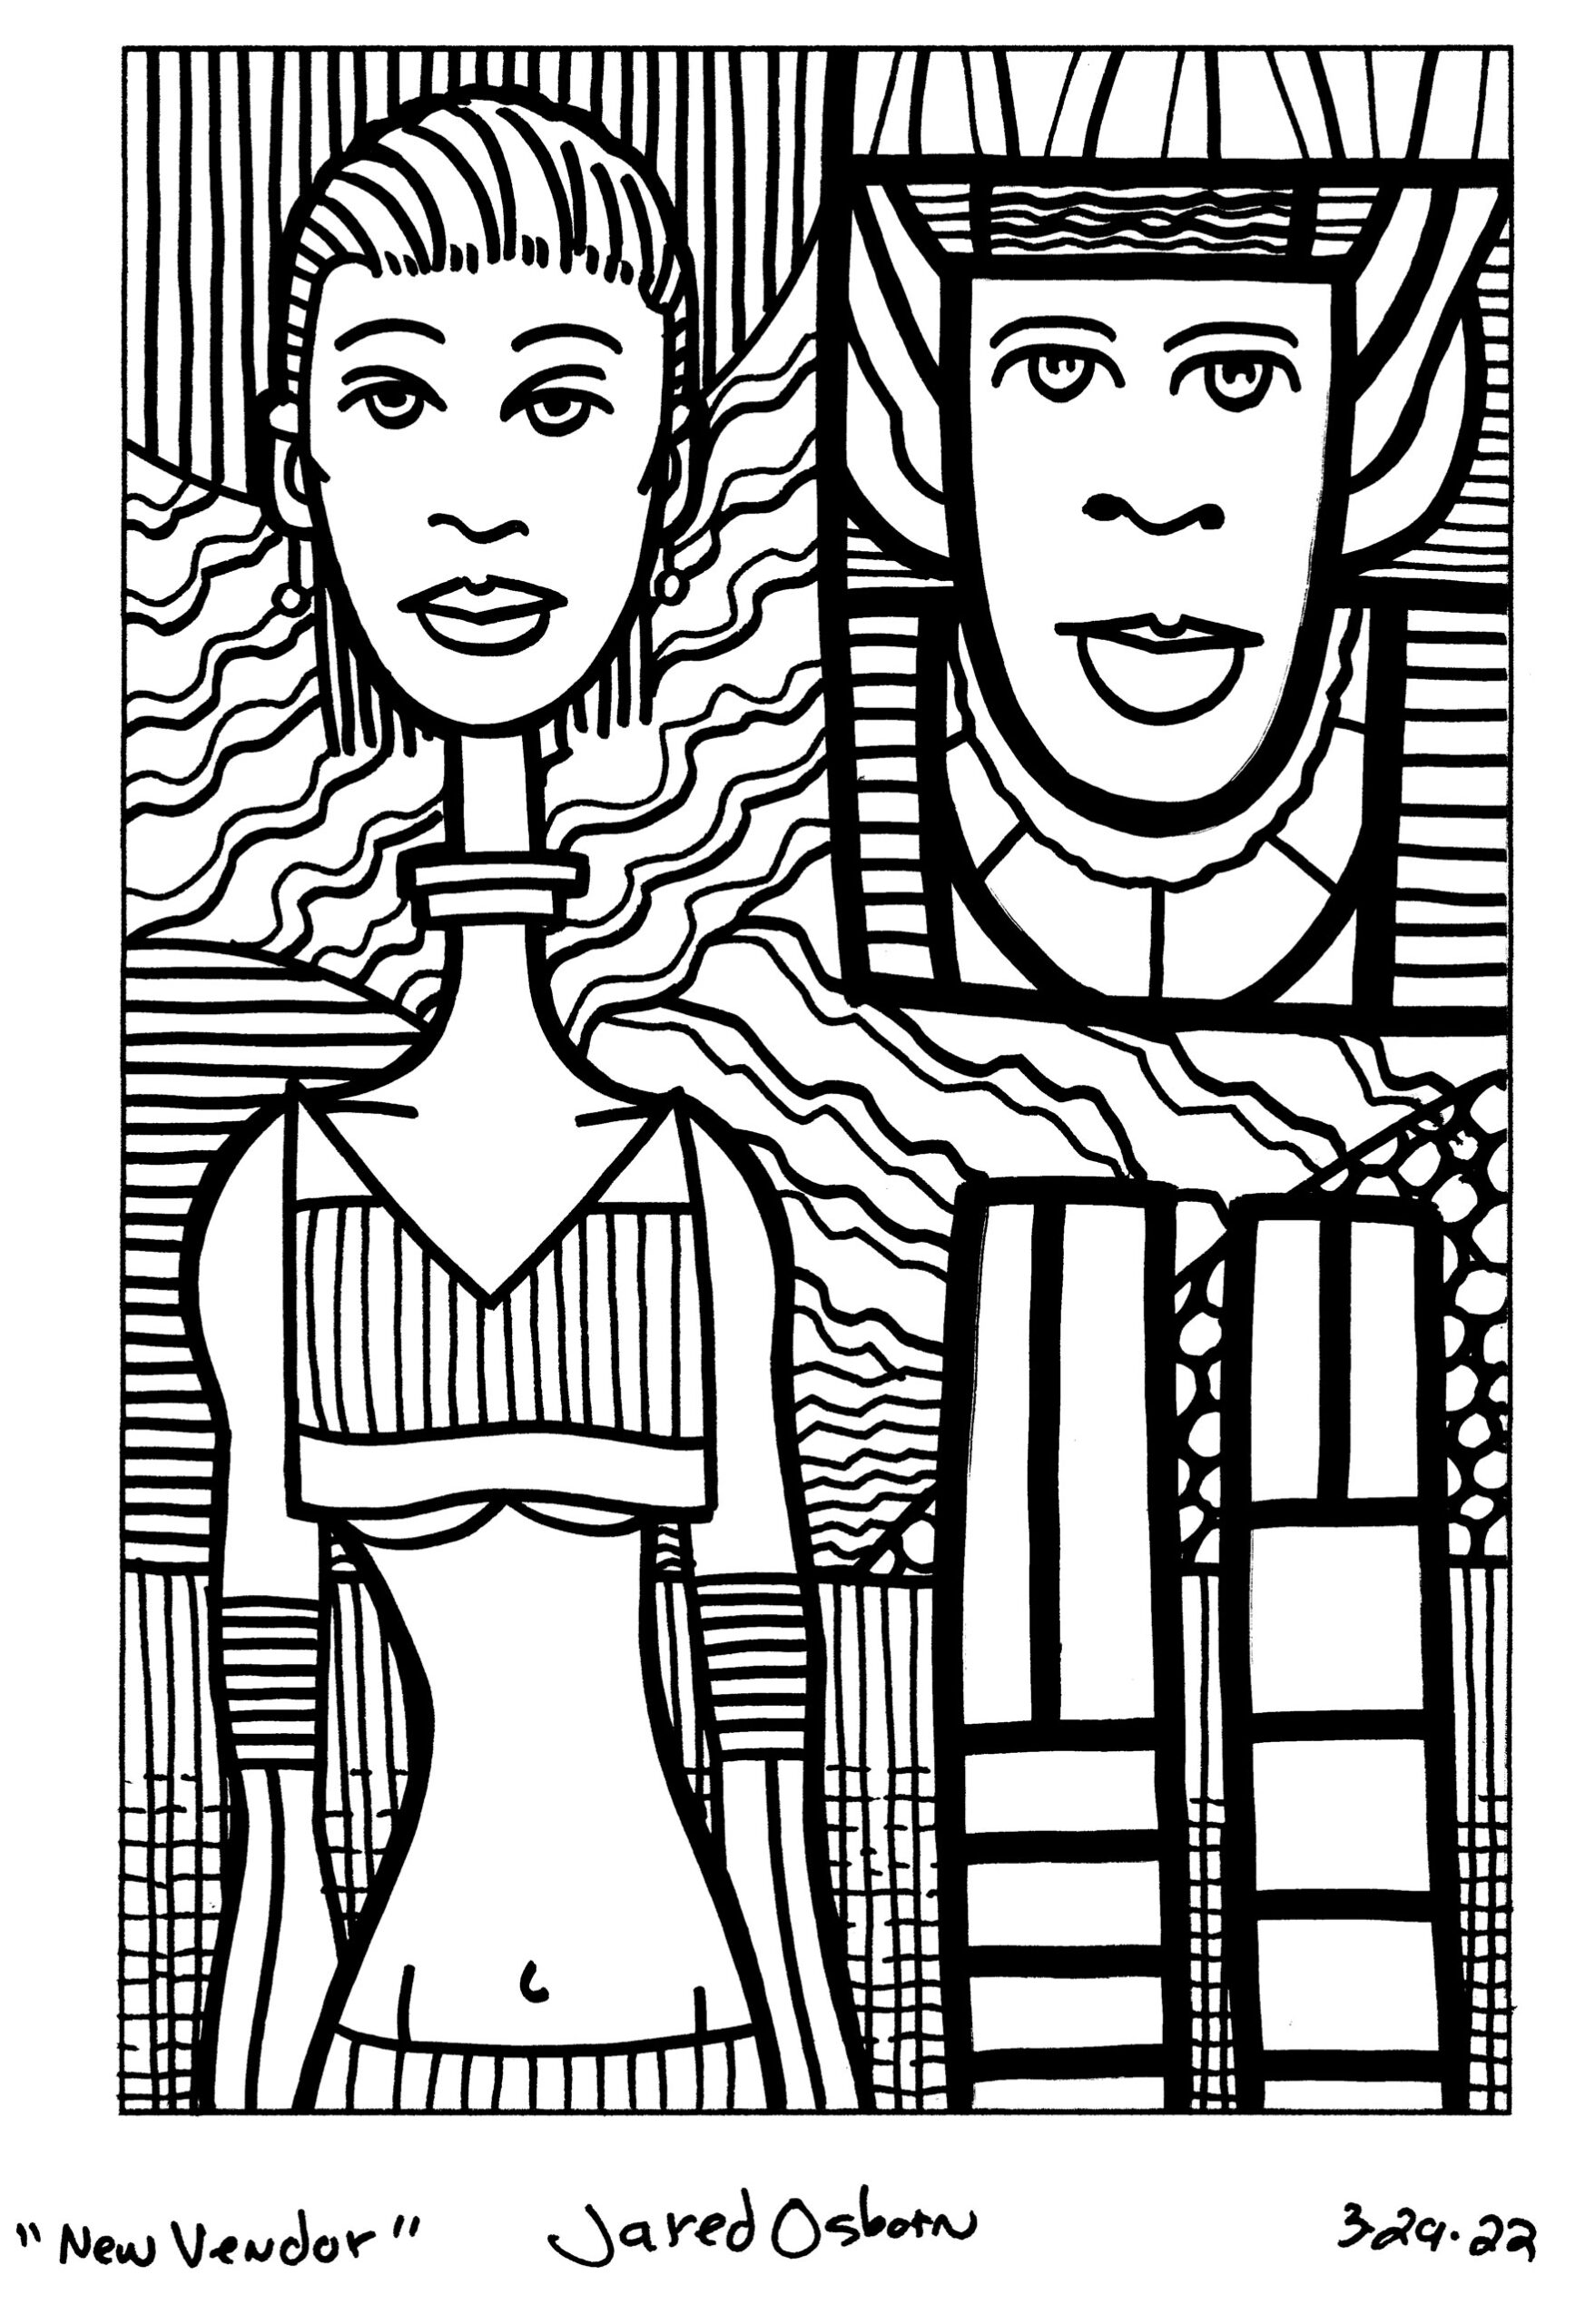
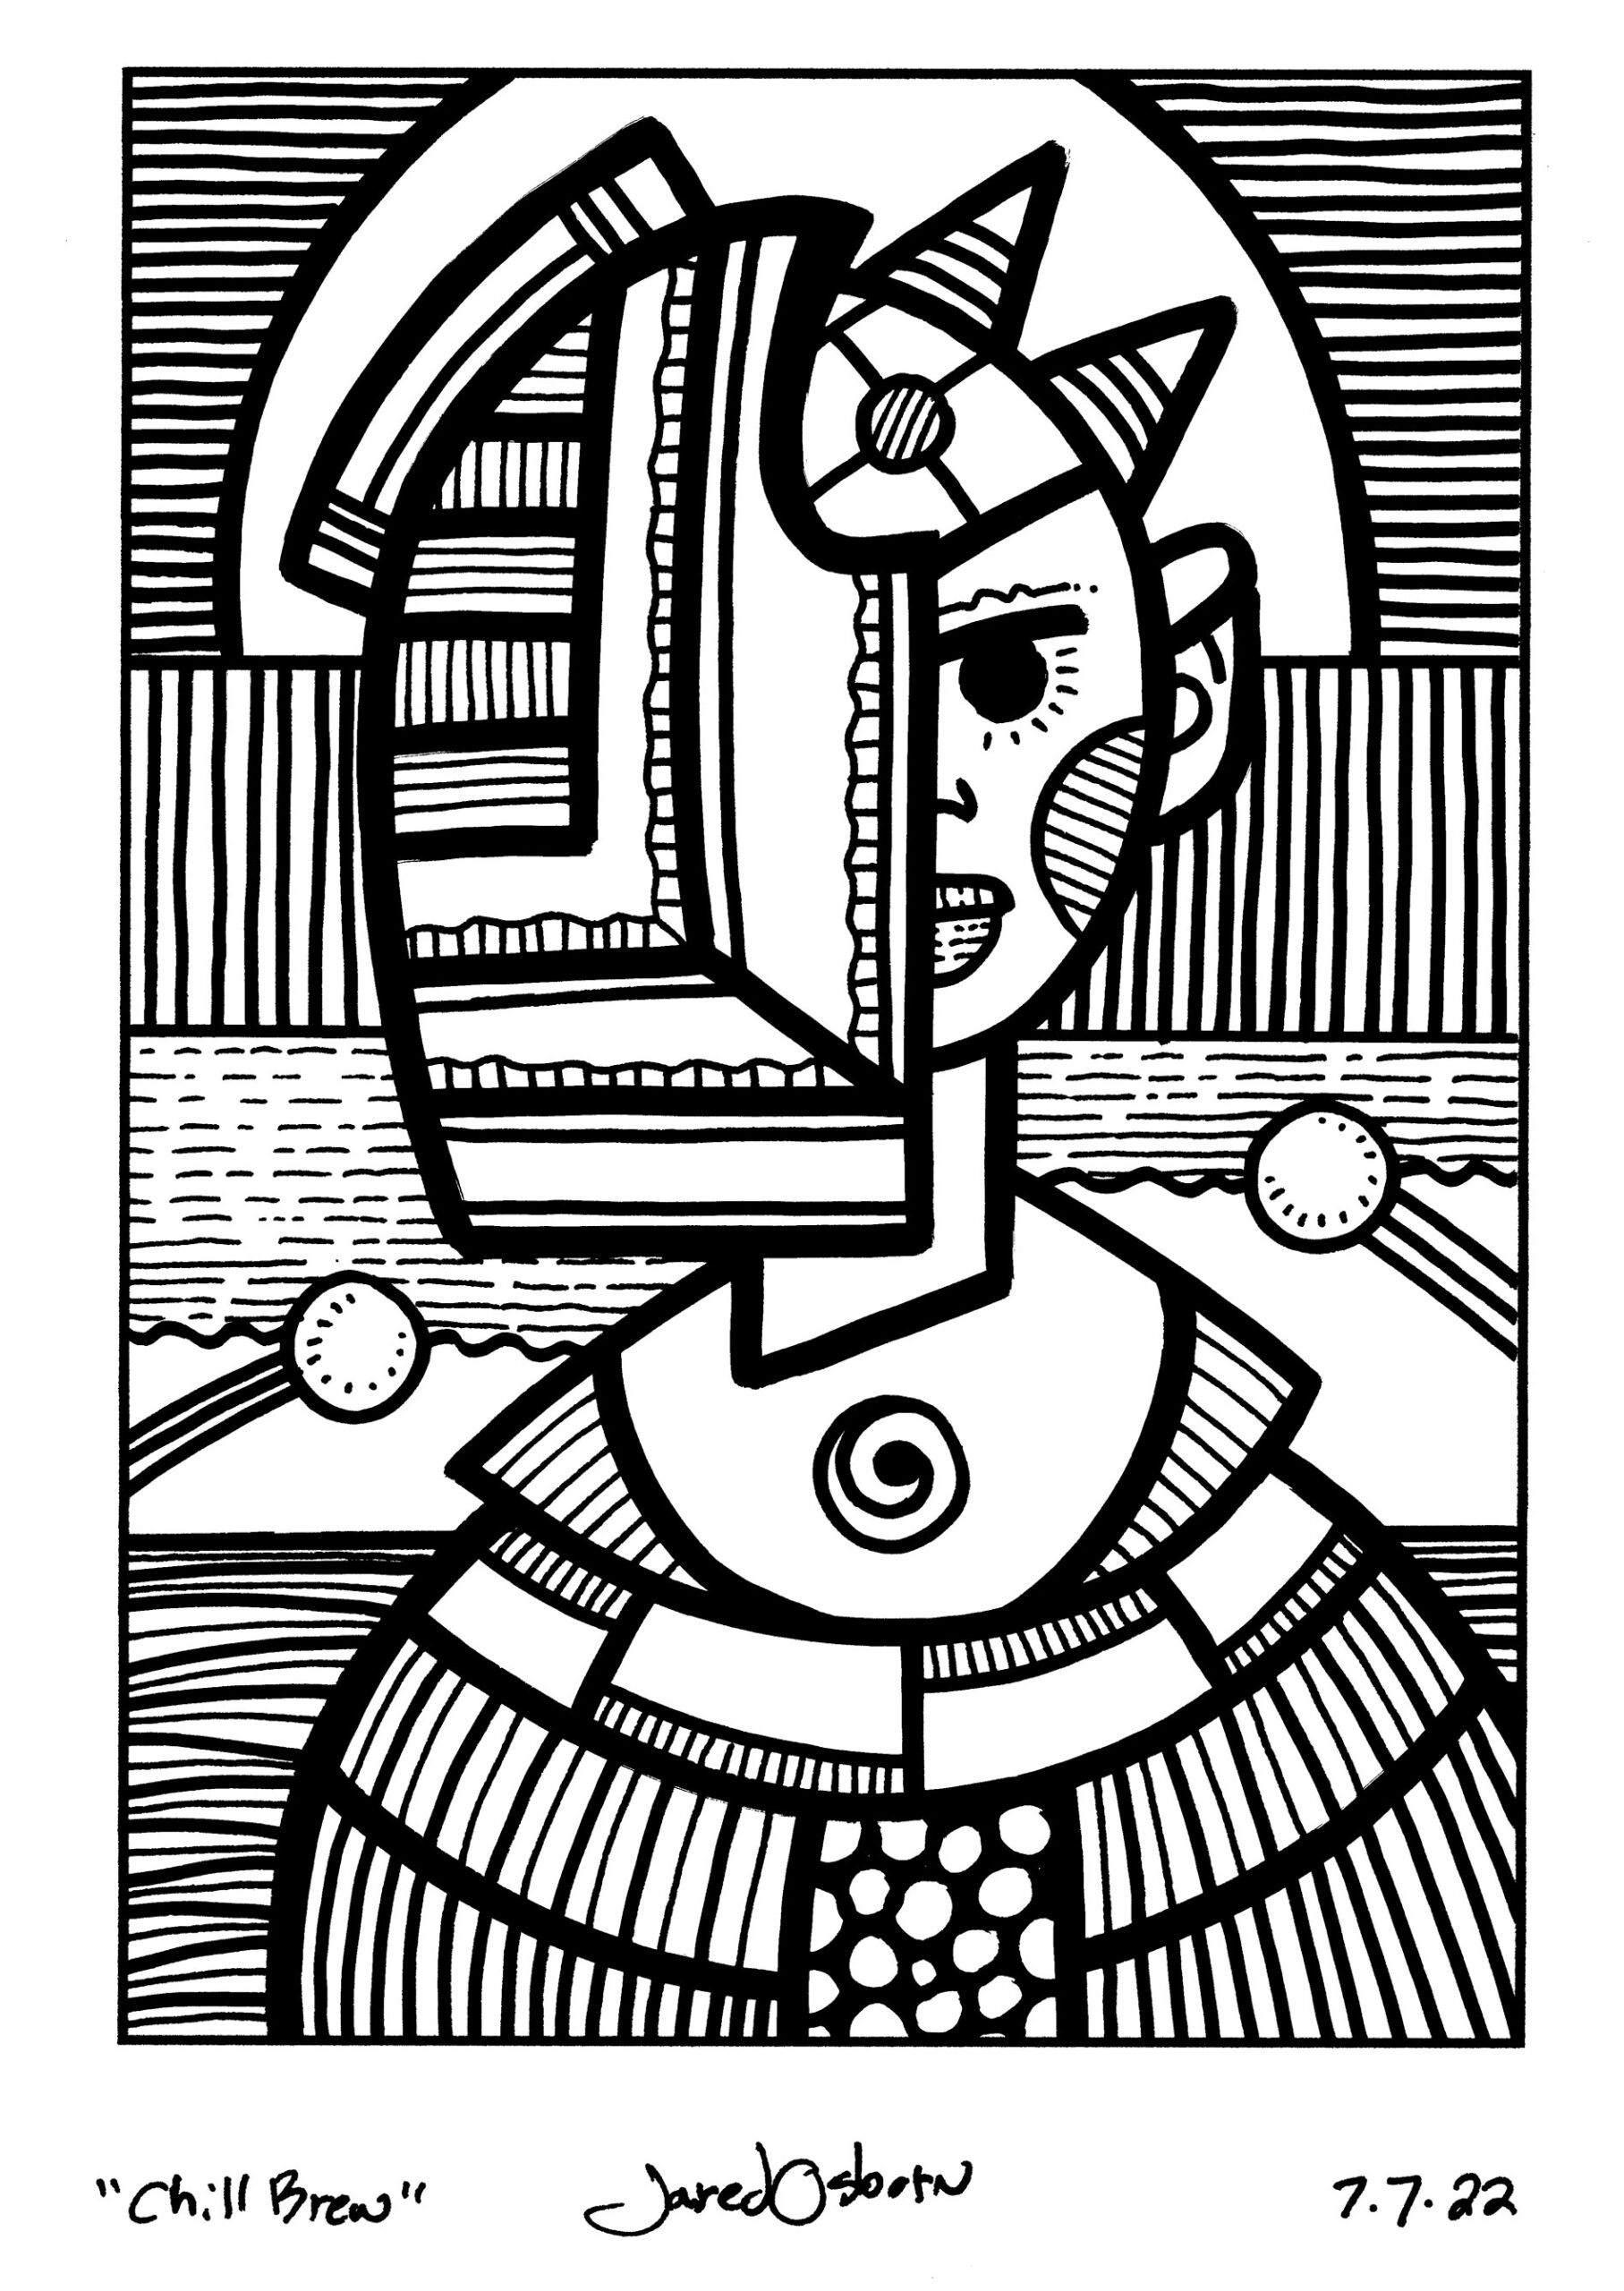
I originally developed this technique to make some quick 6×9 inch drawings. I’d go through one of my inkbook sketchbooks, find some thumbnail drawings that I liked, and then print them out in blue line on some 6×9 inch sheet of Bristol board. Next, without even penciling anything, I’d go right into drawing over the blue line with the markers.
I wasn’t drawing anything particularly realistic with these drawings. They were all my dream-like images that I make in my inkbooks. So I was mixing up how I was thinking about the ink drawings by imagining some parts as “Real” and other parts as graphic design. In practice that meant using a thicker marker to outline the foreground stuff in the drawing while using a thinner marker to outline the background stuff.
I usually started with the middle marker but I often switched between them. A little thick, a little thin, a little medium, and then maybe back to thick. I didn’t really have a set method. I’d go back and fourth until I felt the need for a change in markers. Often I’d use the thin marker at the end to add some small elements to the drawing.
I’ve made a lot of drawings that way over the last five years or so. It’s a pretty fun method that’s all about me acting and reacting to the lines and marks I put on the paper to build up the image from the thumbnail that I made previously.
I also make short Instagram videos of these drawings. I like a clean border of white around my drawings so before I start making them I put tape on the edges of the paper. That way I don’t have to stop the pen when I get to the border. I can keep moving and draw right over the tape. Otherwise I can get hesitation in my line as I’m nearing the thin black border I have on the outside of the drawing before it reached the white border.
The videos I make are actually of me pulling the tape off the paper and leaving clean borders behind. I found pulling the tape and revealing the border to be a small cathartic and satisfying experience. I propped up my iPad on a box above my drawing and recorded the tape pull. After I posted it on Instagram a bunch of other people commented that they found it satisfying too. I haven’t posted one in a while but I will again.
Two weeks ago I wrote about the Gatsby faces and they are another bunch of drawings that I making with my three pen technique except I’m doing them a little differently. It starts with the fact that I swapped out one of the pens. I upped the size on the smallest pen. Instead of the LePen I’ve been using a Micron12. It says on the barrel of the line that it makes a .7mm line. The tip of the pen is about twice the width of the LePen.
I decided to go bigger with the pen size because I want these Gatsby drawings to eventually see print and I thought a bolder stroke to the drawing was needed. The original drawings are 6×9 inches but they’ll probably be smaller than that when they’re printed. I didn’t think the tinyer line would print well. So a different three pen technique it is!
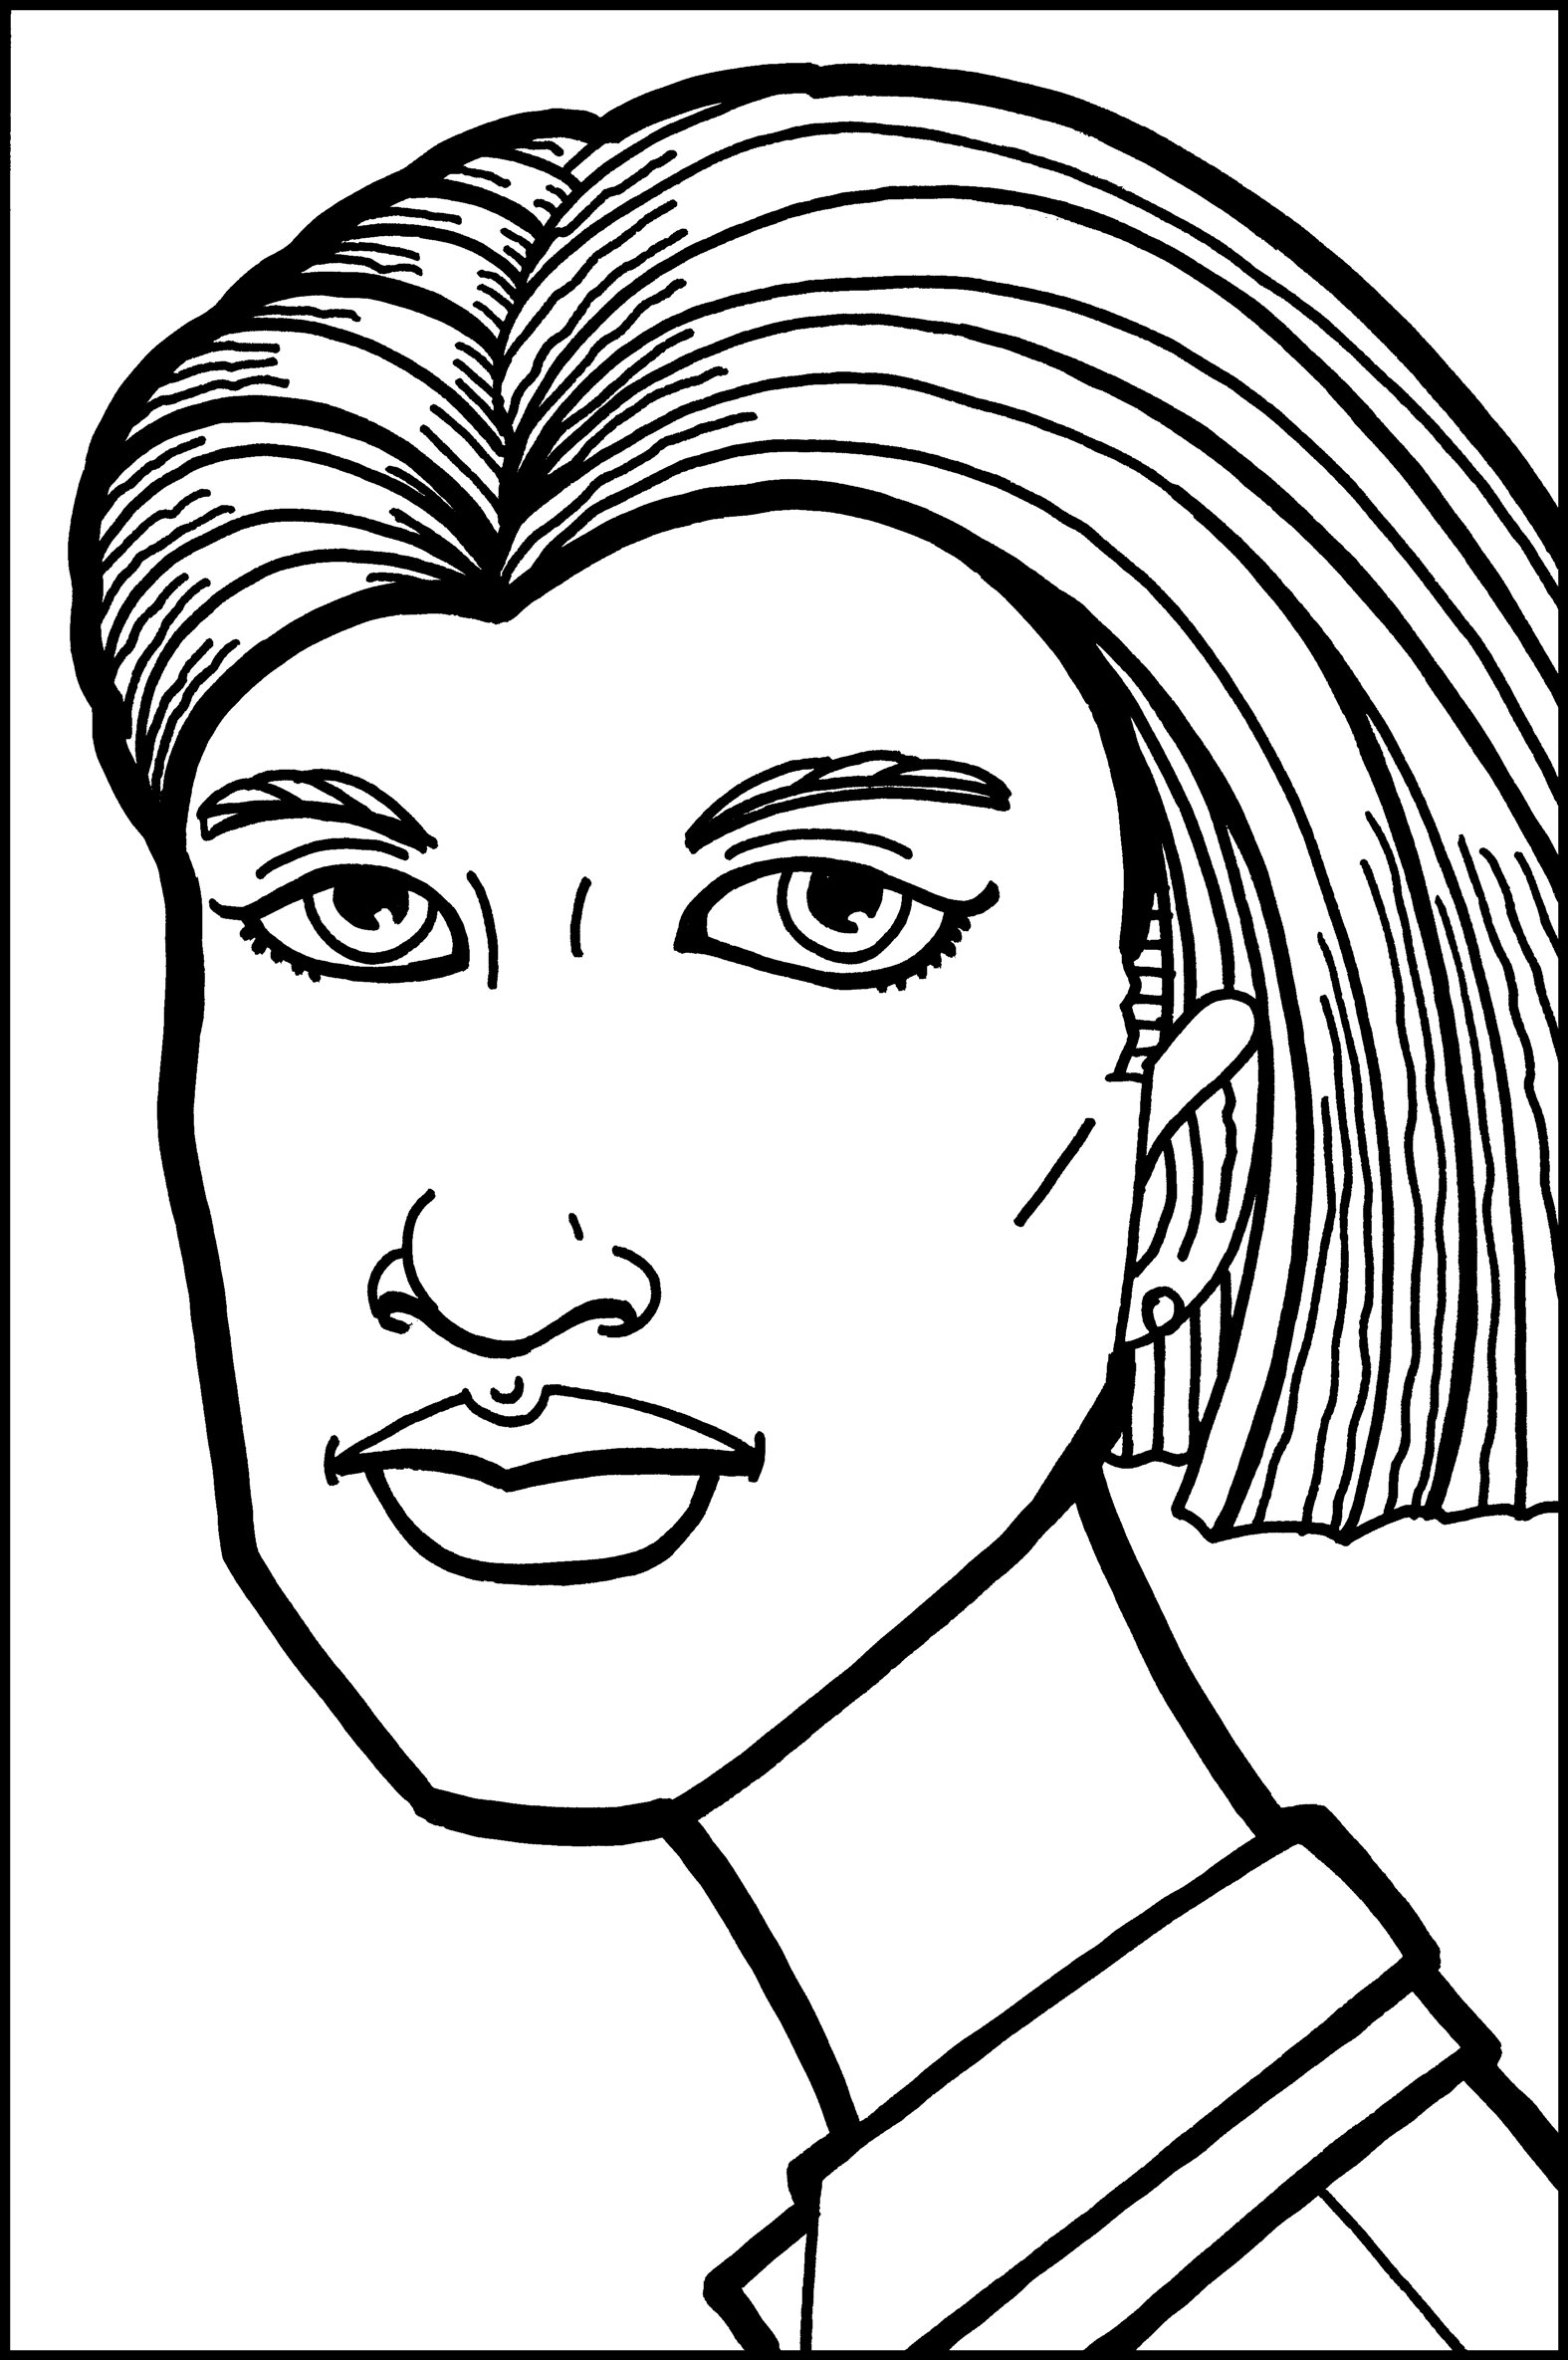
With the Gatsby faces I’m making a lot of them. Around a hundred and twenty of them. I’ve finished about sixty of them as of this writing so I’ve got a good grasp on what I’m doing to draw them. Unlike the previous 6×9 inch drawings I make a pencil drawing of a face to start the Gatsby faces. It’s more of a sketch than a drawing but it gives me the guidance that I need.
After the sketch is done I use the Micron12 as my first drawing tool. It’s got a hard tip and doesn’t have any line weight variation when I draw with it. So I do the whole drawing as a single line weight drawing. Usually I start with the eyes, then I move to the nose and mouth, third I draw in the jawline. After that I do the hair, neck and collar, and ears in various orders. I mix it up.
When I’m done with the single weight drawing I erase all the pencil lines.
Once that is done I grab the thick marker and make some of the lines thicker. Usually the outlines of the piece. Sometimes I use the thick marker on the jawline but not always. Sometimes the character is wearing a hat so I might thicken the underside of the brim. Mostly the big pen is a graphic design tool that might add some realism.
It’s when I grab the third pen, the medium one, that I add some realism. It’s not a lot of realism. The Sign Pen has a little bit of give to the tip so I can make thinner and thicker strokes with it. I like to thicken the lines that make up the underside of the face to give the face a little more depth.
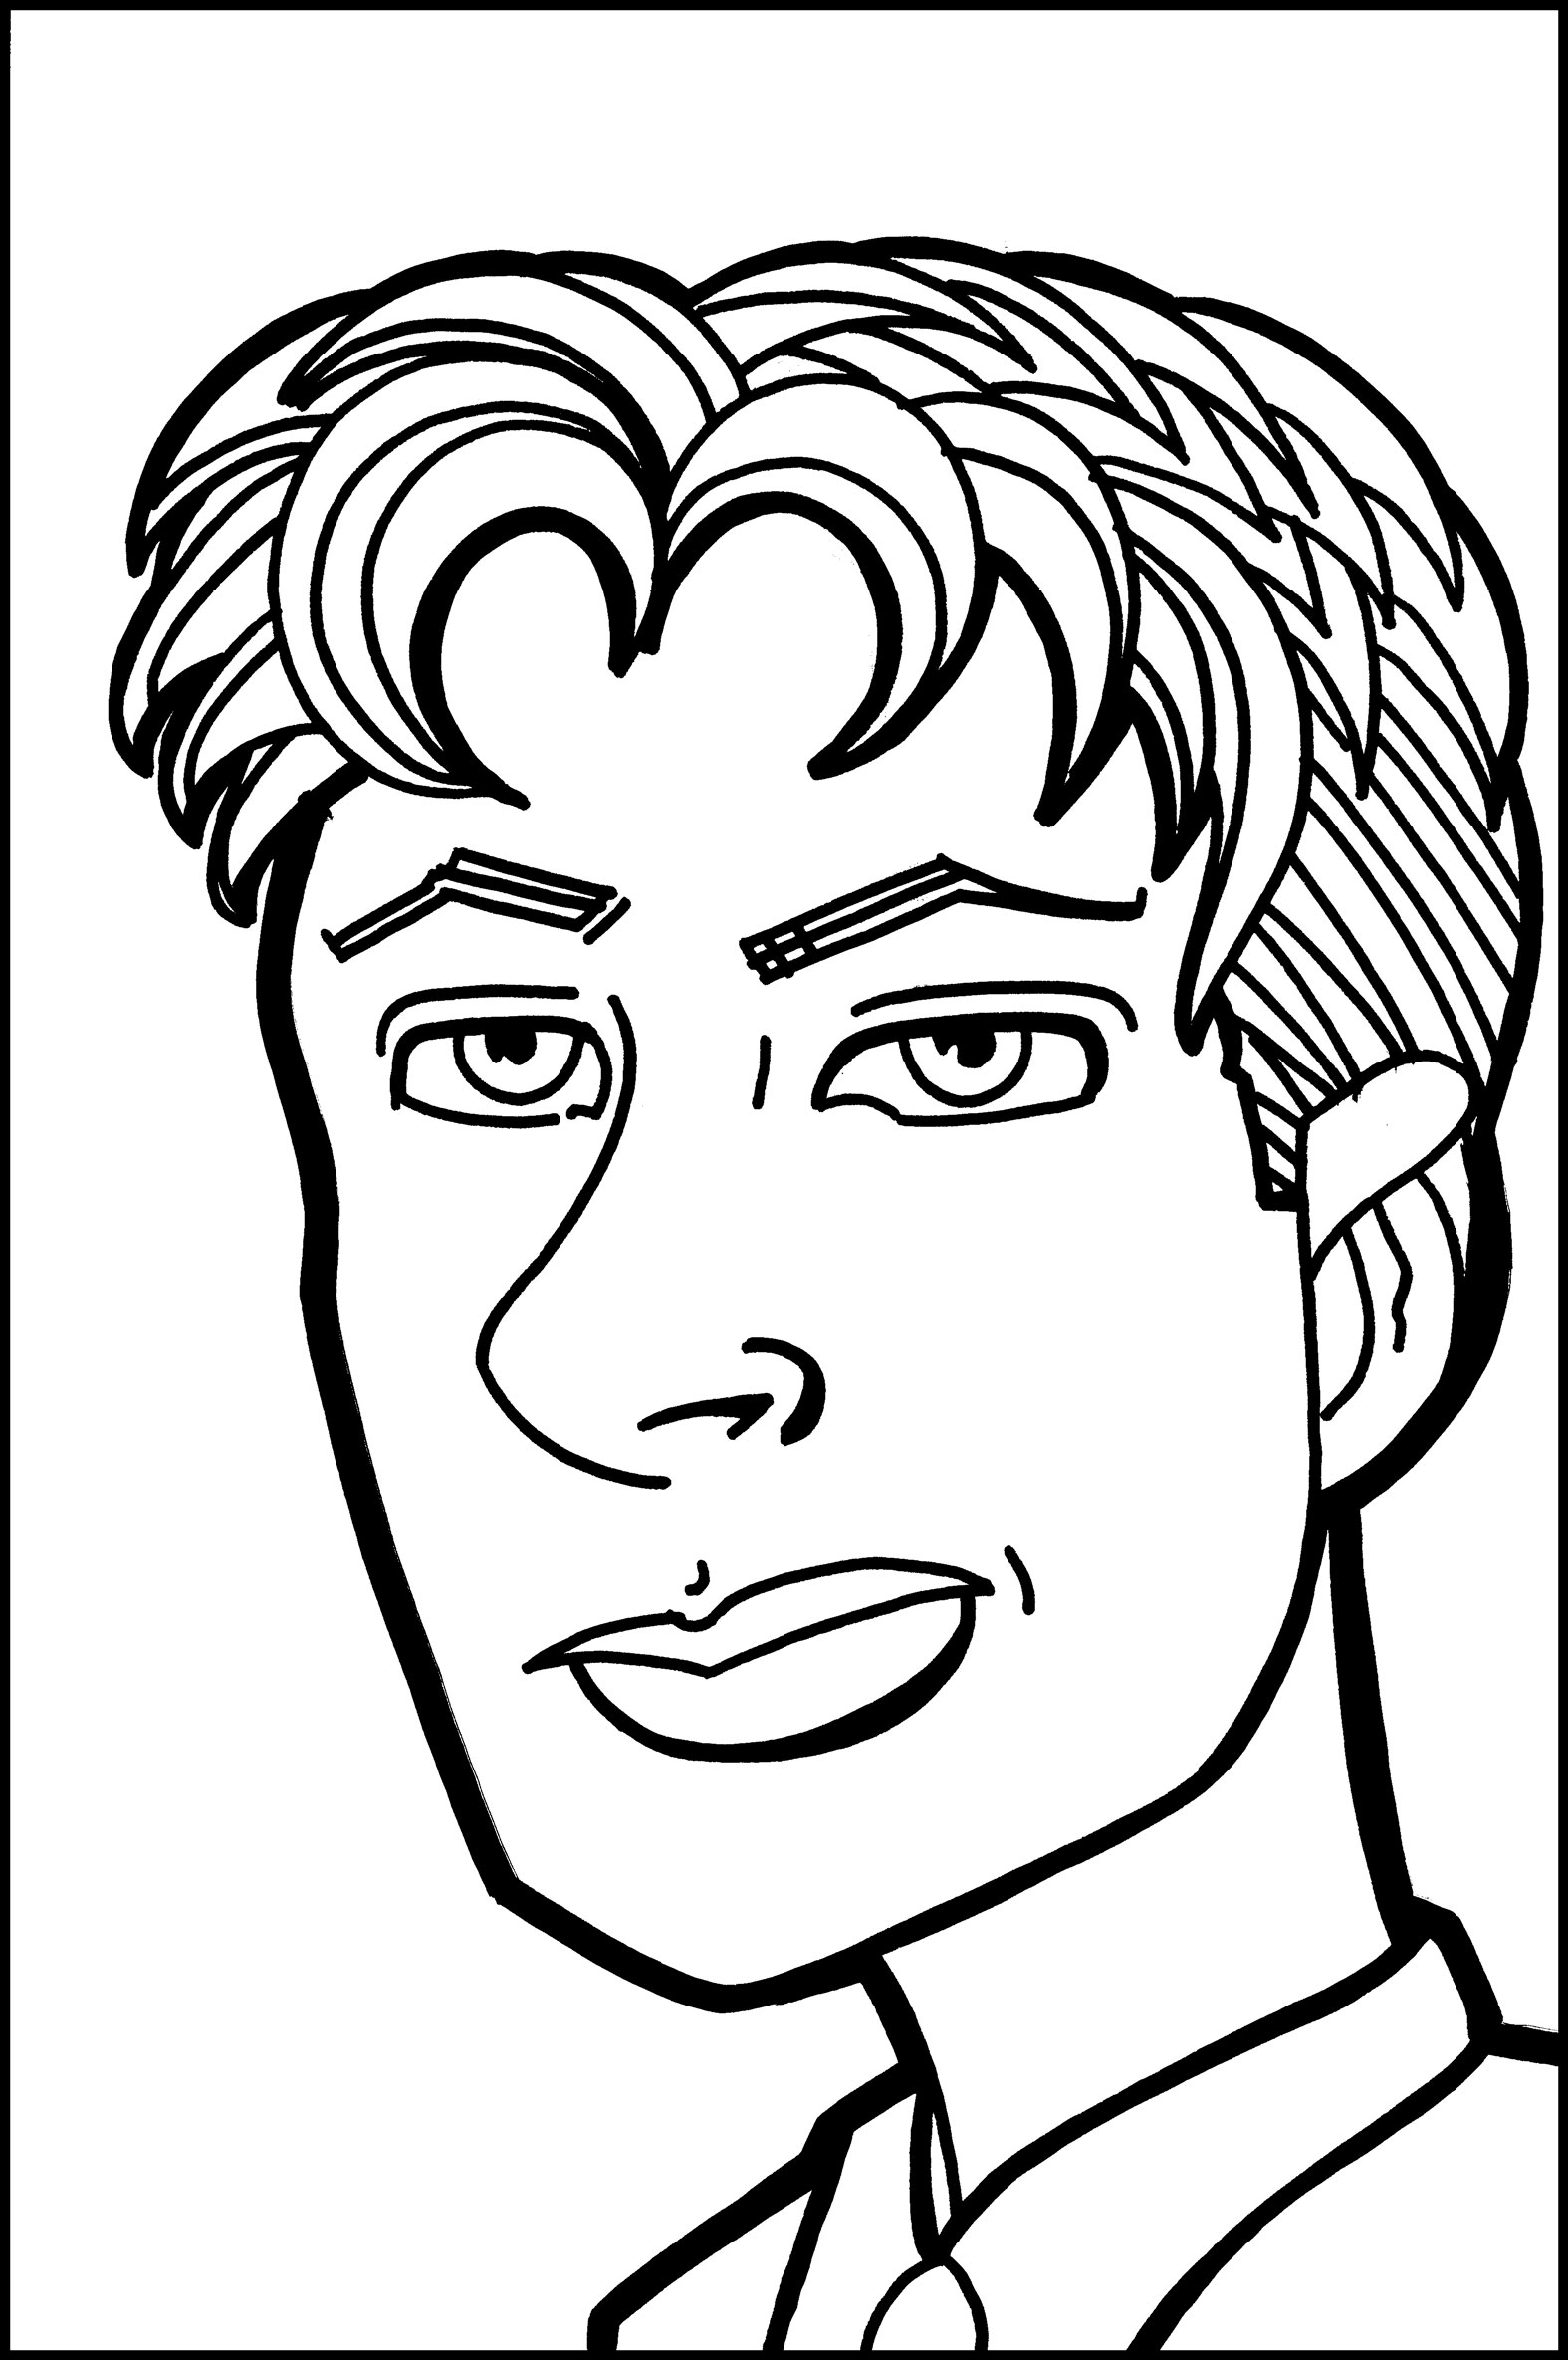
The chin gets a little thicker to show a shadow and the same thing happens with the nose and lips. I thicken the bottom of those to indicate a shadow and therefor a little bit of form. I also thicken some of the lines of the hair. Sometimes to make shadows and sometimes because it’s good for the graphic design. The underside of the bangs of a haircut usually gets a shadow. Hair is tricky though. You don’t want too many thick lines in hair. It’s supposed to be light and wispy.
This is the method I usually use but there have been times I’ve gotten bored with it and changed it up. That is I’ve changed the order I used the pens in. Sometimes I grab the big pen and put all the lines that need to be thick in first. I’ll do a few drawings with the big pen and then switch over to the smallest one. Since I’m making a hundred and twenty of these faces mixing things up keeps me from burning out.
It’s good to mix things up.