This week I decided that I wanted to turn as much of my art into prints as possible. It’s going to take months and months to do but I want some ready to go in case I need them. Some things are easy to turn into prints and I have plenty of things that are already prints. But still they all need to be set up properly at the same size.
Though I want to print them all out as 8.5×11 inches a lot of my stuff is at 11×17 inches. So my first step is, rather than shrink them down, I want to set them up at the larger size and then shrink them down. That way they’ll be set up at 11×17 inches just in case I ever need them to be.
Photoshop Actions make the process go a lot faster so it’s good to learn how to use them. They are also called macros and actions record what you are doing and then you can play back those steps on a new digital file.
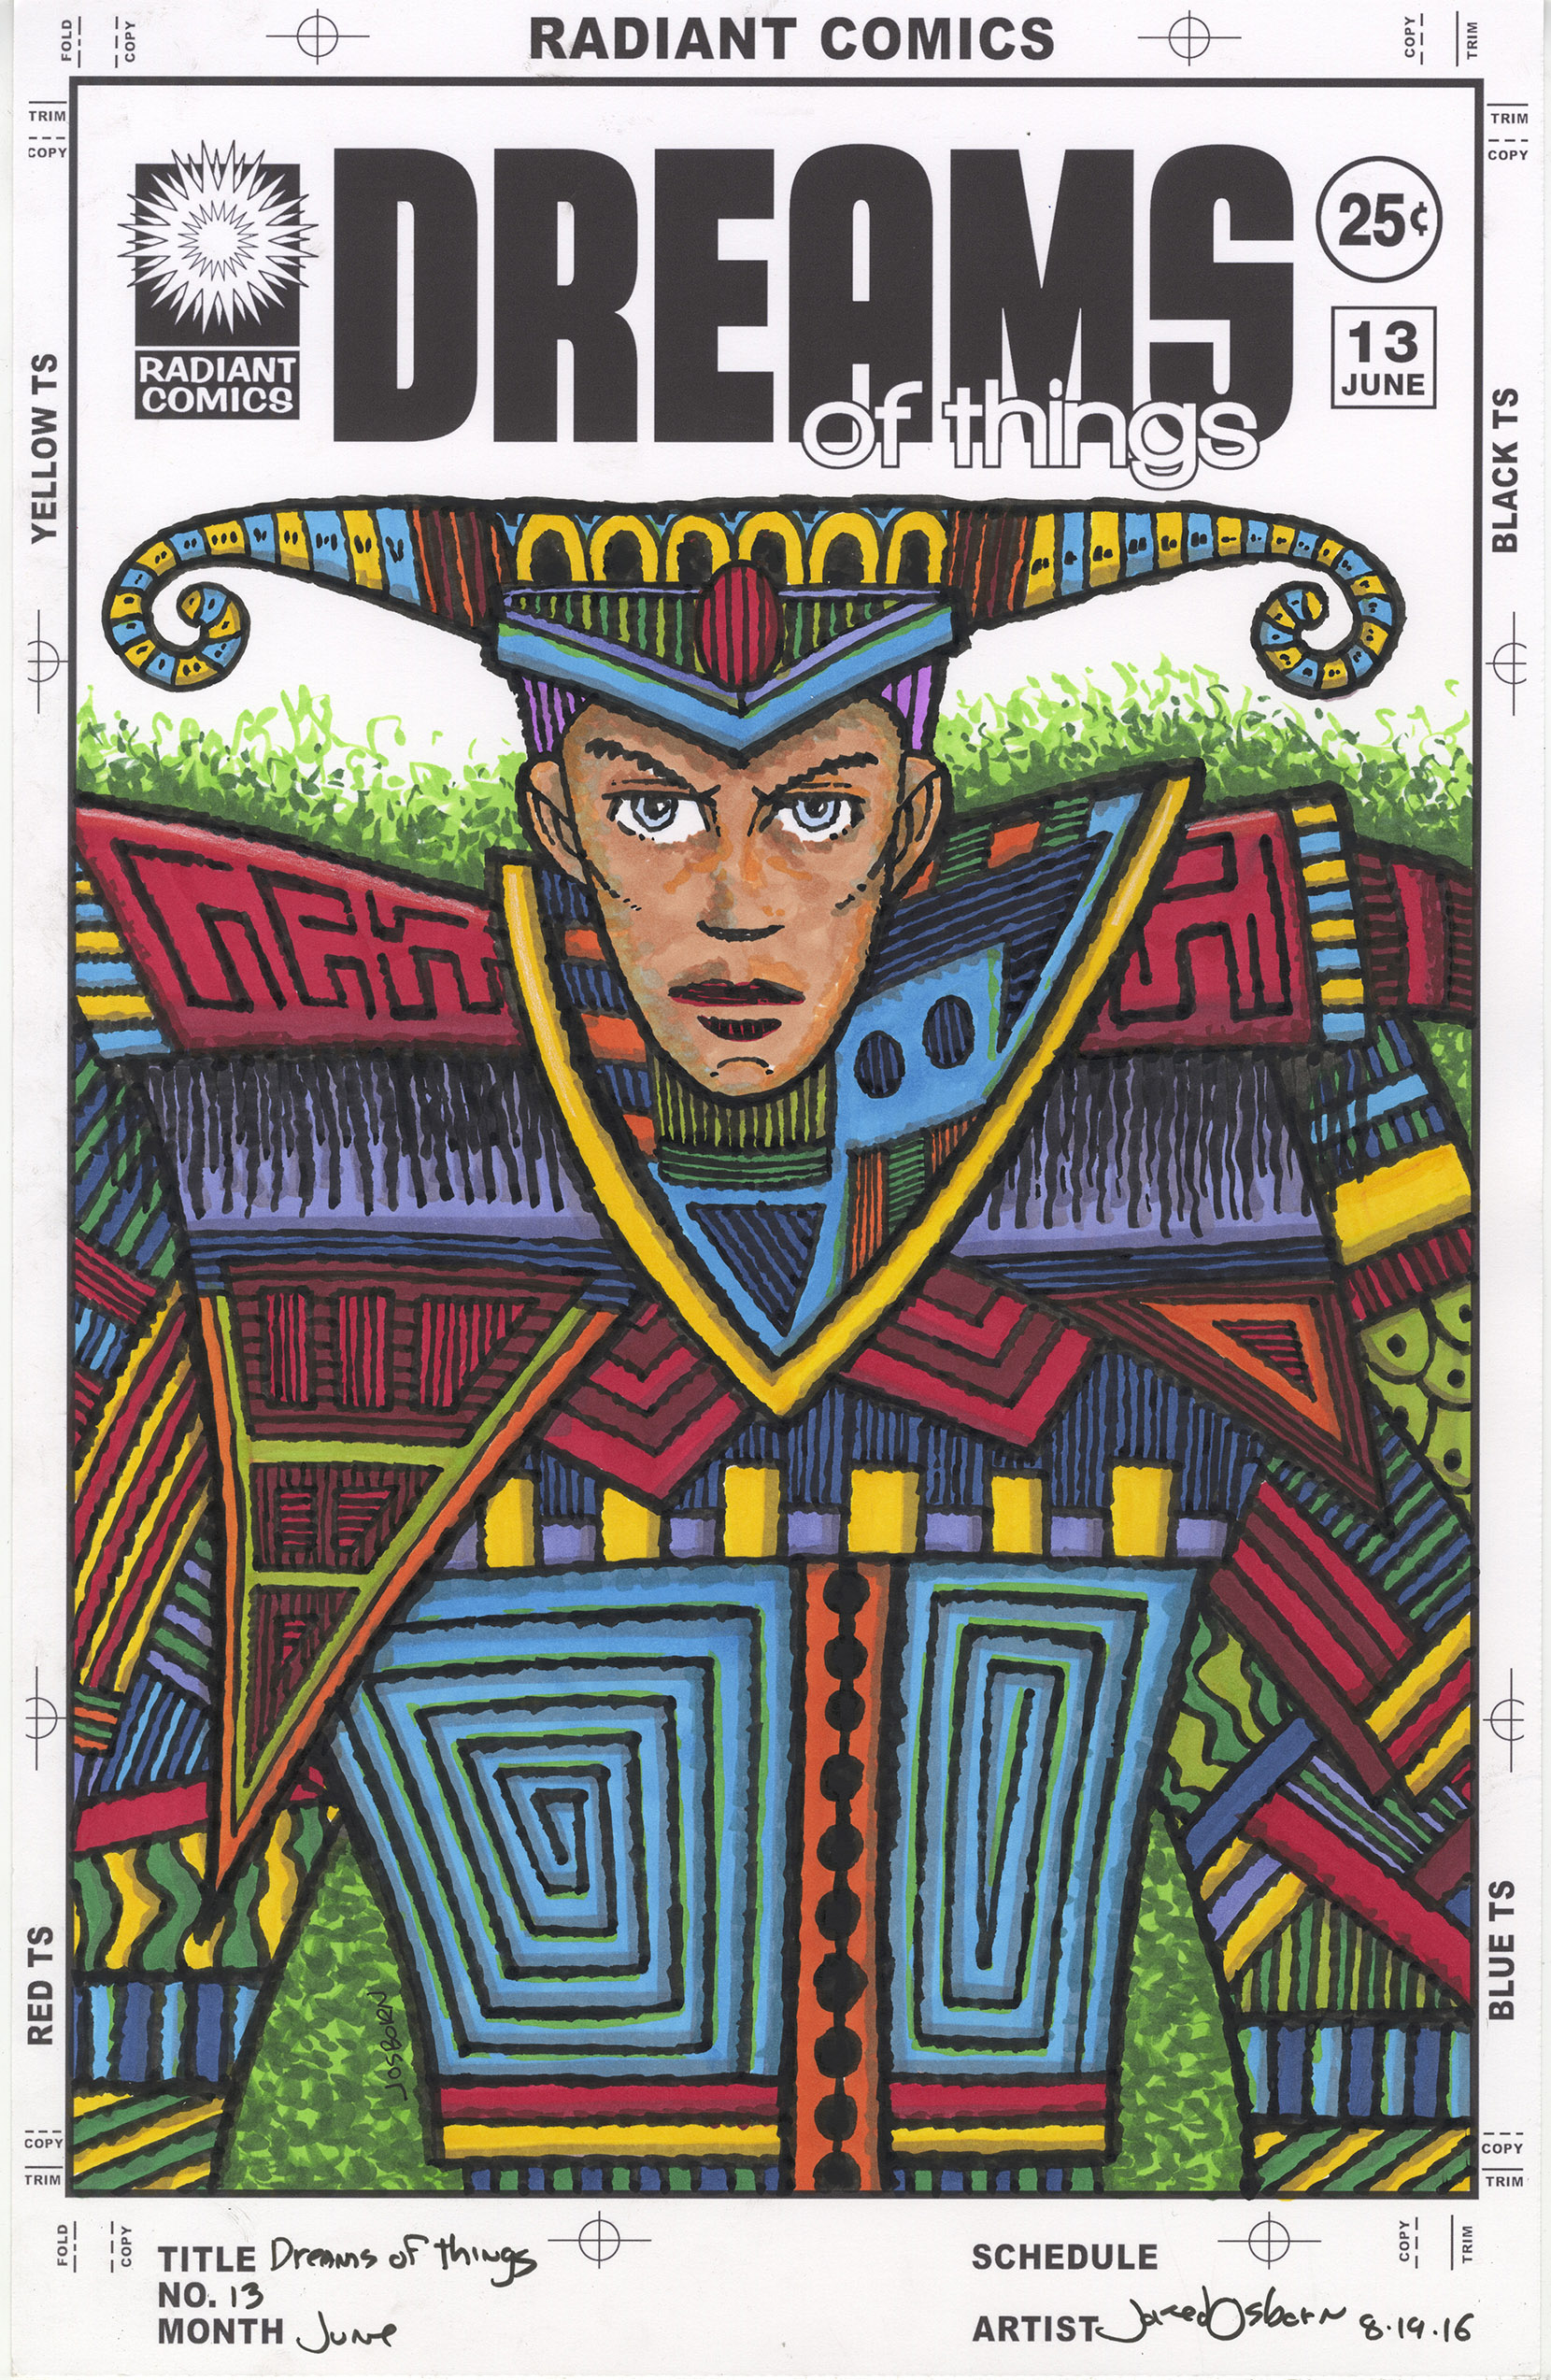
One of the things I am making prints of are my “Covers to comic books that don’t exist” series. Specifically I’m starting with my “Dreams of Things” cover series in which I have finished 230 covers. That’s a lot of art to set up.
The way I make the “Dreams of Things” covers is to print out the logos and trade dress on a piece of Bristol board and then draw the cover with black India ink and color it with markers. I like the logos to be printed on the board with the art because I think that makes the original look cool. But that doesn’t make a print look cool.
When I scan in a finished “Dreams of Things” cover and then print it out the logo looks a little grey and fuzzy. The original looks fine but the print not so much. So my solution to this, that I figured out many years ago, is to replace the logo with a new clean digital version pasted right over the printed out and scanned in one. The logo replacement method works well but I only did that to a handful of covers back in the day. I have most of the 230 covers to do if I want them as prints.
The steps went like this. I have the logos set up in a template but I had to make the template a higher DPI. It was set up at 300 DPI for printing but the scans of the art are at 600 DPI. Rather than lower the DPI on the art I raised up the DPI on the logos. It’s always better to have more DPI than you need then to have less.
After the DPI was set I picked either the horizontal or vertical logo and copied it. Then I chose the document with the cover in it and pasted the logo in. I had to move it right over the fuzzy logo that was already there. It takes some fine tuning to get the new logo in the right place and cover the old logo perfectly.
I also ended up using a patch of white underneath the “Radiant Comics” logo. The part that has the rays of the sun. The points of those little triangles that make up the rays were fuzzy and weren’t getting covered up by the new logo very well. They’re really small and I didn’t know if anyone but me would ever notice but it was easy enough to cover them with a white patch and make myself feel better.
After the patch was in I had to set up an adjustment layer for the art itself. I wanted to adjust the “Curves” on the art. Since the file was a scan of a pice of paper I could see the color of the paper which was an off white. I wanted it to be white. So I turned the bottom 10% of color into pure white. I also wanted the black ink to be a little darker. It scanned in grayish. So I went into just the black channel and darkened that making the blacks 100% black.
The final step was to type the issue number and month over again since the scanned ones were especially fuzzy.
All of this took about ten minutes a cover. Not the longest time in the world but I had a lot of covers to do. So I decided to sit down and make an action to do as much of that as I could. It took about half an hour to get the action right but in the end it cut my time down to about three minutes a cover. That’s much better. Actions are so good at cutting down the time of repetitive tasks.
I still have a lot of other things I want to set up as prints. I set up one of my “Big Ink” drawings so far but I have a lot of them to go. Plus I’m not even sure if the scans for those are all ready. I had to scan those in four different pieces and I’m not sure if I assembled all those pieces into one file per drawing. I know I put some of them together but I think I have quite a few still to be assembled.
I also want to see if I can make prints out of my paintings. They are too big to scan in but in the past I’ve photographed them to make prints out of but it’s been a long time since I did anything like that. I think I took photos of my paintings as I finished them but it’s been a while and I can’t quite remember if I did. We’ll see.
I also have about one hundred 11×17 prints to make 8.5×11 prints out of. Those are mostly good to go but I still have to set them up in this format. I have a lot of work in front of me.