Great Gatsby Logo Sketch
After about two years and two months (it’s February 25, 2024 as I write this) I finally have a printed proof of the illustrated version to “The Great Gatsby” that I’ve been working on. I had to print it out myself and that was quite an adventure. Just three weeks ago I wrote about having to buy a new printer but then I had to return that printer and get another one because that first one was a lemon.
The new printer had printed just fine for about two weeks. I printed all my usual stuff and had no problems. But then I went to print a proof of “Gatsby” and the printer stopped working after printing a bunch of pages.
In my first attempt to print a proof I decided to print it nearly full size. I have the book set up to be a large 9×12 inch book so I wanted big printouts. I decided to print two pages across on 11×17 inch paper. This made the individual pages somewhere around 8×10 inches.
The easiest way to print a book on a home inket printer is to use Adobe Acrobat and its “Booklet” function. When printing a book you have to print on both side of the paper and depending on how many pages you are printing any individual 11×17 inch piece of paper has four pages on it but those four pages aren’t in a row. Since the pages get folded and nestled into one and other they are printed non-consecutively. The “Booklet” setting takes care of all that.
My printer also doesn’t print on both sides of the paper. The “Booklet” function takes care of that too. I use the “Print Fronts Only” feature and then when it’s done printing the fronts I flip the paper over, put it back in the paper feeder, and use the “Print Backs Only” feature. By the way you need double sided inkjet paper if you want to print this way.
I got about 32 pages out of 176 done before I started to have a problem. That problem was that the paper feeder on the printer stopped working. It would whir and click but a sheet of paper would never be fed into the printer. For two hours I tried everything I could to get it to feed the paper properly but it never would.
It’s funny how I sometimes blame myself when equipment goes bad. As I was trying to get the printer to work I was wondering what I was doing wrong. Despite the fact that I had been using this same model printer for eight years before I got this one and never had this problem it still took me a couple of hours to reach the conclusion that I was doing nothing wrong and the printer had to be returned.
The next day, a Wednesday, I had the printer on its way back. Then on Thursday I ordered a new one that arrived on Friday and was set up on Saturday. That’s a pretty fast turnaround but still I was low level anxious because I wanted to finish printing my proof.
The first proof I tried to print was the 11×17 inch one. Plus it was on double sided matte photo paper. That’s quality paper and it takes a while to print each page. I liked the way it looked but after my printer broke I decided that the size and paper quality was too good for a first proof. Plus it was slow printing.
After I got the new printer I switches over to 8.5×11 inch plain paper. With two pages across that meant that each page was only about 5×7 inches. That’s about the size of a small paperback and not the art book that I’ve been making but for a first proof it will do.
The quality of printing on the illustrations won’t be that good but that was okay. I printed out each illustration as I finished them and they were printed at full size so I’m not worried about proofing their quality. I have already done that. This first proof was all about the book design and seeing the project as a book.
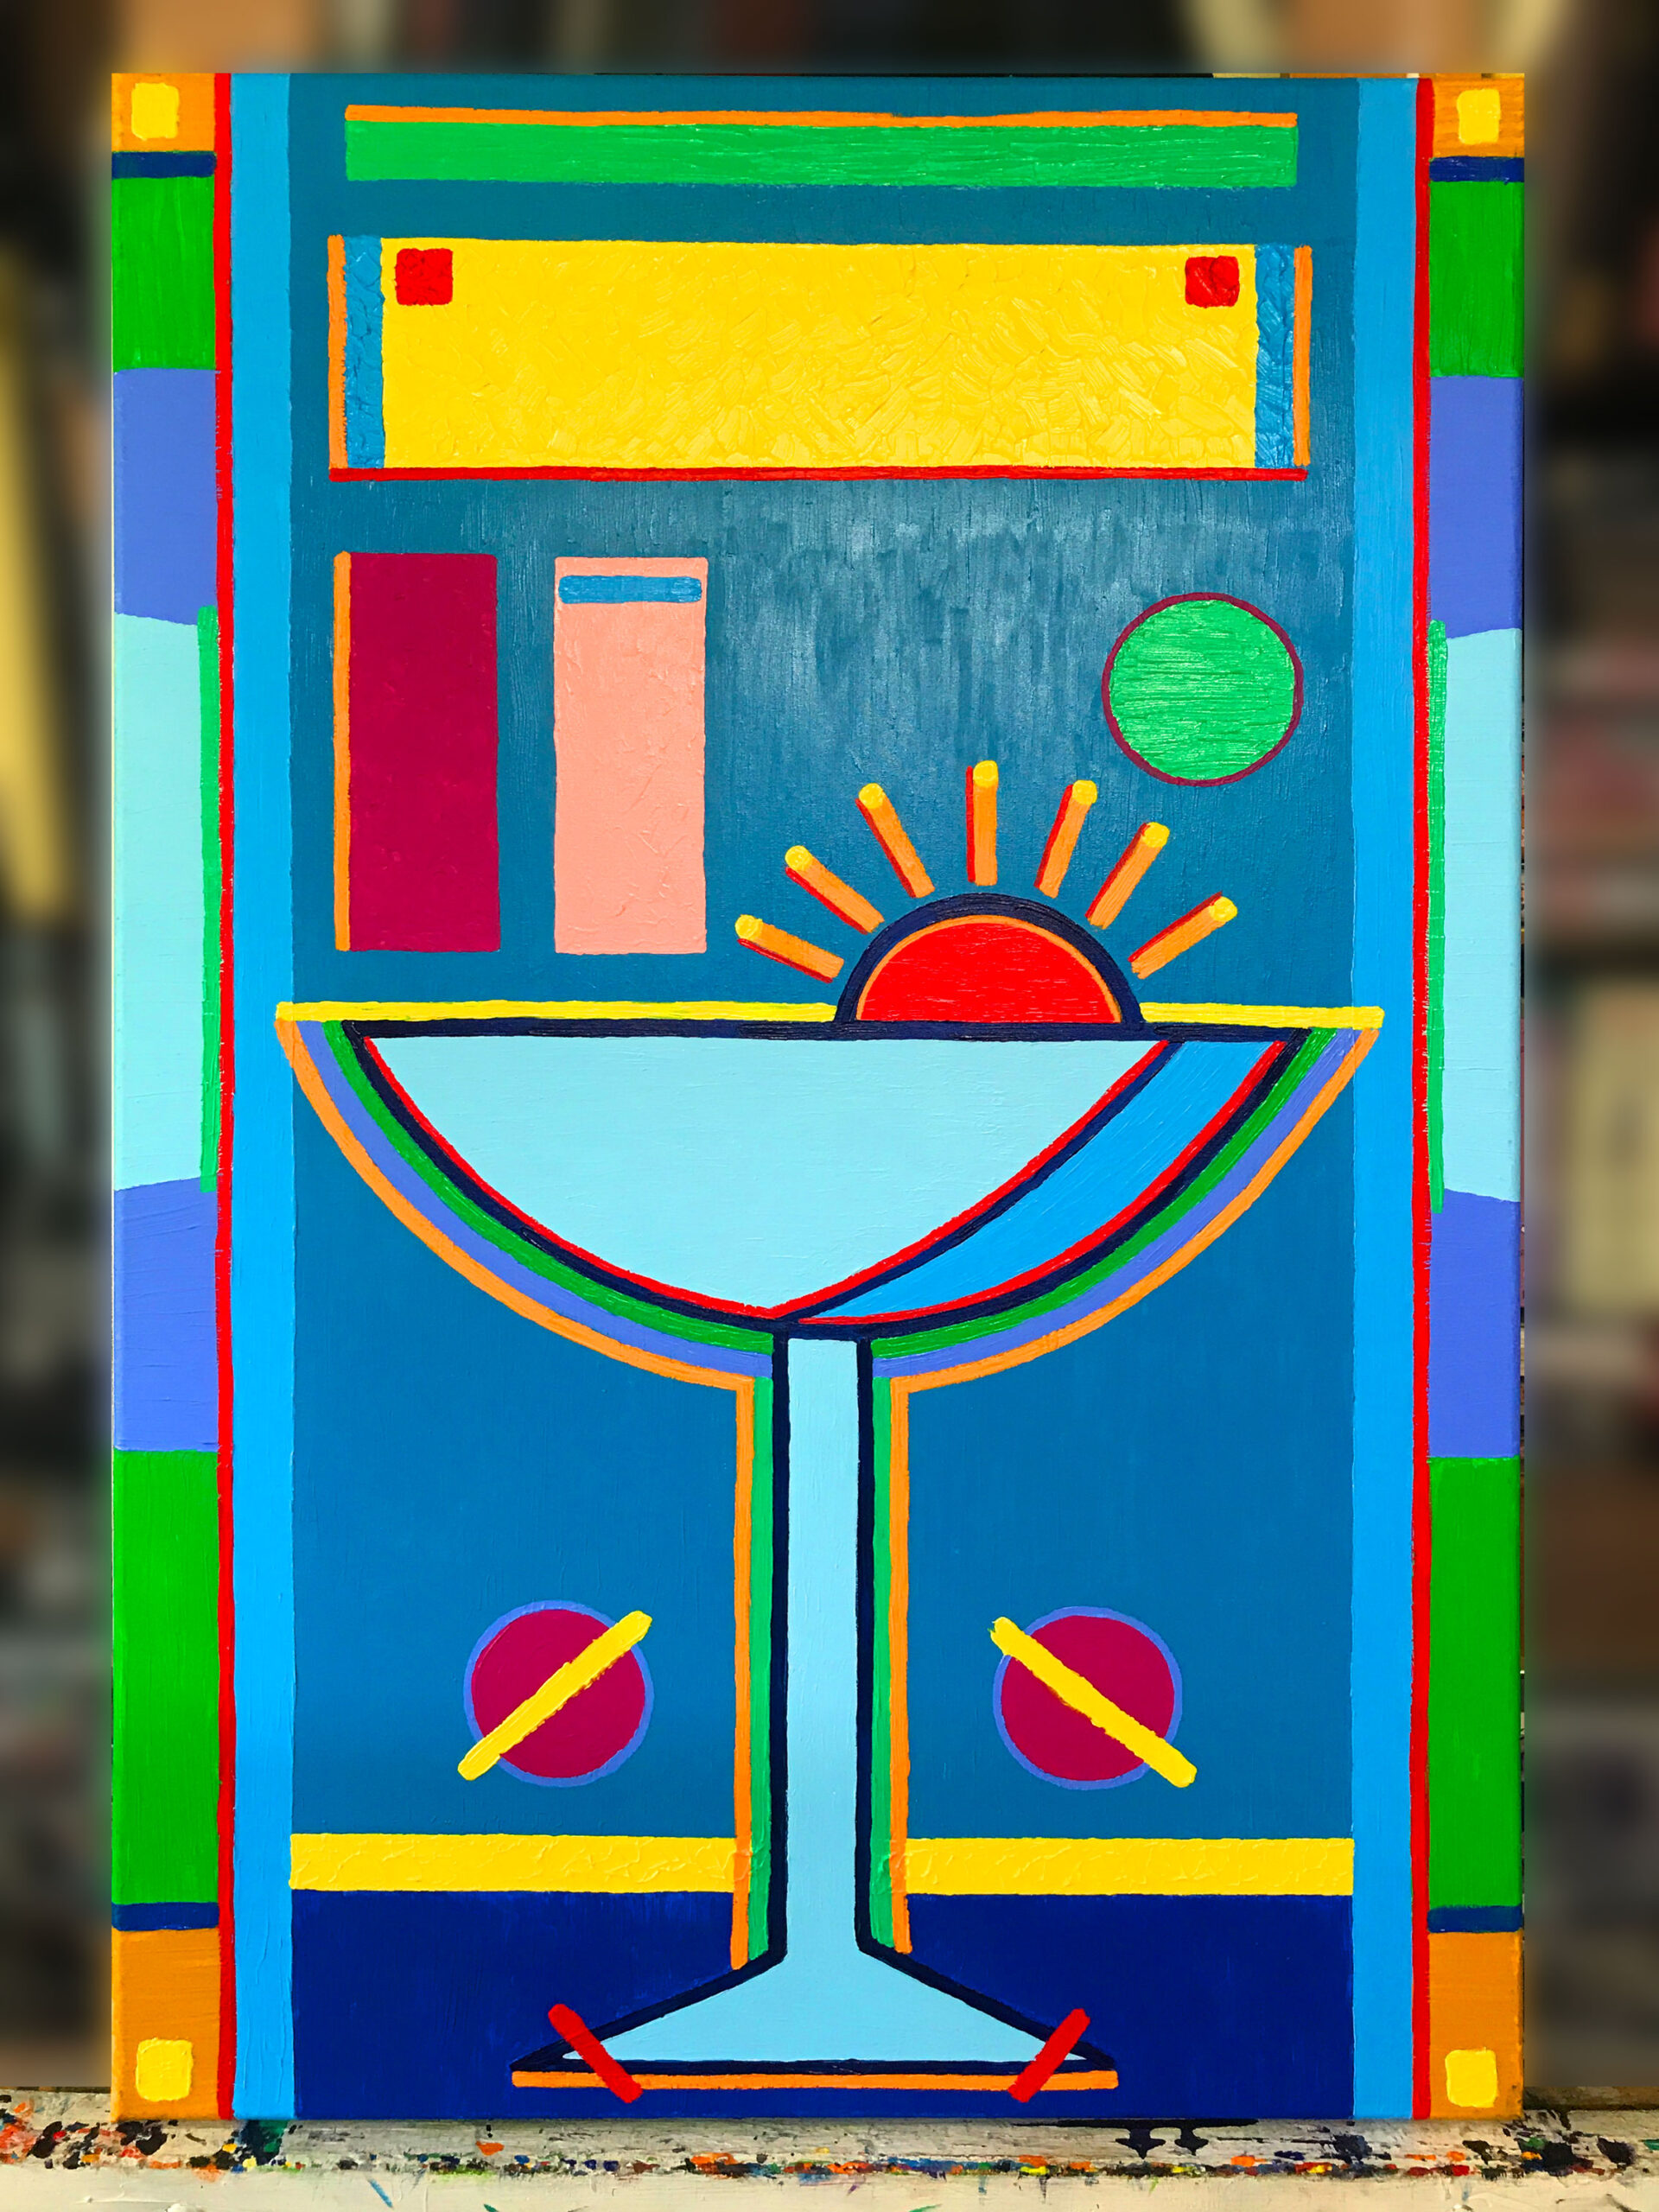
Photo of Gatsby Painting
I printed the book in 16 page chunks. That made things manageable. First I made a PDF of the whole book together and then I cut those PDFs up into sixteen page sections. There was no automatic was to do this so I cut and pasted every sixteen pages into a new PDF. A single sheet of paper would have two pages on the front and two on the back so it would take four sheets of paper to make one sixteen page section.
The proofs print a lot faster at this size and quality too. A single side of photo quality 11×17 inch paper would take a couple of minutes to print. That same side on 8.5×11 inch plain paper would take twenty seconds to print. The quality was less but that was okay for now.
After I printed one of the sixteen page sections I’d fold the paper in half, fit them together like a magazine, and then staple them in the middle. I still have my long reach stabler from my ‘zine days in the 1990s so the stapling was easy.
After it was all printed and stapled the sections together were about an inch thick. I decided I wanted to bind them with some string. I first clipped them together with some big alligator paper clips and then got out my electric drill. With the paper held firmly in place I drilled four holes on the left spine. String went into those holes and was tied off. I’m not much of a book binder but that method worked well for this proof.
I still have to look through the proof and examine it for mistakes. I already know there are a bunch of things that need to be fixed but I haven’t wanted to face them just yet. I think I’ll just enjoy seeing it in book form for a little while. Then I’ll get back to work on it. Printing this proof has been a journey.