Among the things I’ve been working on lately have been 6×9 inch ink drawings. I’ve been having at them without even the benefit of any pencil drawings first. I’ve been looking though my inkbook sketchbooks for a thumbnail image that I like, blowing it up digitally, printing the thumbnail out in blue line on a 6×9 inch piece of paper, and then I draw with ink right over that blue line to create a finished drawing.
I got a bunch of them done over the months of December and January and then I got it in my head that I wanted to make a mini-book out of them. I’d call it a mini-comic except they’re not really comics. There is no story or writing that goes with them. They’re pictures. The whole point of doing them was to be able to work out some images more quickly than I usually do and not to make comics.
If you remember earlier this winter I wrote that I started making and printing out black and white photos because I had an excess of black ink for my printer. Even with those photos I still had extra black ink and so decided I could print out some of my ink art since it was just made up of black lines. It seemed a natural.
I decided on a sixteen page book that was mini-comic size. That means a four pieces of 8.5×17 inch paper folded in half and stapled in the middle. Back in the 1990s I made mini-comics on a photocopier and had to make a paper “Master” of each page in order to photocopy it. This being the digital age instead of doing that I set up the comic digitally in Adobe InDesign. That’s a program specifically made for designing books, magazines, and other printed material so, though it took some time, it was easy to do.
Part of doing any kind of book is picking the paper you want to print it on. I checked my shelf to see what I had available and saw that I had some nice 47lb double sided matte paper to print on. It turned out to be a little too nice though. It seemed a little too thick for a small book. I had some plain paper too but that seemed a little too thin. I ended up putting together a prototype and the thicker paper worked well for the cover but the thinner paper was too thin for the interior. That and being plain paper it had no inkjet coating on it and so wouldn’t print art very well.
Searching for some new paper I jumped on the internet and found some Koala 120gms matte photo paper. It looked pretty good and after I ordered some and received it I found out it was indeed good paper. So now I had my magazine and art set up digitally, the paper for the cover, and the paper for the inside. I was ready to go.
I mentioned before that I made a prototype with the plain paper first. I do this because it can get a little tricky making your own mini-book. You have to make sure you print all the pieces in the correct order and on the correct pages so that when it folds over everything is in the right place. It’s best to do this with the cheaper plain paper.
What’s funny is that as I was putting this mini-book together I had no idea what the cover would be. I didn’t have a name, logo, or cover image for it and didn’t really want to take a lot of time to make them. This mini-book was all about me making a physical mini-book. I wanted to make something tactile. I had all the interior art laying around waiting to be made into something so that was a no-brainer but the cover stopped me in my tracks. I had nothing for it.
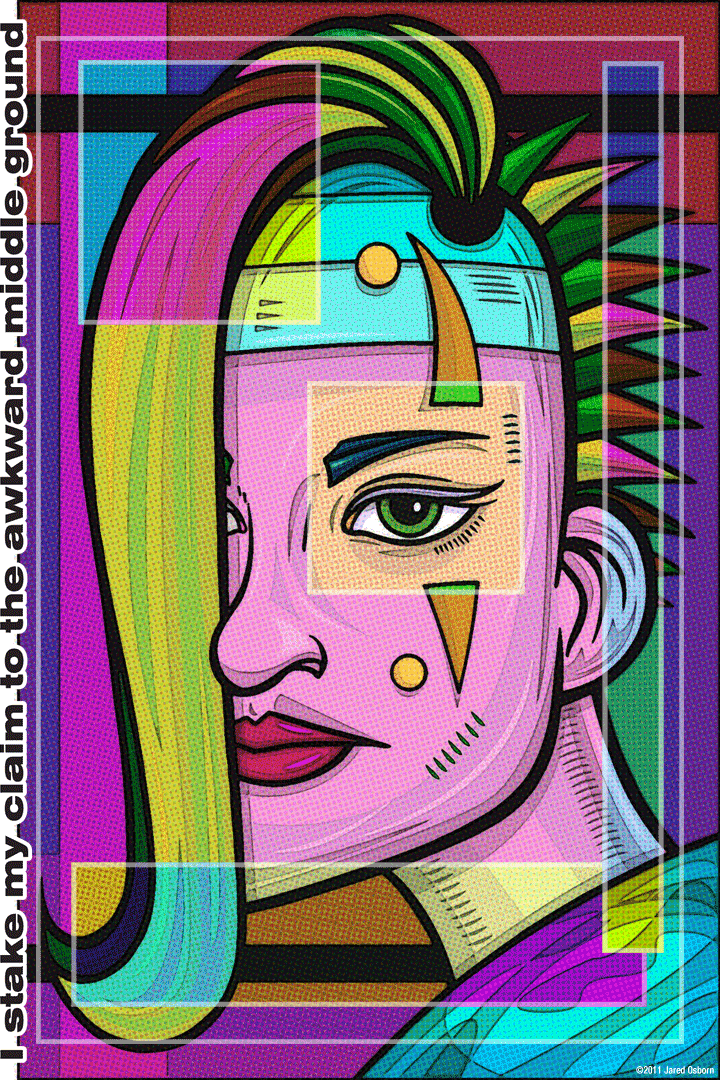
In the end I decided to go with my “Dreams of Things” logo. Why not? It was my fictional comic that I’ve drawn many covers for so I might as well make an mini art book out of it too. I used a face I already had drawn and never used for anything as the image for the cover. Covers 2-4 were also filled out with artwork other than the ink drawings I used in the body of the book. I have plenty of art finished so there was no need to work out a new piece for the cover if I didn’t want to.
After I had printed out all the pages I actually looked up a video on YouTube about how to fold a piece of paper in half. I’ve folded tons of pieces of paper in half including lots of mini-comics in the 1990s-2000s so why I felt the need to do this I don’t know. But I found a nice video by a woman who did a good job of explaining how to fold a piece of paper in half. She did it the exact same way I’ve always done it but it made me feel good to watch it. I even pulled out the bone folder (made out of plastic) that I got last year to press down on the fold.
I found the hardest part of making the mini-book to be the stapling. Maybe hard it the wrong word but I made the most mistakes during this part. I have a long reach “Swing” stapler from back in my mini-comic days that’s just the tool for the stapling job. Except that there is a bar to set that measures out the correct distance to sample at and I couldn’t quite get it right at first. Not all my staples landed directly in the middle of the fold and I had to take that staple out and put another in. That left extra holes in the paper. Oh, well.
I ended up making six copies of my mini-book and then was done. It took much more time to print them out, fold them, and staple them, then I thought it would. Then when I was done I looked at the copies, was proud for a moment, and then put them on the shelf not to be looked at for months. Once I scratched the itch of wanting to make something physical I had nothing to do with them. It’s not like anyone else cared that they existed. That’s life. On to the next thing.