I recently got an Apple Pencil to go along with the iPad that I got last December. I’ve had a Wacom Tablet and Wacom Cintiq for years so I’m no stranger to digital pens but there is definitely a learning curve drawing on an iPad. I started out wanting to dive right into the deep end but I’ve had to slow down my ambitions with it. I’ve changed over to just drawing with a “Pencil” rather than going into full blown painting mode.
I’ve been using an app called “Procreate” and it’s a good drawing app but it’s been taking me time to learn the basics. It’s easy enough to pick a pencil, pen, paintbrush, or marker and change the size and opacity of the tool but beyond that the app doesn’t act like a desktop application. All my long used keyboard shortcuts don’t exist because there is no keyboard. So far I’ve been having to look up a lot of basic stuff on the internet. Like how to cut and paste. Since it’s an iPad there are finger gestures to bring up those menus. I would have never figured that out on my own. Like lots of other things that have to do with this app things are hidden and not found in an intuitive way. It’s a good thing the internet exists.
I also had to look up tips on how to set up my own color palettes. Those are the little swatches of color that you tap the pen tip on to change what color you are using. In the Adobe desktop apps I set up my color palettes decades ago and have been importing them to all the new and different Adobe apps ever since. Setting up all new color palettes was looking like a real pain in the neck until I looked up some tips. I ended up taking a screen shot of my color palate and then sampling the colors in Procreate. It went smoothly.
After initially being a bit overwhelmed by Procreate I gave myself the task of drawing the equivalent of one of my 6×9 inch pencil drawings in it. I figured that I only used one pencil to draw them in real life so I’d only need one digital pencil too. That turned out to be true. I imported in a thumbnail drawing, dropped the opacity of it to 50%, and created a layer above it to draw on. In the real world I’d print the thumbnail drawing out in light blue and draw over it with a pencil. The process was about the same so I had no problem with it.
Turns out the biggest problem I had with it was where to draw. Normally I draw standing up at my drawing table but I use my iPad sitting down in a chair. I’m also usually taking a break when I sit down so it was weird to be working that way. Sometimes when I sit down to take a break I end up working on a photo on my iPad so the lines have been blurred before. I ended up doing a little of both but I mostly tried to stand and work.
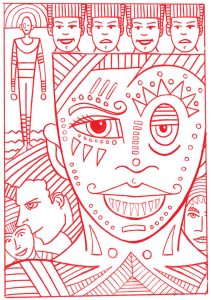
After getting comfortable with pencil drawing on the iPad I decided to revive my practice of drawing masks on my street photos. I like taking street photos but I don’t like posting them online because the people in them have no idea their photo is being taken. Since I don’t have many followers on Instagram (where I post them) it really doesn’t matter but it still makes me a little uncomfortable. I’m more comfortable with large group photos but when one person becomes my unknowing model I feel I owe them a little privacy. So years ago I developed a technique where I digitally put masks on them. Since I love drawing masks it was a natural and I like the end results. They always look like photos that are mine.
The main problem with the technique was that it took so much time. For some reason I was never able to master drawing the mask digitally with a Wacom tablet and pen. So I would print out a low opacity version of the photo on drawing paper, draw the mask on the paper, scan the drawing back into the computer, color the mask, and then digitally put the mask over the person’s face. It always came out well but it took about twice the time it could have. Maybe three times the time. Either way I’d do one or two of them but then the time suck would get me down.
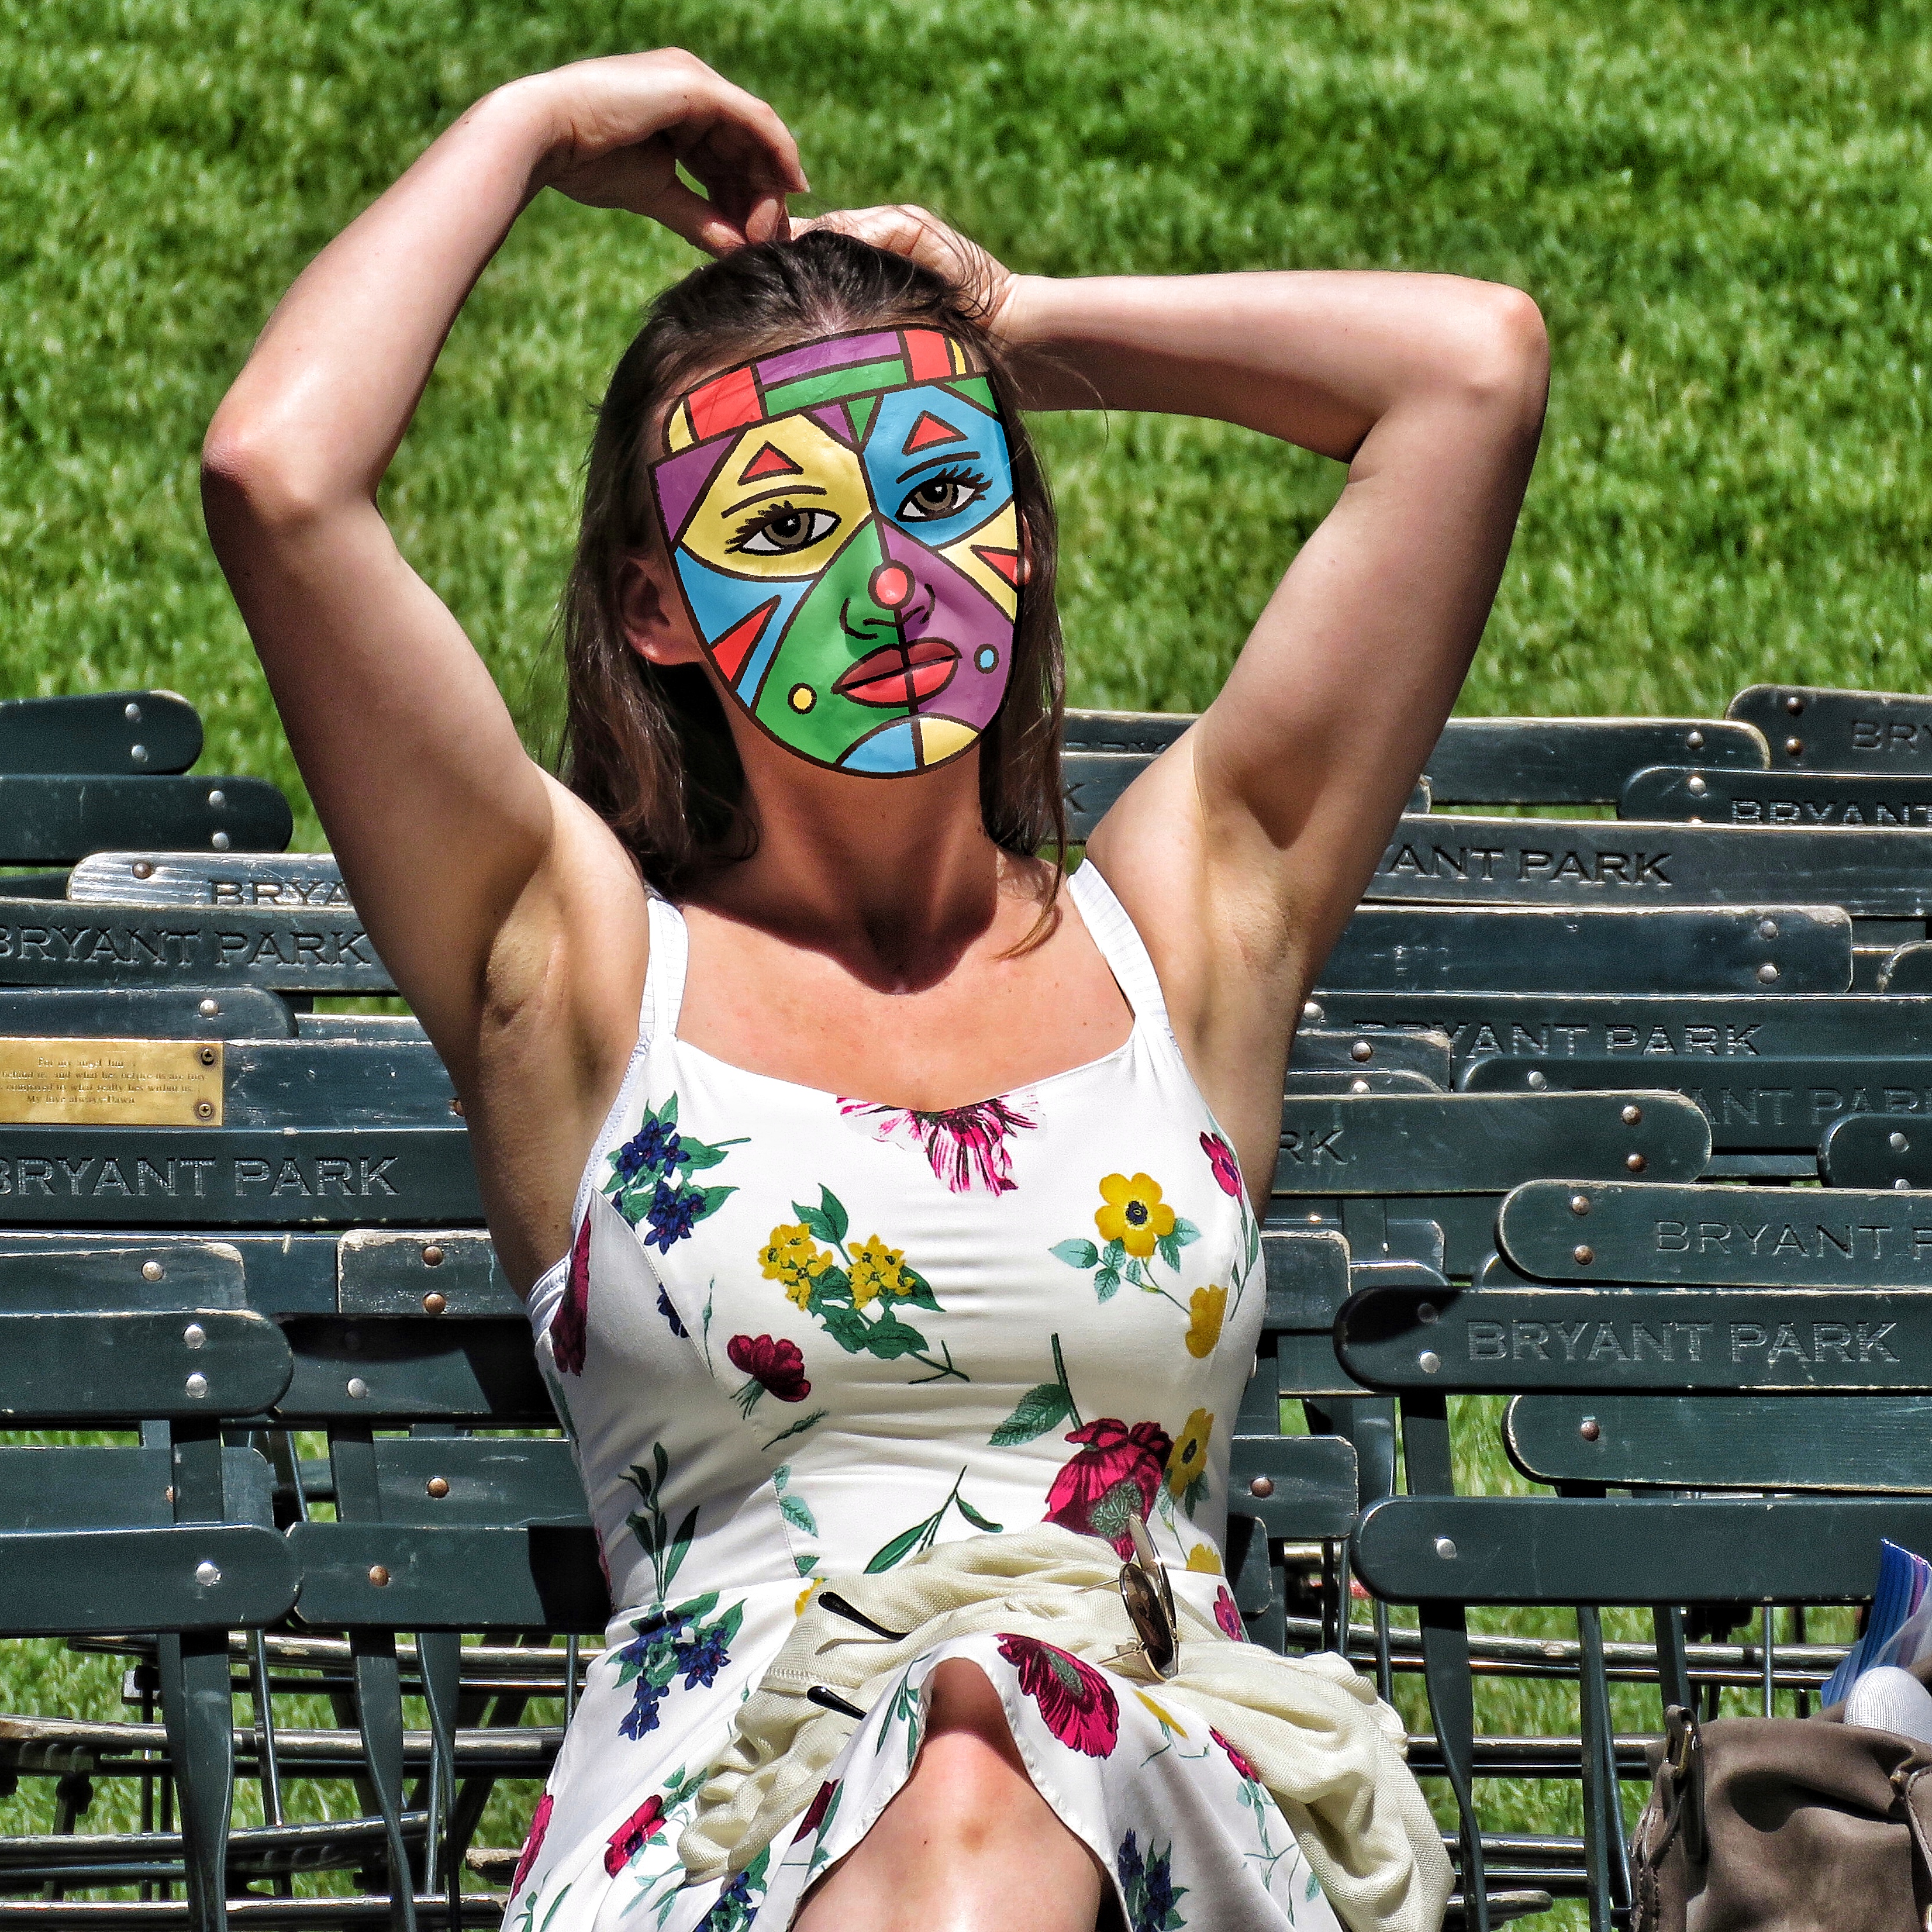
One of the best things about drawing the masks on the iPad with the Apple pencil is the immediacy of it. First I look through a bunch of my street photos. This takes a while. It isn’t always easy to find just the right one but after I find the right one I can get to work right away. I bring the photo into Procreate, dim the opacity to 50%, create a new layer on top of the photo, and draw the mask on that layer. It all moves a lot faster than printing out and scanning in. Especially since it’s not a big and complicated drawing.
After I draw the mask I color it. I create another layer between the photo and line drawing layer. That’s usually how comics and cartoons are colored and the makers of Procreate even put a helpful trick in to facilitate this process. I can set up the line layer as a “Reference” layer. This means that the app sees the two layers as connected and I can automatically use the lines as boundaries for my color even though the color isn’t on the line layer. So I can fill in the color with one touch rather than have to color it in. That speeds things up.
I’ve done a few masked photos so far on the iPad. I’ve liked how they’ve come out too. I haven’t tried to print any of them yet as that’s the final test for this technique but I think they’ll print fine. In the days of my iPad 2 it would sometime downsample a photo that I put on it but nowadays when I work on a photo on the iPad it keeps the photo’s native resolution. So a high resolution photo stays a hires photo. That’s a good step up. I think this whole digital drawing thing is going to work out.