I’ve been doing a lot of big ink drawings in the last two months. I think I’ve gotten nearly twenty of them done. I’ve also written about a few of them. But this week I thought I’d write not about the drawings themselves but about the tools I use to make my big ink drawings. Sometimes I mention a key tool or two that I use to make a given drawing but these big drawings are different then my smaller ones in that I use a lot of tools. These are the things that get lost to time so I like to document them.
An Easel and a drawing board – These two things are obvious but I thought I’d mention them. First I place the drawing board on the easel and then I tape the drawing to the board. I use an easel to keep the drawing vertical. The same reason everyone uses one.
White paper tape – A simple tool that keeps the paper attached to the drawing board. It’s an artist’s tape with low adhesion so it doesn’t wreck the paper when you pull it off. You have too keep an eye on it because that low adhesion also means the tape might not hold all the way through the making of the drawing. Sometimes the tape needs to be rubbed down again.

Windsor Newton Sable Series 7 or Raphael Master Brush Size #3 – The classic brush to use for inking comics. It’s a watercolor brush that comes to a sharp point and is great for just about any task when it comes to putting ink on paper.
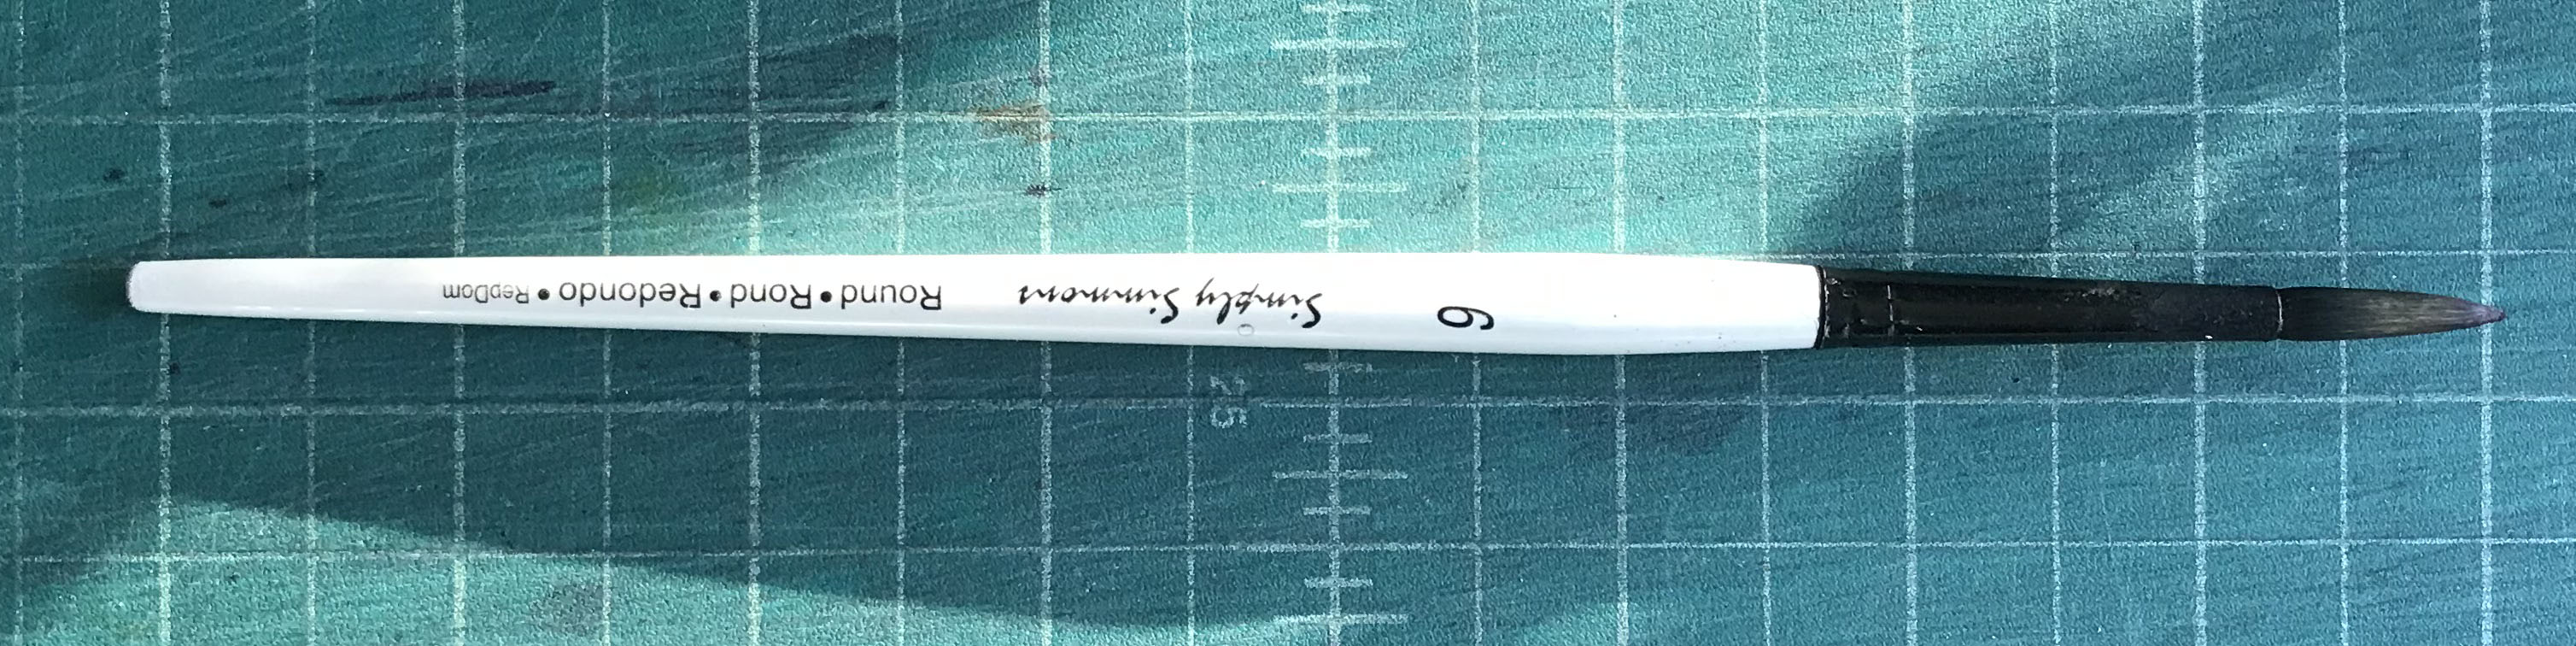
Simply Simmons Round Brush Size #6 – This is a cheap synthetic hair brush that is twice the size of my Series 7 #3. So I use it for big lines and filling in blacks. It’s not as good or as versatile as a quality sable brush but they’ve come a long way with these synthetic brushes. I’d say synthetic brushes used to be about 50% of what a sable brush is but now it’s more like 80%. That’s a lot of improvement.
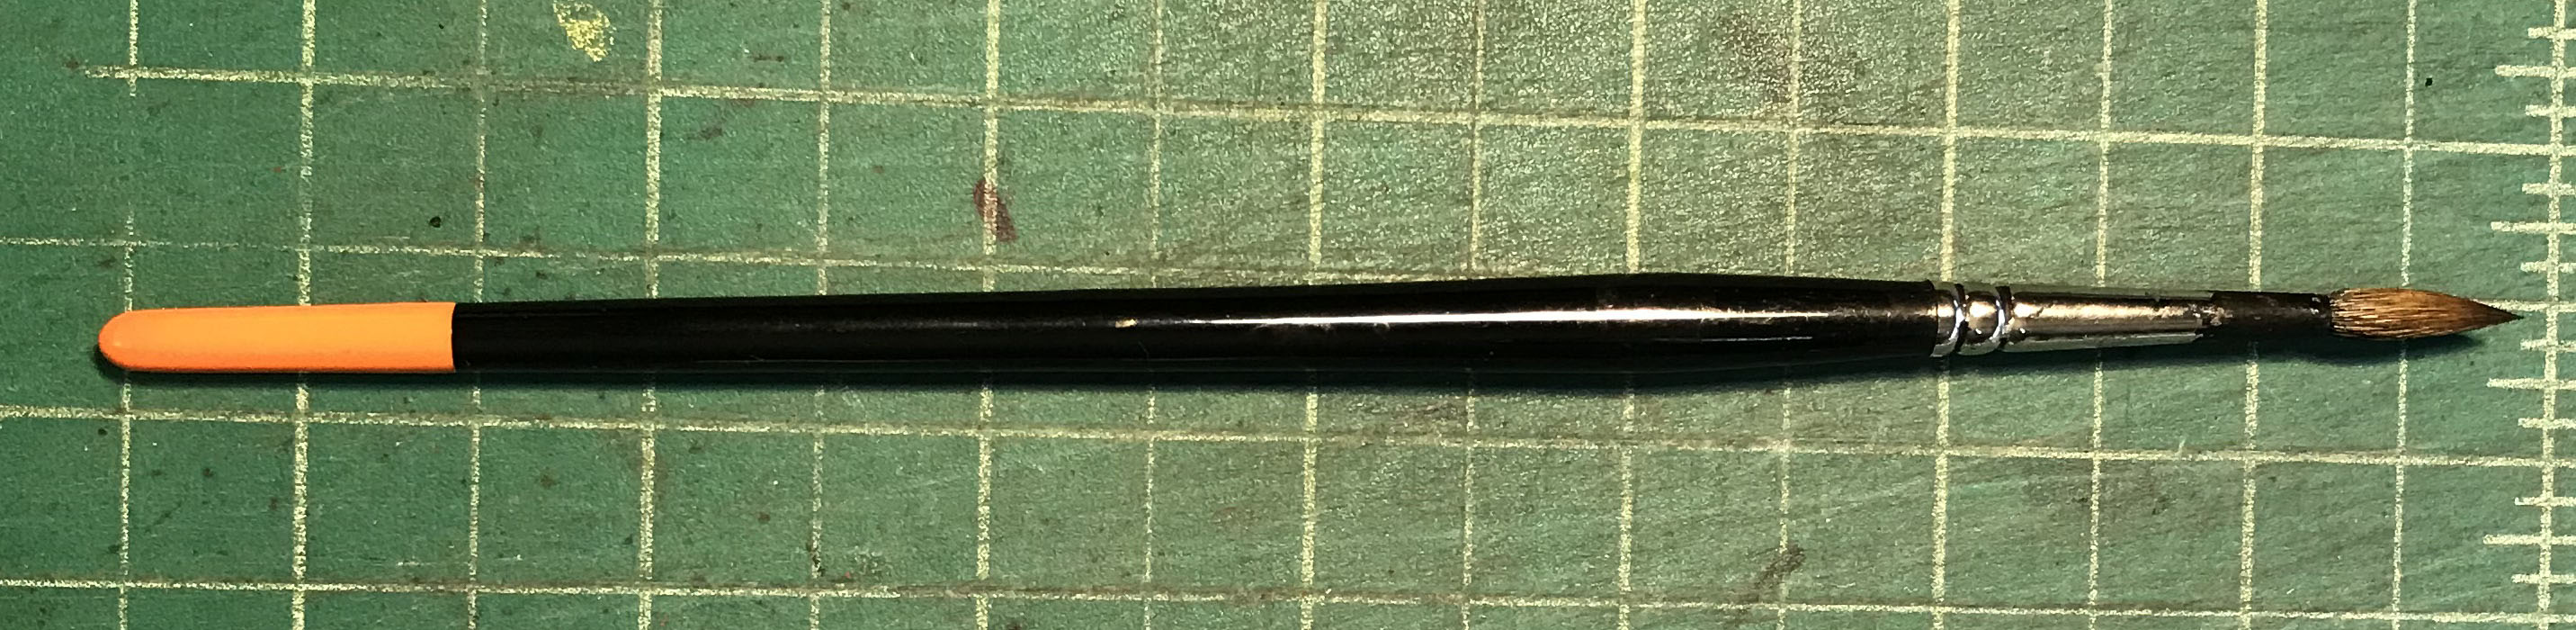
Busted Brushes – Old Series Seven brushes that no longer come to a point. I use these for my monster faces and such. They’re for when I want to paint with texture rather than line.

Sennelier India Ink – This is my favorite black India ink as of late. It’s thicker and darker than most inks and goes on dark. Its downside is that in can thicken up and not flow as well as it should. But with a little water it thins out again. Guessing the right amount of water can be a problem but not too much so. It’s also one of the more expensive inks but you get a lot of it if you buy the big bottle.
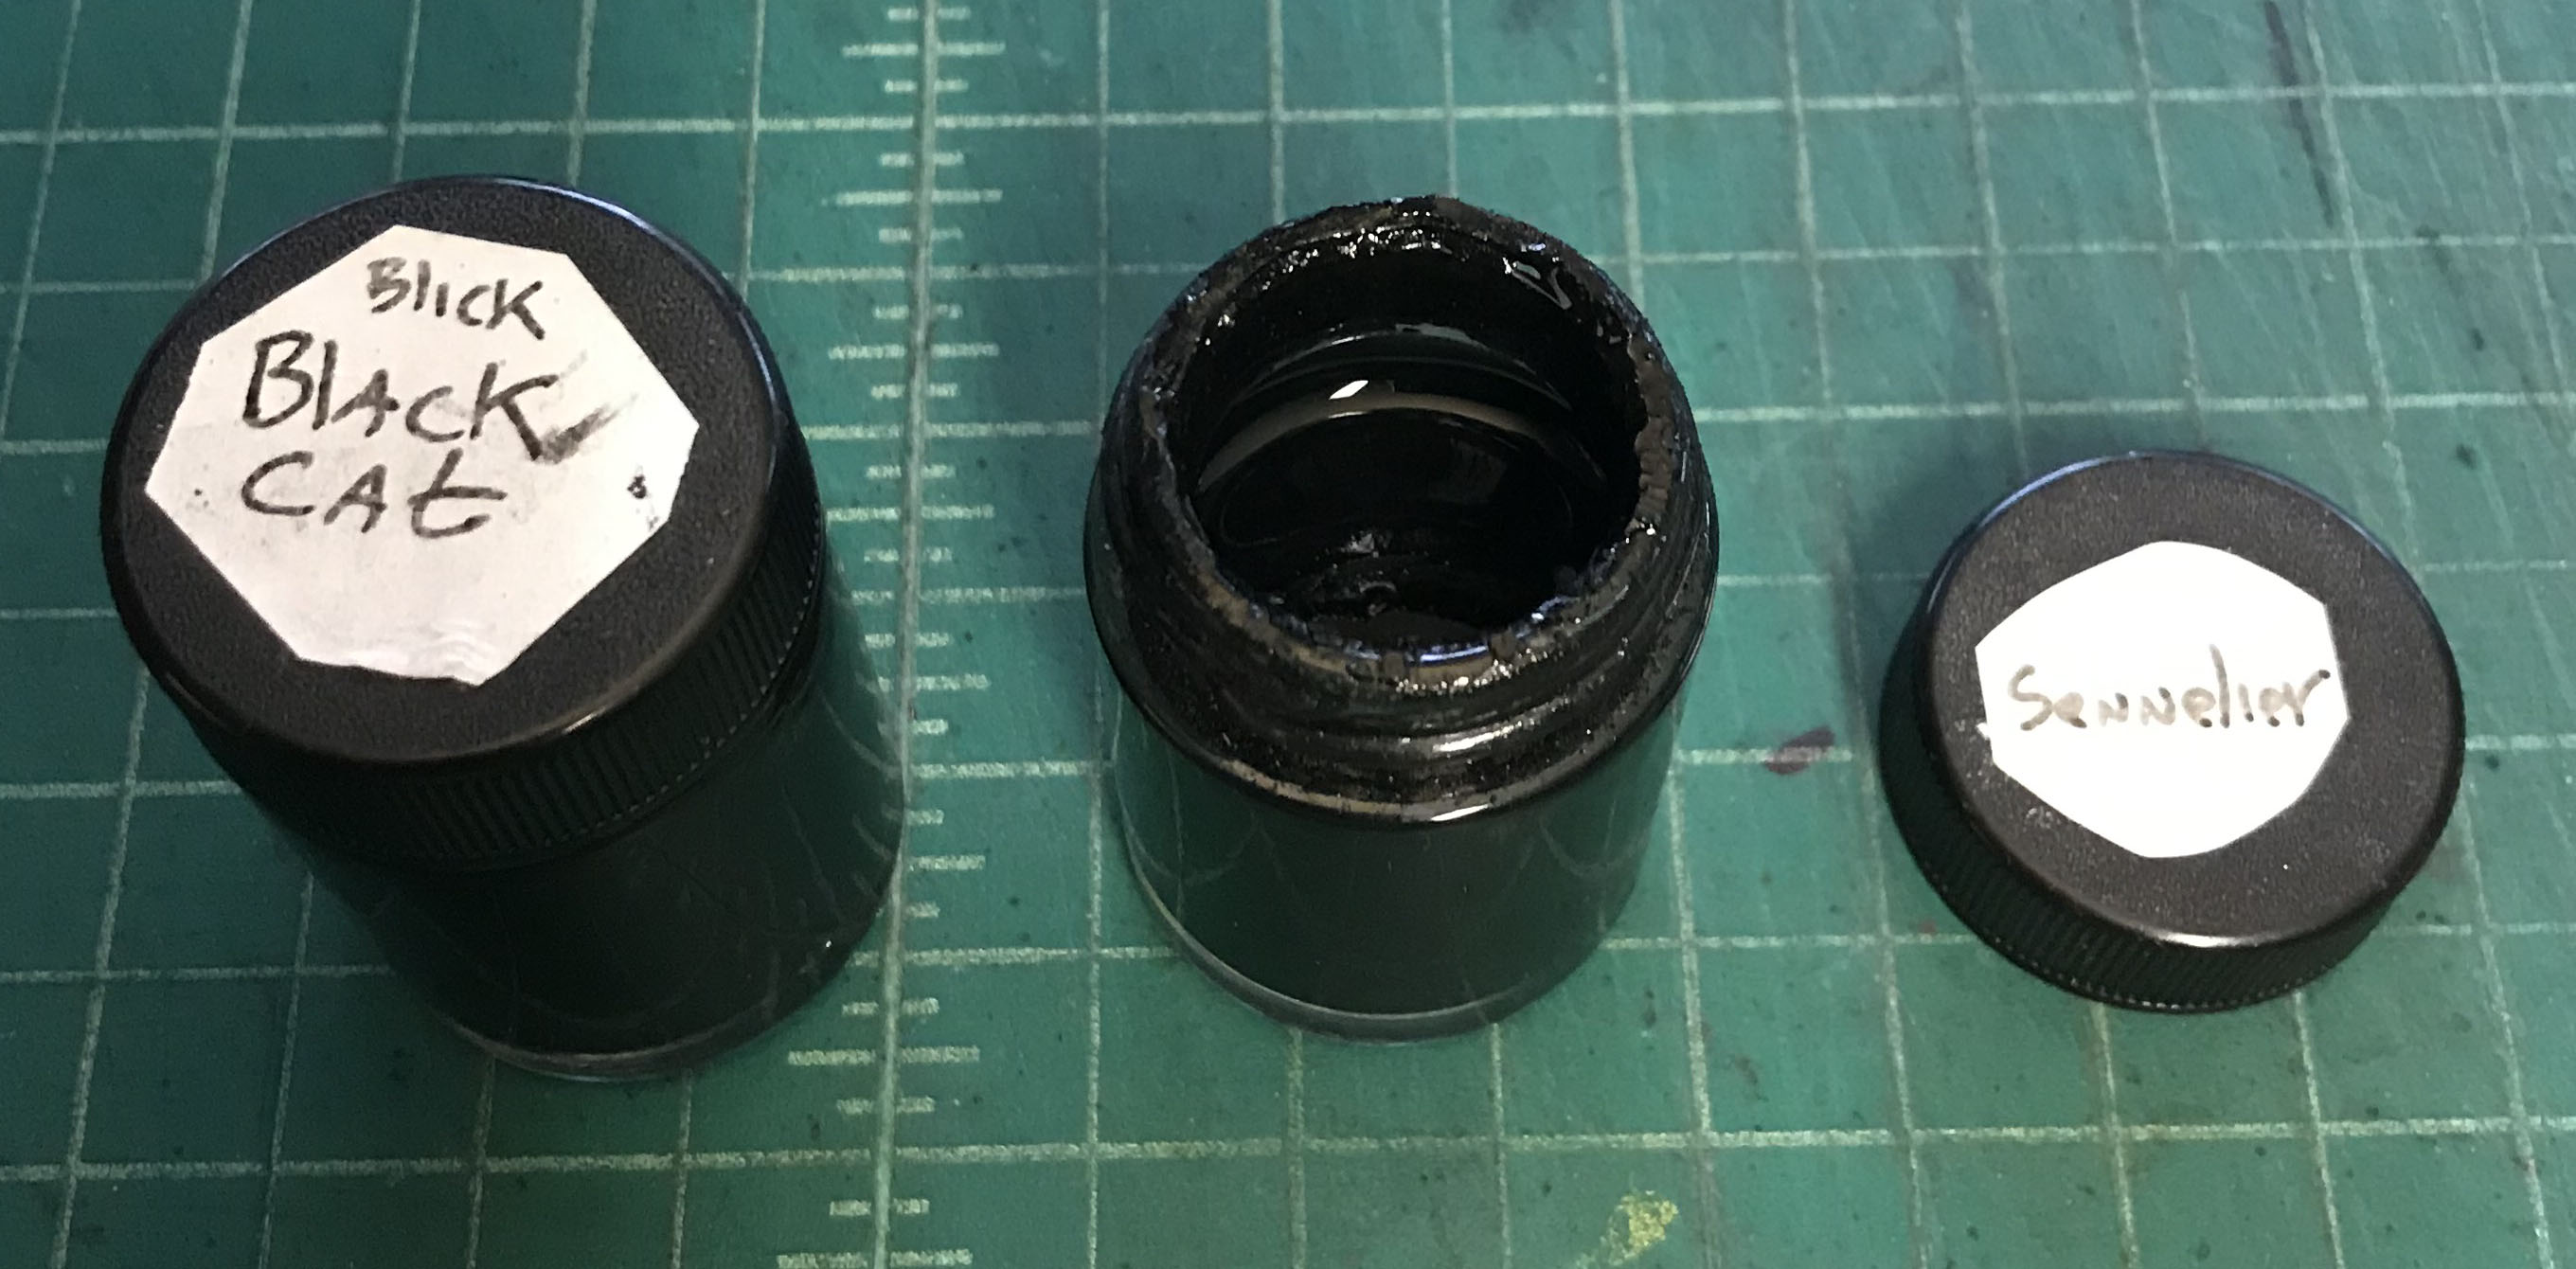
Blick Black Cat India Ink – This is the Dick Blick house brand of ink and as such it’s one of the cheaper ones. I bought a big bottle of it a few years ago and was disappointed with it. It was too thin and grey for me. A big bottle of ink has to be shaken up otherwise the pigment can settle on the bottom and the top will be thin. Even after vigorous shaking I couldn’t get this ink to be as dark as I wanted it to be. But I still used it. After a while I used enough of it so that there was some air in the top of the bottle. Somehow this thickened up the ink and it’s been a good thickness since. The last three quarters of the bottle have been excellent.
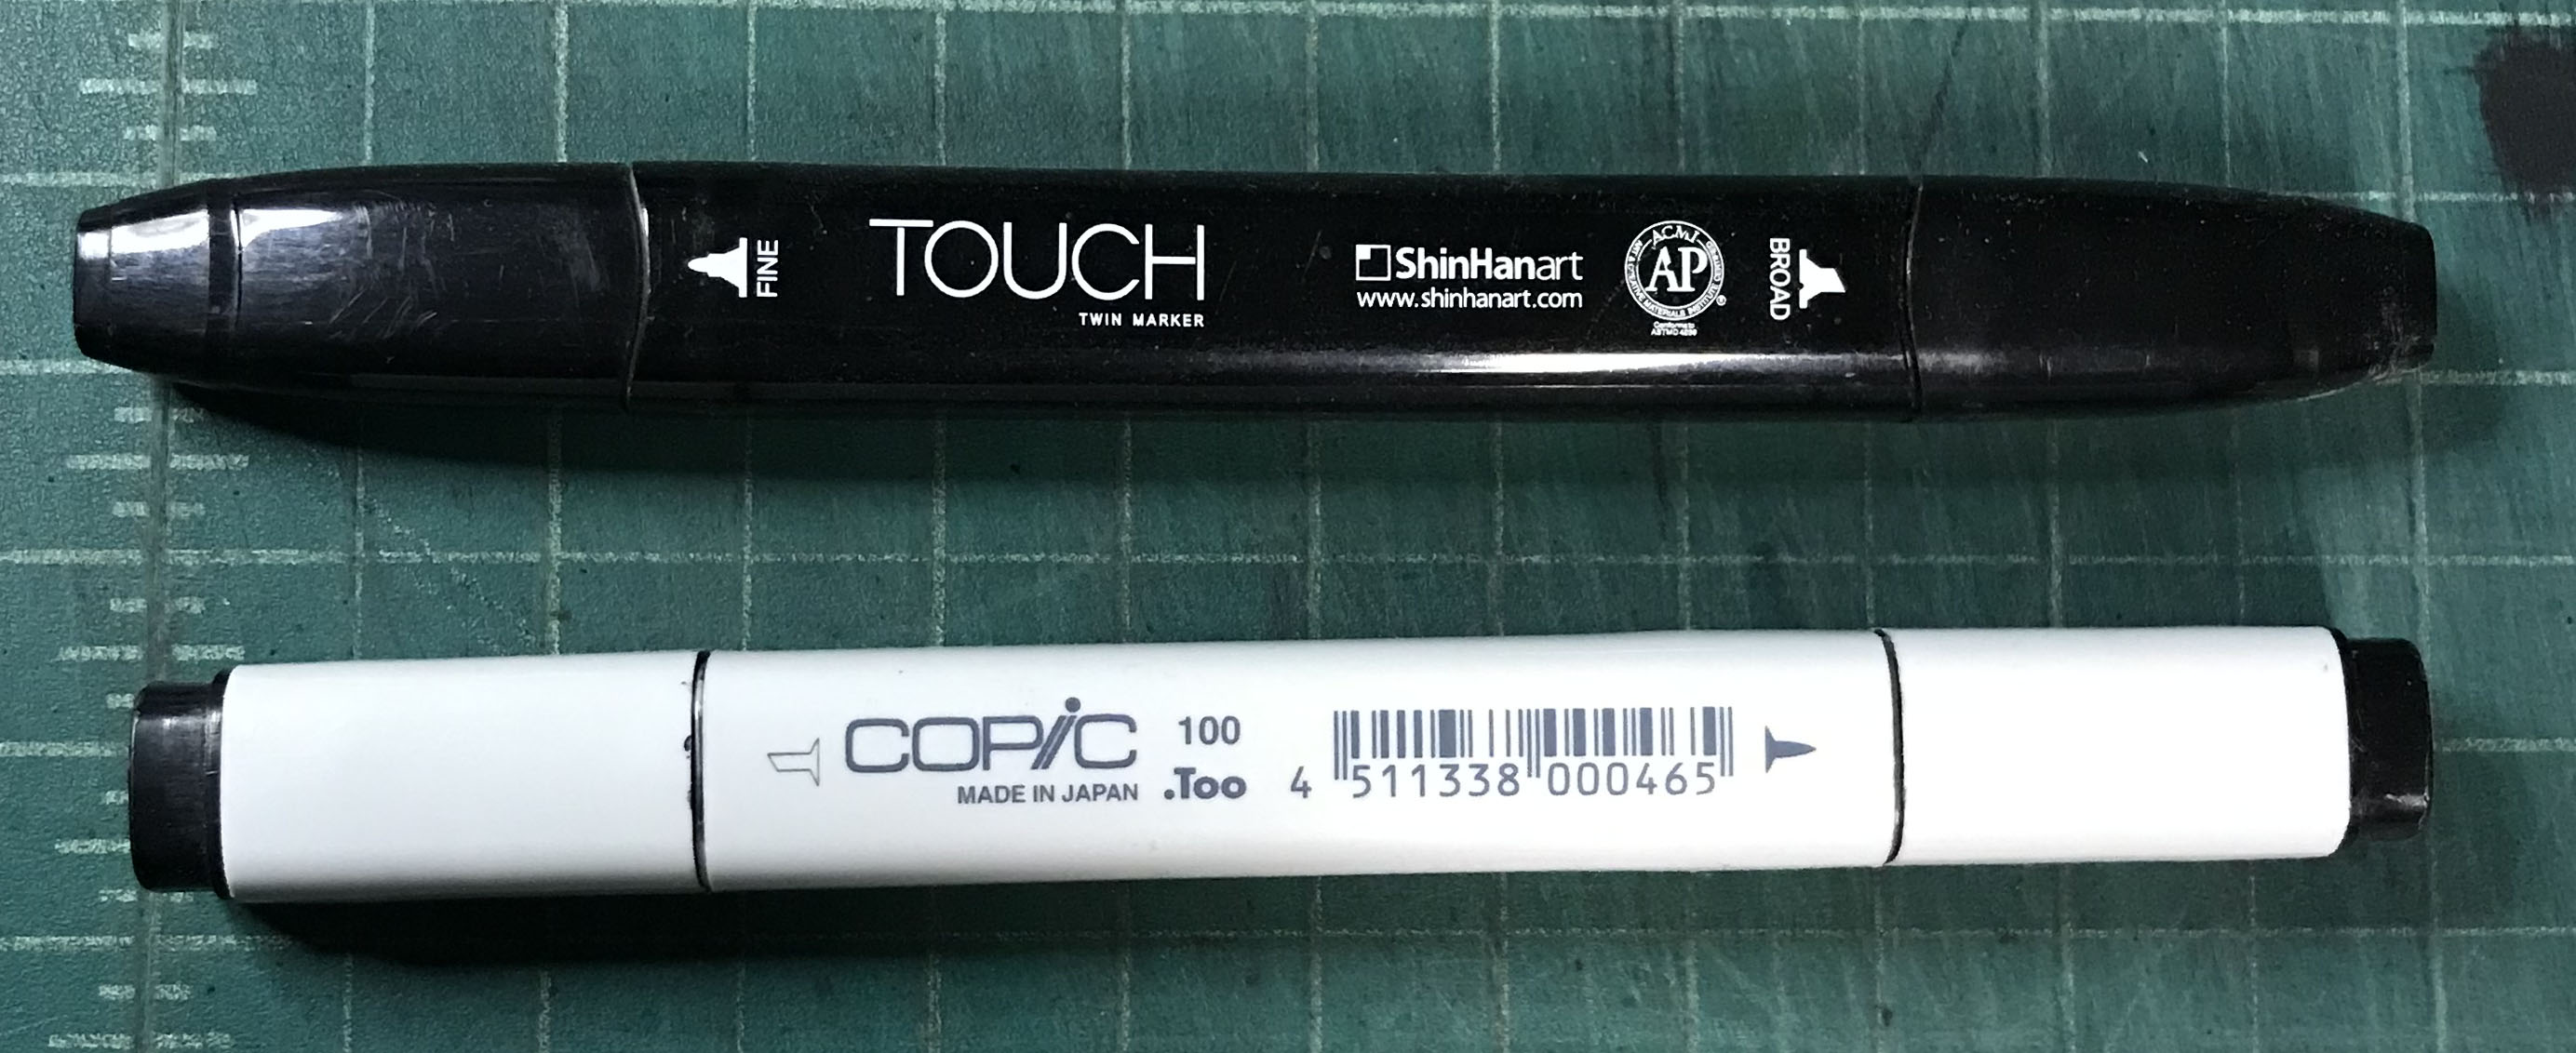
Copic Black Marker – A basic black marker with a chisel tip on one end and a fine point on the other. It can be refilled with marker ink which is good because it takes two to three markers to finish a drawing.
ShinHan Touch Black Marker – This is just like the Copic black marker except it comes from South Korea instead of Japan. I used up two bottles of ShinHan refills drawing these big drawing so I need to get some more.
Flexible Ship’s Curve – Do you need to draw a long curve? This is what you need. It’s 24 inches long, can bend smoothly, and works well. Don’t bother with the “Flexible curve” that can be found in most art stores. That thing is worthless. Track one of these down instead.

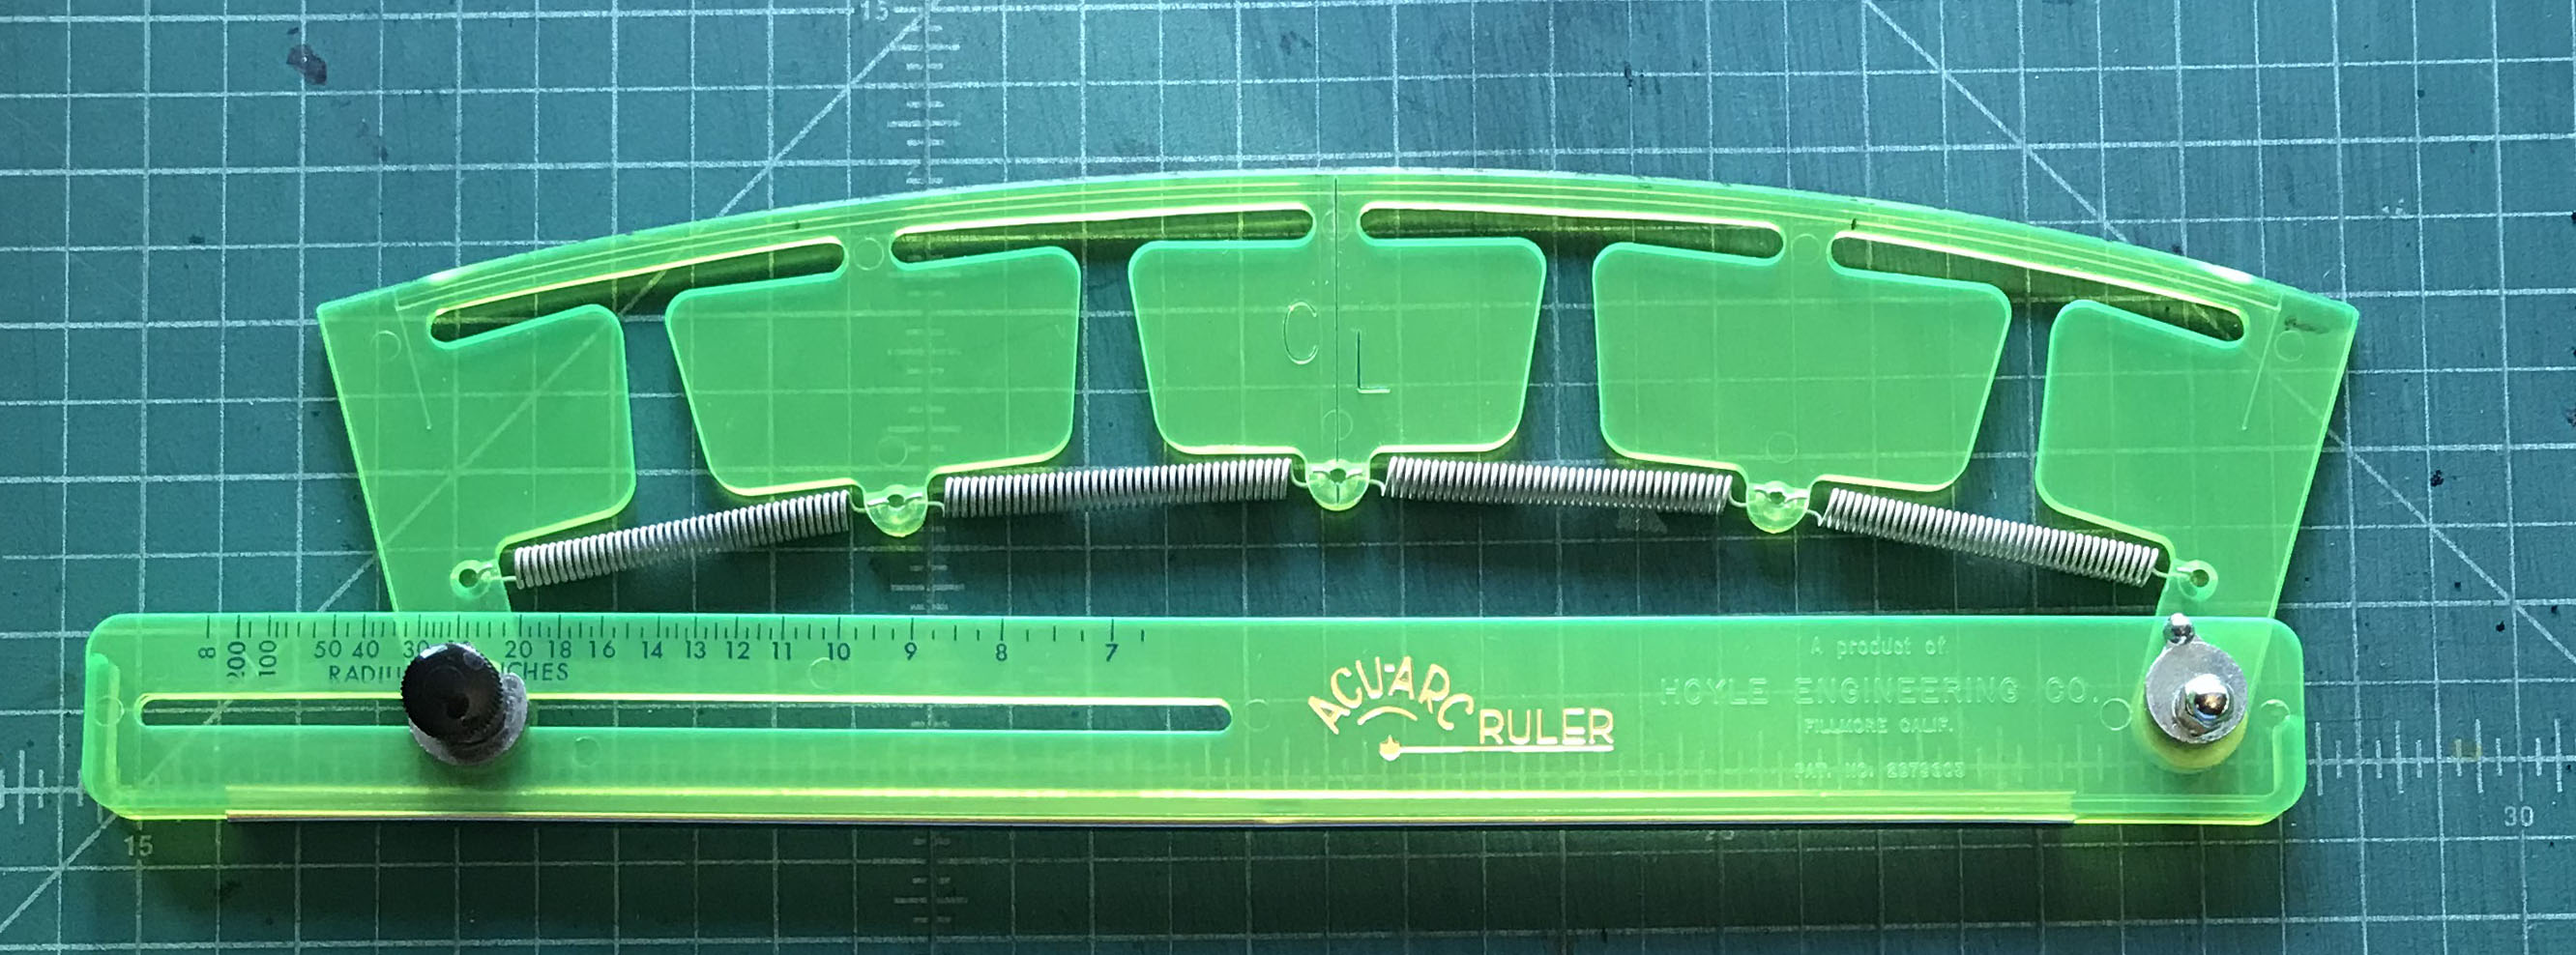
Adjustable Curve – An Acu-Arc Adjustable Ruler. This is good for longer symmetrical curves. It bends slightly to change the arc of the curve. It’s about twelve inches long. Most French curves aren’t symmetrical so this fills in where those can’t be used.
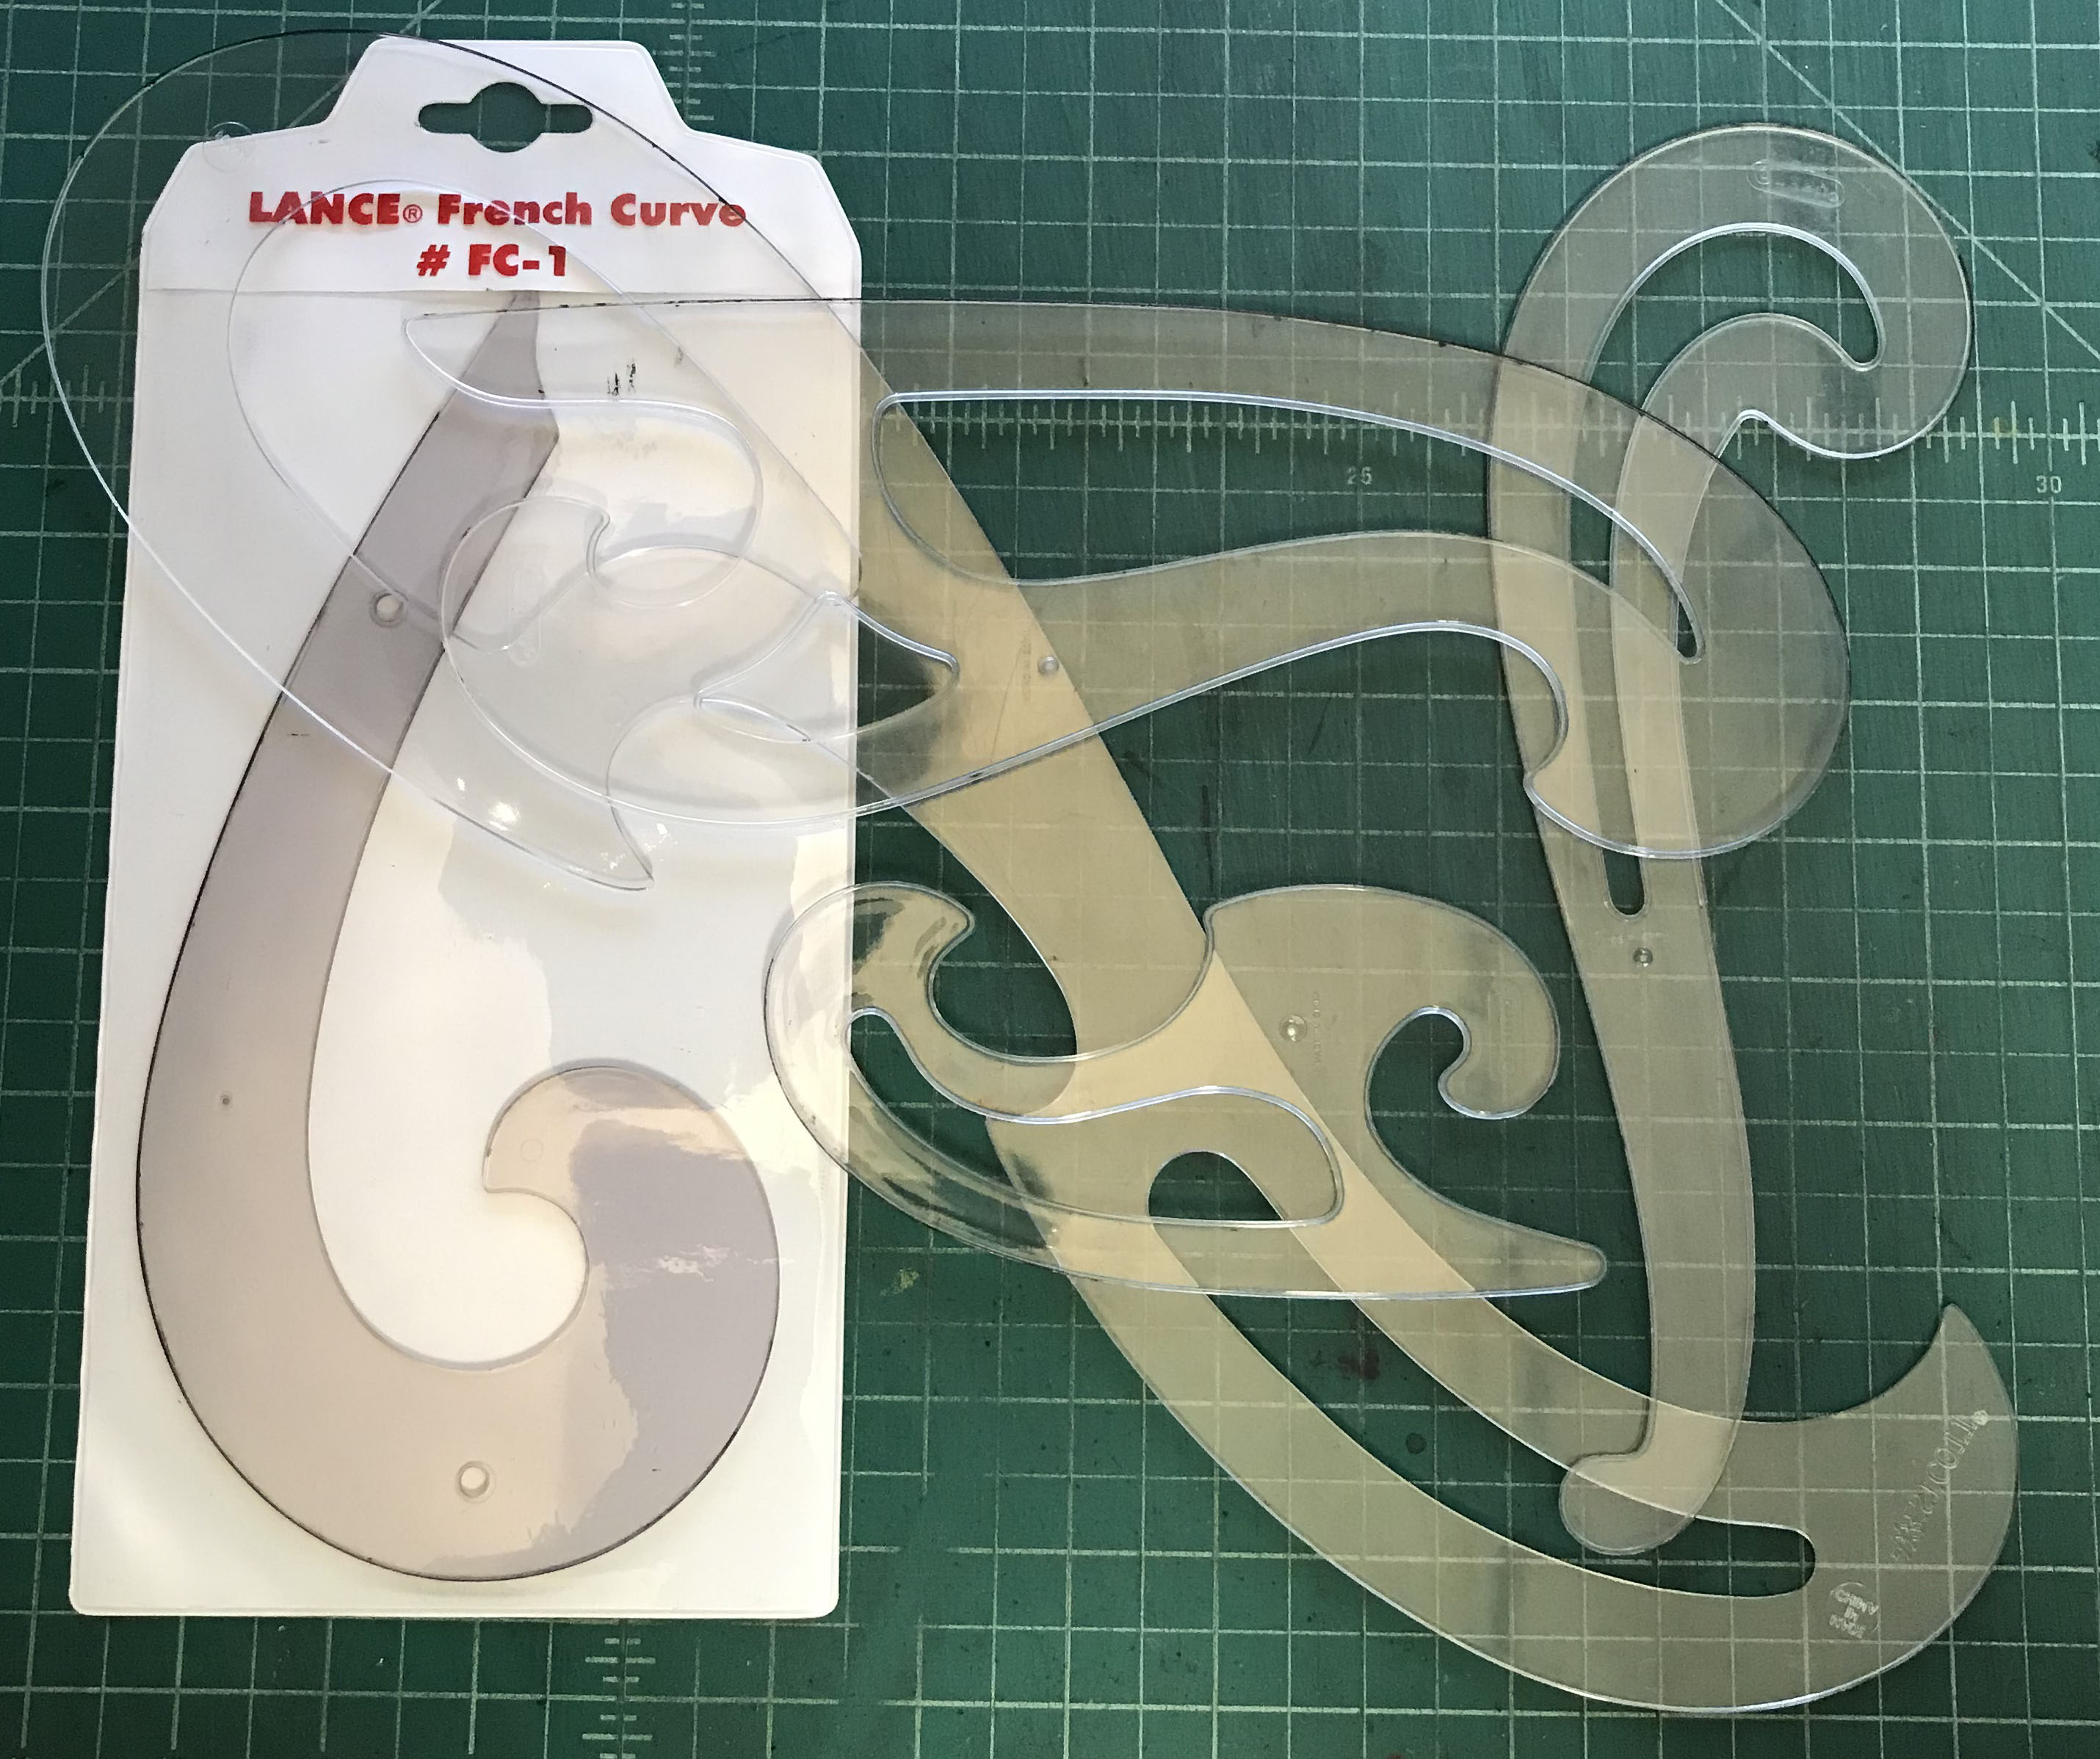
French Curves – I’ve got a lot of these. All different shapes and sizes. They’re generally pretty small compared to the ships curve or the adjustable curve but I do have two extra large French curves. I don’t use the bigger ones much. Usually one of the smaller ones will do the job.
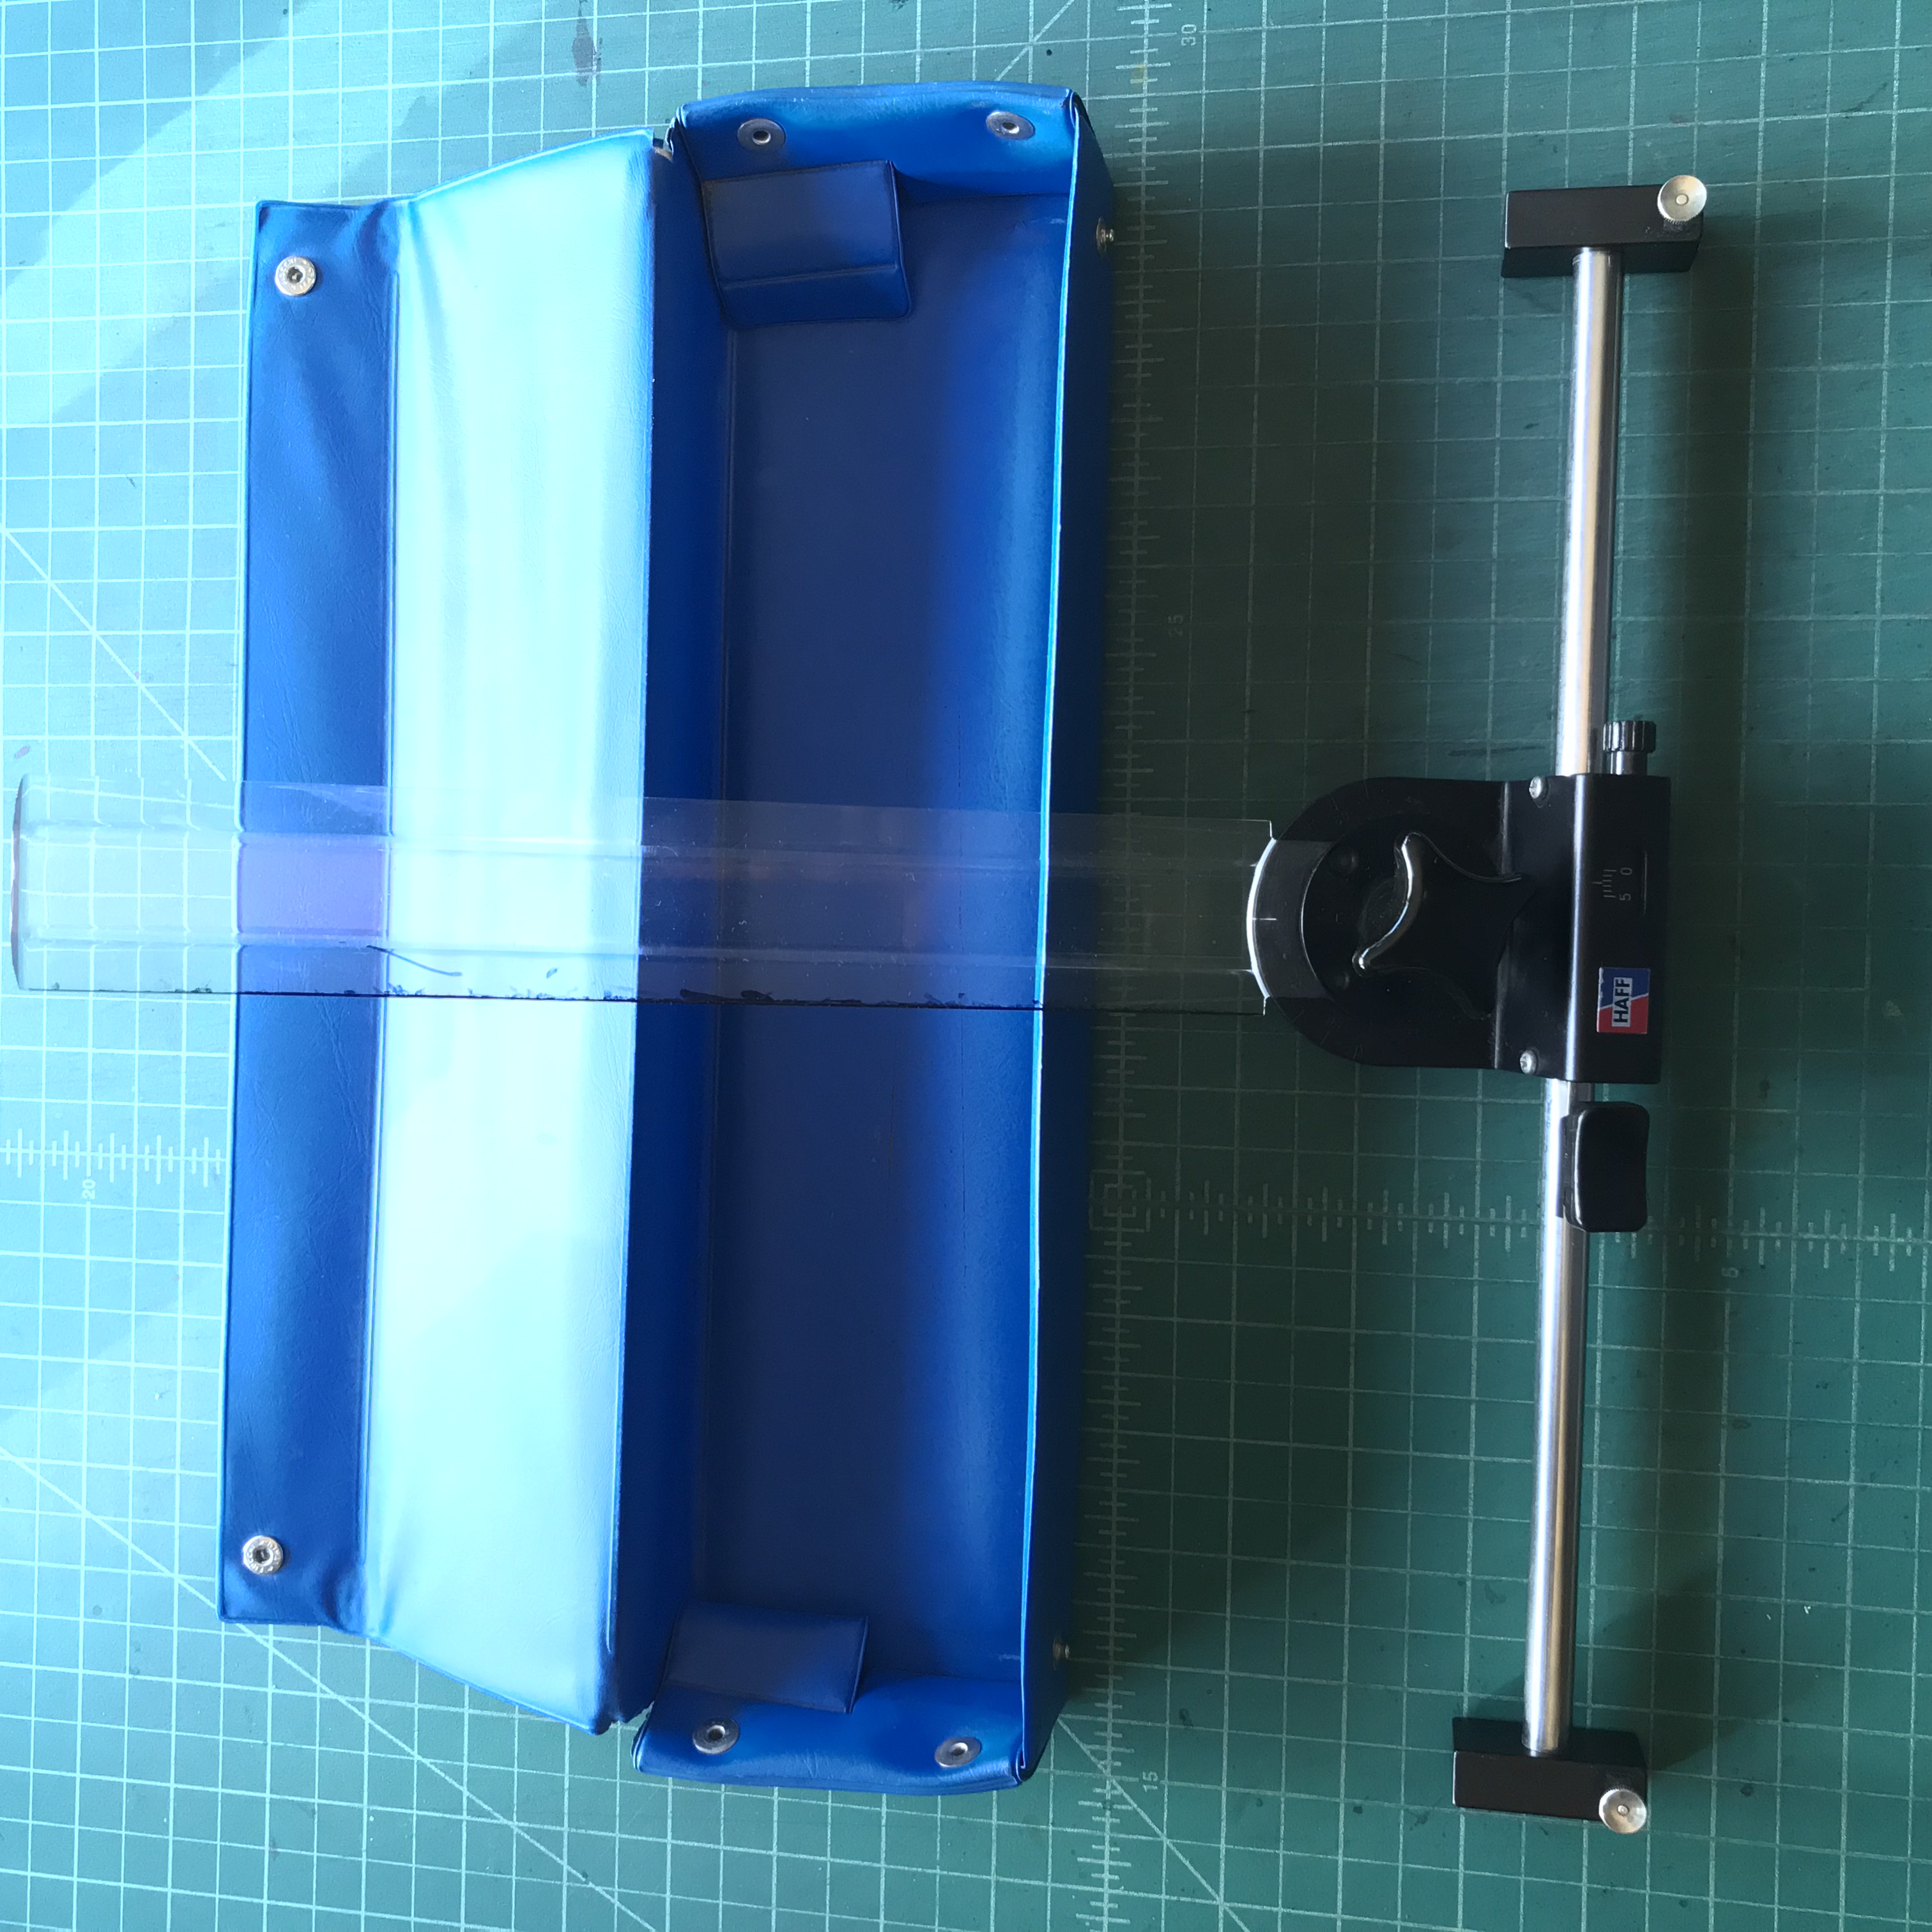
Haff Cross Hatching Machine – I’ve mentioned this before in blog posts. This is a handy little machine that helps me make all my parallel lines. I press a lever and then the ruler moves down a few millimeters and I draw a line. Repeat this for all the straight edge lines and I can draw perfectly spaces line patterns.
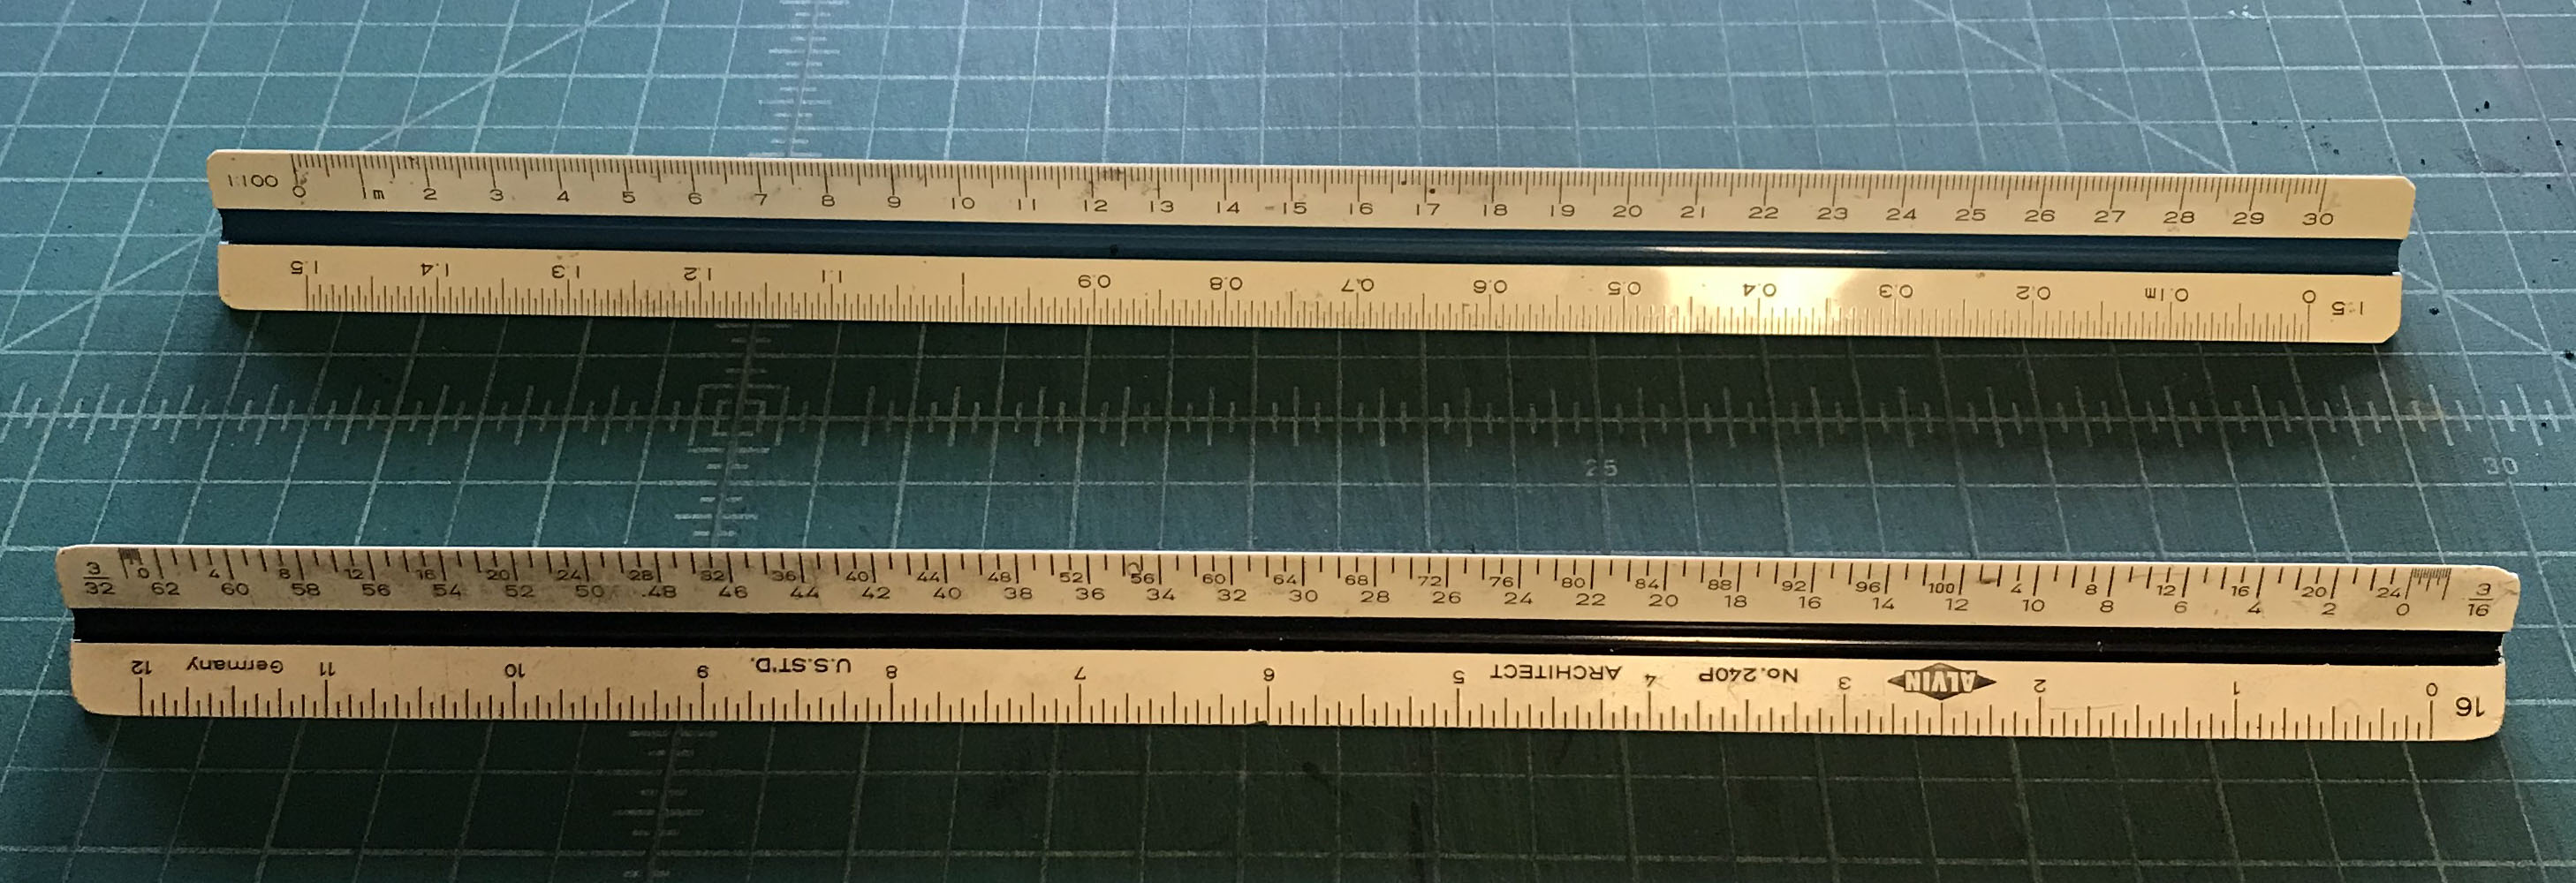
Ruler – Nothing complicated here. I need to measure an inch all around my paper so I can draw a border. I use a architect’s scale that I’ve had since my freshmen year of college. It measures in inches but I have another that’s just a couple of years younger that measures in the metric system. I’ve had these two for a long time.
A long straight edge – I’ve got a long straight piece of wood that I use for making the borders around my drawing. It’s about an inch square and thirty two inches long. It was just a piece of scrap wood that I had lying around and one day I grabbed it to use as a straight edge. I’ve been using it ever since.
![]()
Triangle – For these big drawings I use my clear 30º/60º triangle for straight edges. It has a grid built into it that I can line up with the edge of the paper if I need to square up lines. And I always need to square up lines.

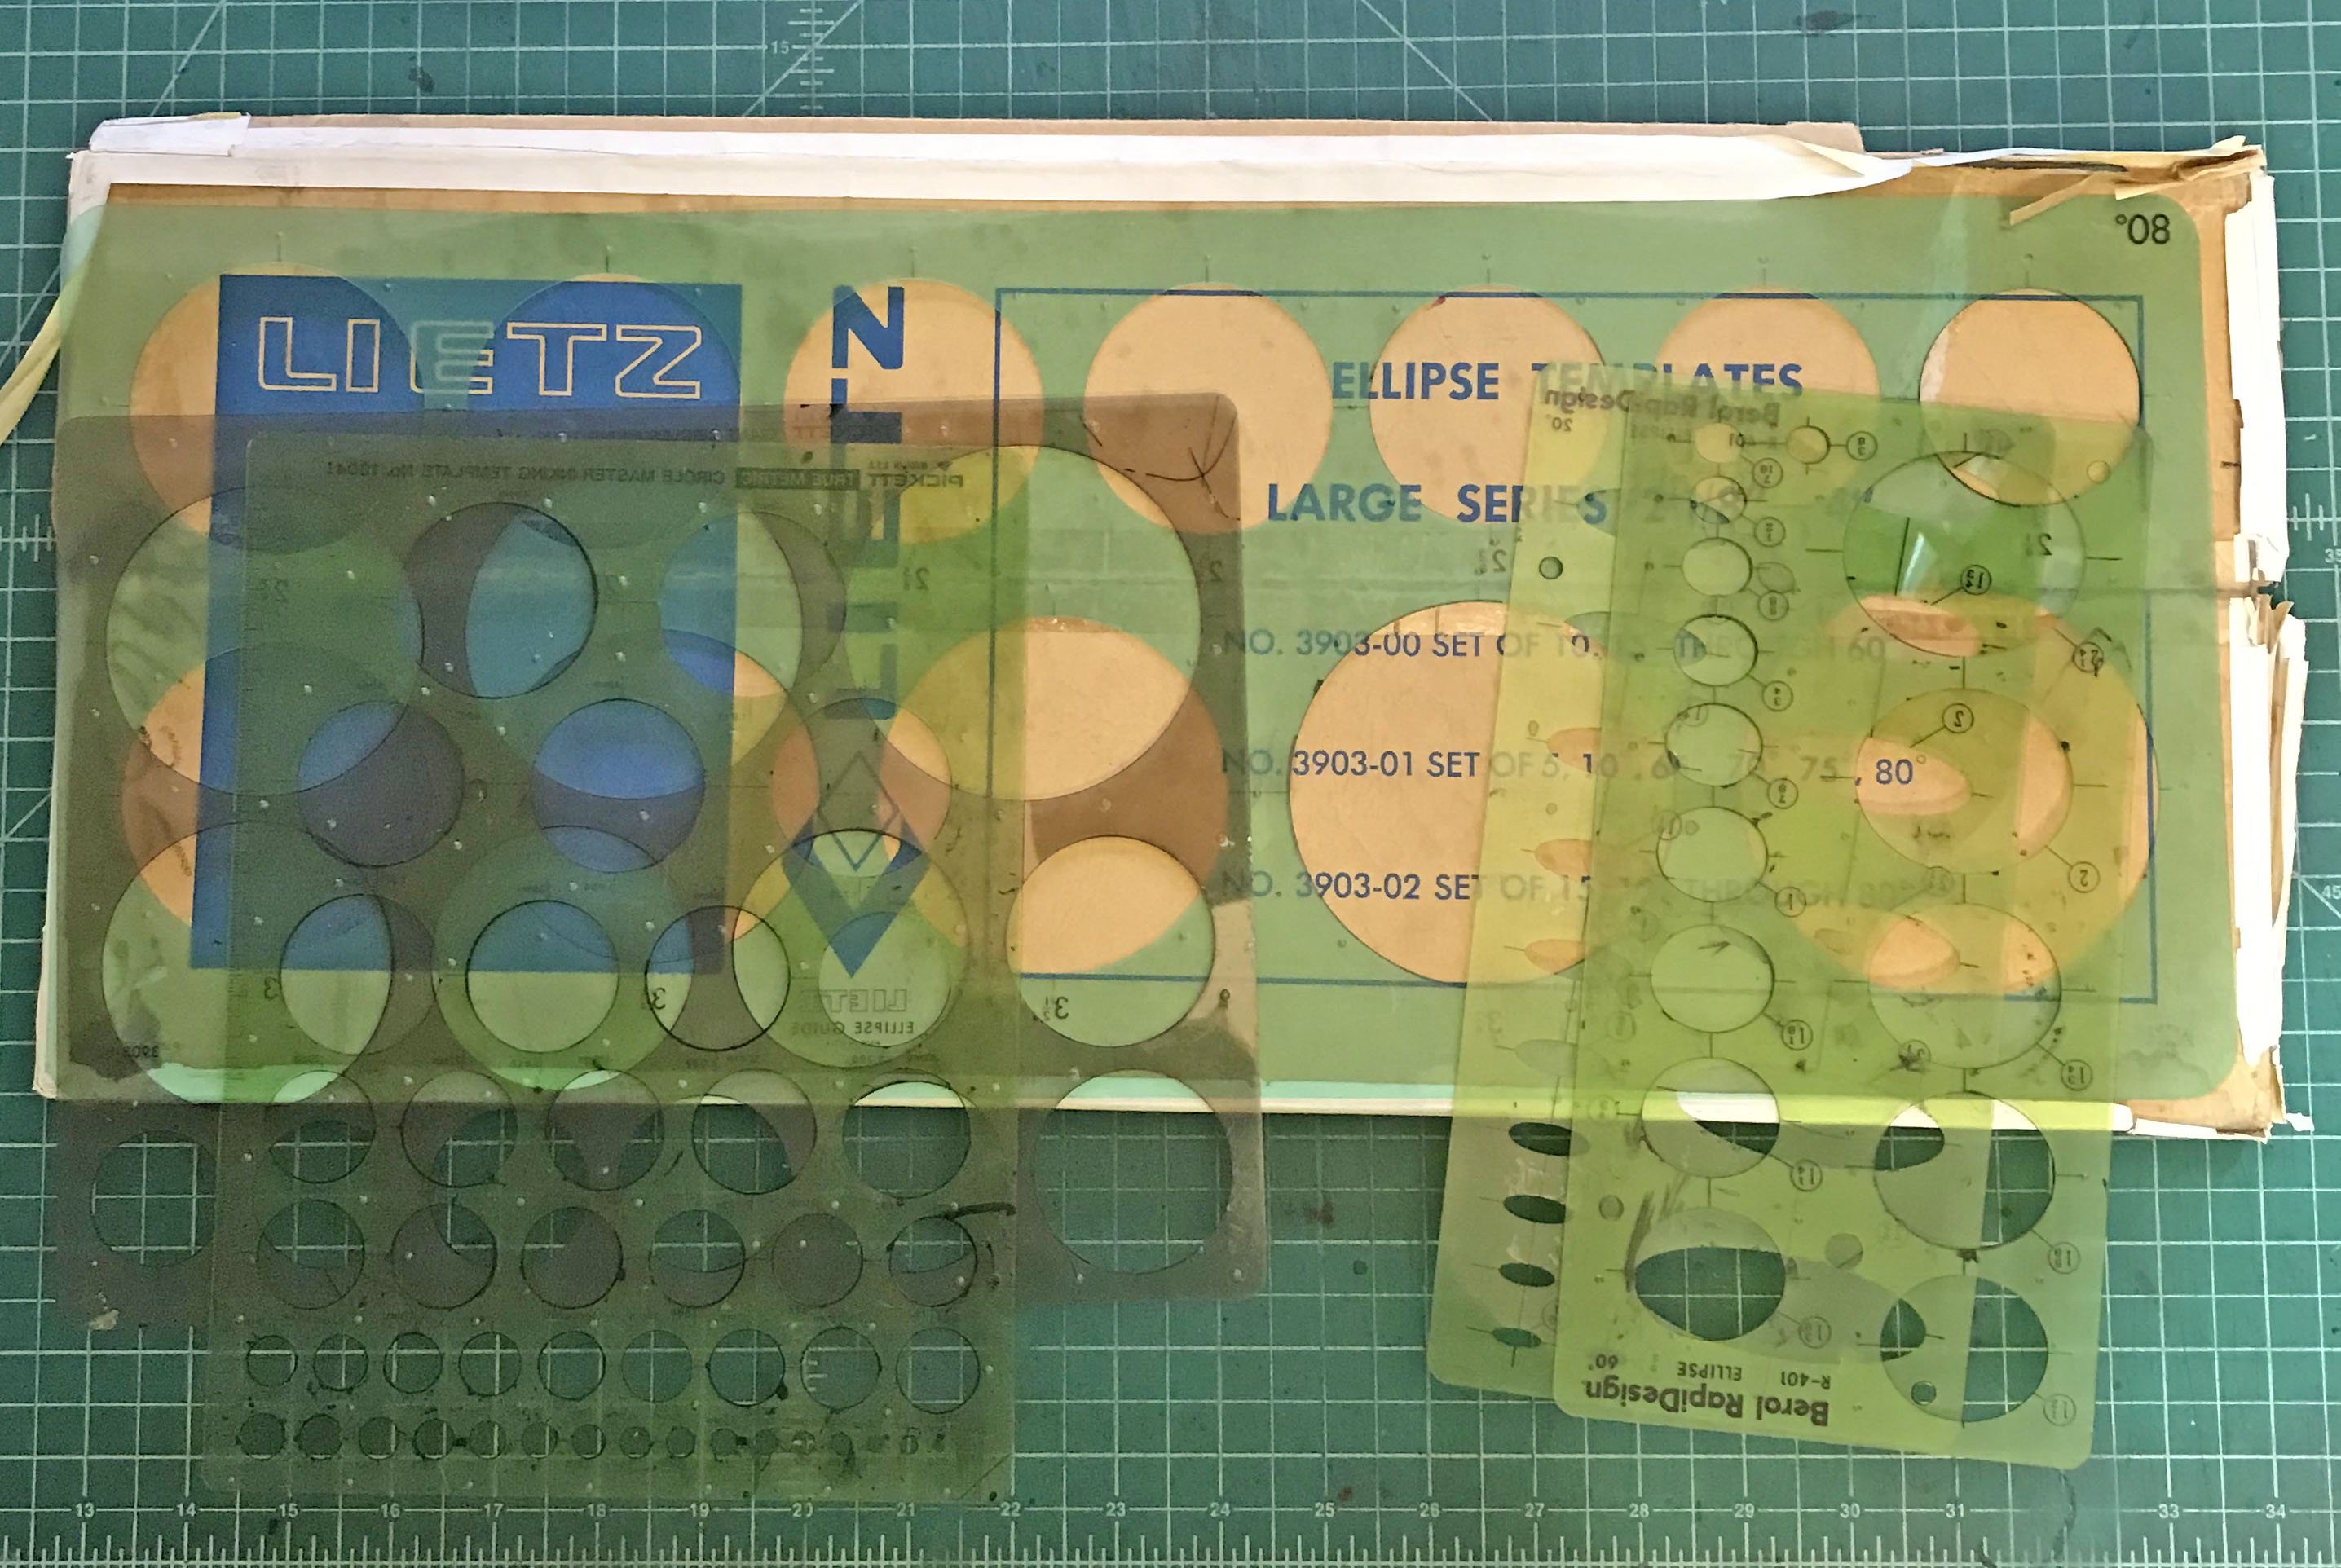
Circle and Elipse Templates – More basic stuff. If you want to make perfect circles and eclipses then these are what you need.
So there you go. That’s everything I use to make these drawings. No you can go make some of your own.