
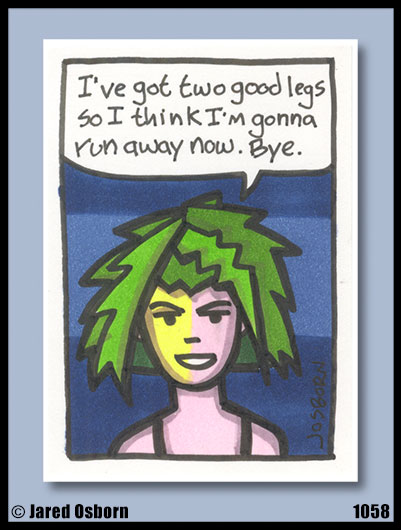
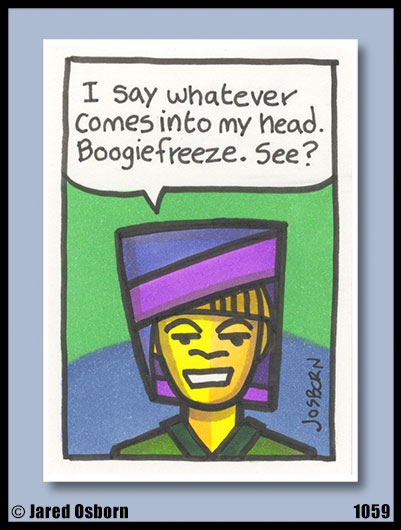
I’ve been working this week on some of my cartoon art cards. That’s what I call those little drawings that are found on the left and right side of my Sunday comic strip “Drifting and Dreaming”. They consist of a person’s face looking out at the reader and saying something odd, amusing, funny, and clever. At least that’s what I aim for. I’ll settle for any one of the four.
It all starts with my pieces of scrap bristol. Bristol board is the name of the paper I like to draw on. I usually buy it in pads of 14×17 inch pieces of paper but I like to draw on 11×17 inch paper. So I cut three inches off the side and end up with an extra 3×17 inch piece of paper. I then cut that piece into a bunch of 2.5×3.5 inch baseball card size pieces. I’ve got a lot of them hanging around. For a decade I cut up the paper into the smaller pieces with an x-acto knife and a straight edge but recently switched over to my Dahle Rolling Trimmer paper cutter. I’ve had the paper cutter for about ten year but have never used it for cutting my art cards. Despite the guide lines on the cutter I could never get consistent accuracy in card size with it. Last month I finally just drew my own guide lines with a marker on the Dahle and it’s been smooth sailing ever since. I don’t know why I didn’t think of that ten years ago.
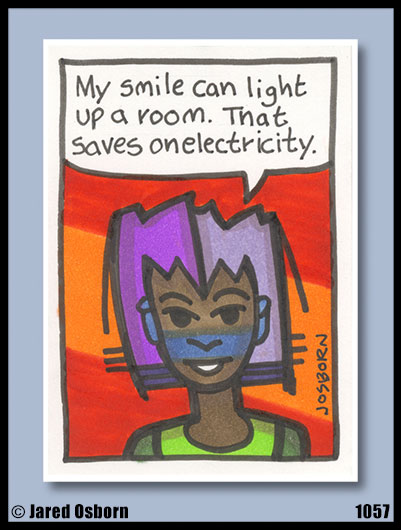
I make these cartoon art cards in sets of ten. So I grabbed ten blank cards. I use a sign pen marker that has been refilled with India ink and the first thing I do is draw the border and the word balloon. Then I clear my mind. That’s because I don’t do any preparatory drawings in pencils for these. They’re drawn right in ink so a clear mind and spontaneity is essential. I’m looking for weird little faces that I’d never be able to draw with my conscious mind. At least that’s how the first lines are drawn. About halfway through the drawing I have to turn my mind on and make it into a coherent face. Usually the face is accompanied by a weird hat or some weird hair. I do this for ten faces in a row. Then I write them.
The start of my writing process for my cartoon art cards is to make lettering guidelines inside the word balloons. I hand letter these because I want the lettering right on the original art and I also want a rough look to match the art. I use my Haff hatching machine to make the parallel lines rather than the traditional Ames lettering guide because the Haff is easier to use. And because I have one. The Haff is kinda an obscure piece of equipment.
After the guide lines are in place I lay out the ten cards in front of me on my drawing table and think. Once again I clear my mind and try to make the writing come into my head. I come up with some silly phrase or sentence and then look at the faces to see who I think said it. You couldn’t tell from my rough lettering but I first do the lettering in pencil. That helps me fit all the words in the balloon especially because the phrases I come up with are often too long for the space and I have to rephrase or edit them down. It’s better to erase than to white out.
Once I’ve finally got all ten cards written and pencilled into the balloons I letter them in ink. It took me a long time to settle on a pen I like for the job since the lettering is kind of small and I was lettering in upper and lower case rather than the traditional all upper case comic book lettering. I ended up using a Copic Multiliner size .5mm for the letter. I tried all different brands of .5 and .7mm pens but that one worked the best for me. I letter all ten in ink, wait for them to dry, and then erase the pencil guide lines.
Next come the colors. I use markers for those. This week I actually colored twenty cartoon art cards since I wrote and drew two sets of ten without coloring the first set. That happens sometimes. I put all twenty cards in front of me on my drawing board and one by one I colored in the background designs. I’m not sure why but I like to do all the backgrounds before I start on any of the faces. The backgrounds are all basic shapes drawn in two colors. I like to keep them simple.
After the backgrounds are done I color the figures. I like to make the faces two tone and with a simple design on them. That makes things a little more interesting to me. Once I have all the colors down I come back with one final dull purple marker and add just a little shading in. Not too much since everything is small and colorful. I just like a little bit of rounding.
The cartoon art cards journey isn’t quite done there because I have to scan them into the computer and do a little production work on them. I number each of my art cards so that I can keep track of them and I’ve learned it’s easier to number them after I scan them. My scanner software adds a “+1” to each number in the file name so it’s easier to write that number down on the back of the card rather than trying to scan the cards in some sort of predetermined order.
I make sure the scans are straight, write the scan number on the back of the card, and then put the card into a template for presentation. That way if I want to post one it’s set up to look pretty already. I also name the Photoshop layer in the document with the scan number that way when I’m making my “Drifting and Dreaming” strip I can drag the numbered layer into my D&D template and the number will come with it. Keeping things organized is the key to keeping confusion away.
So there is another process of mine for you. It might not be overly exciting but it’s a way to get things done.
Discussion ¬